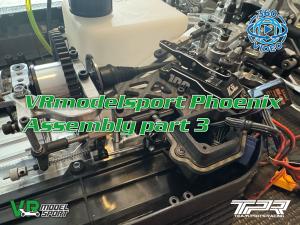
Phoenix diffs, steering, electronics and tank, part #3
Just as in the other two installments, part 1 and part 2, we have images and 360 videos in the right hand column if you're reading this on a computer and below if you're on a mobile.
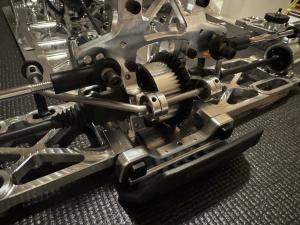
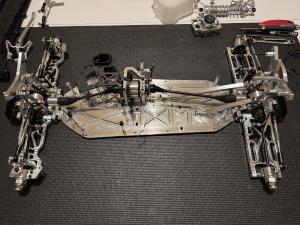
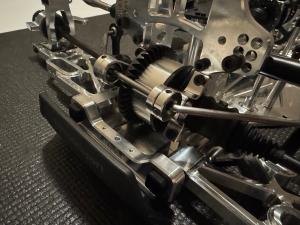
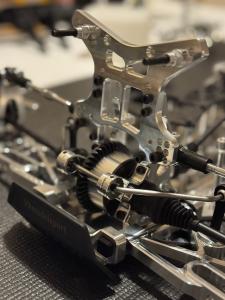
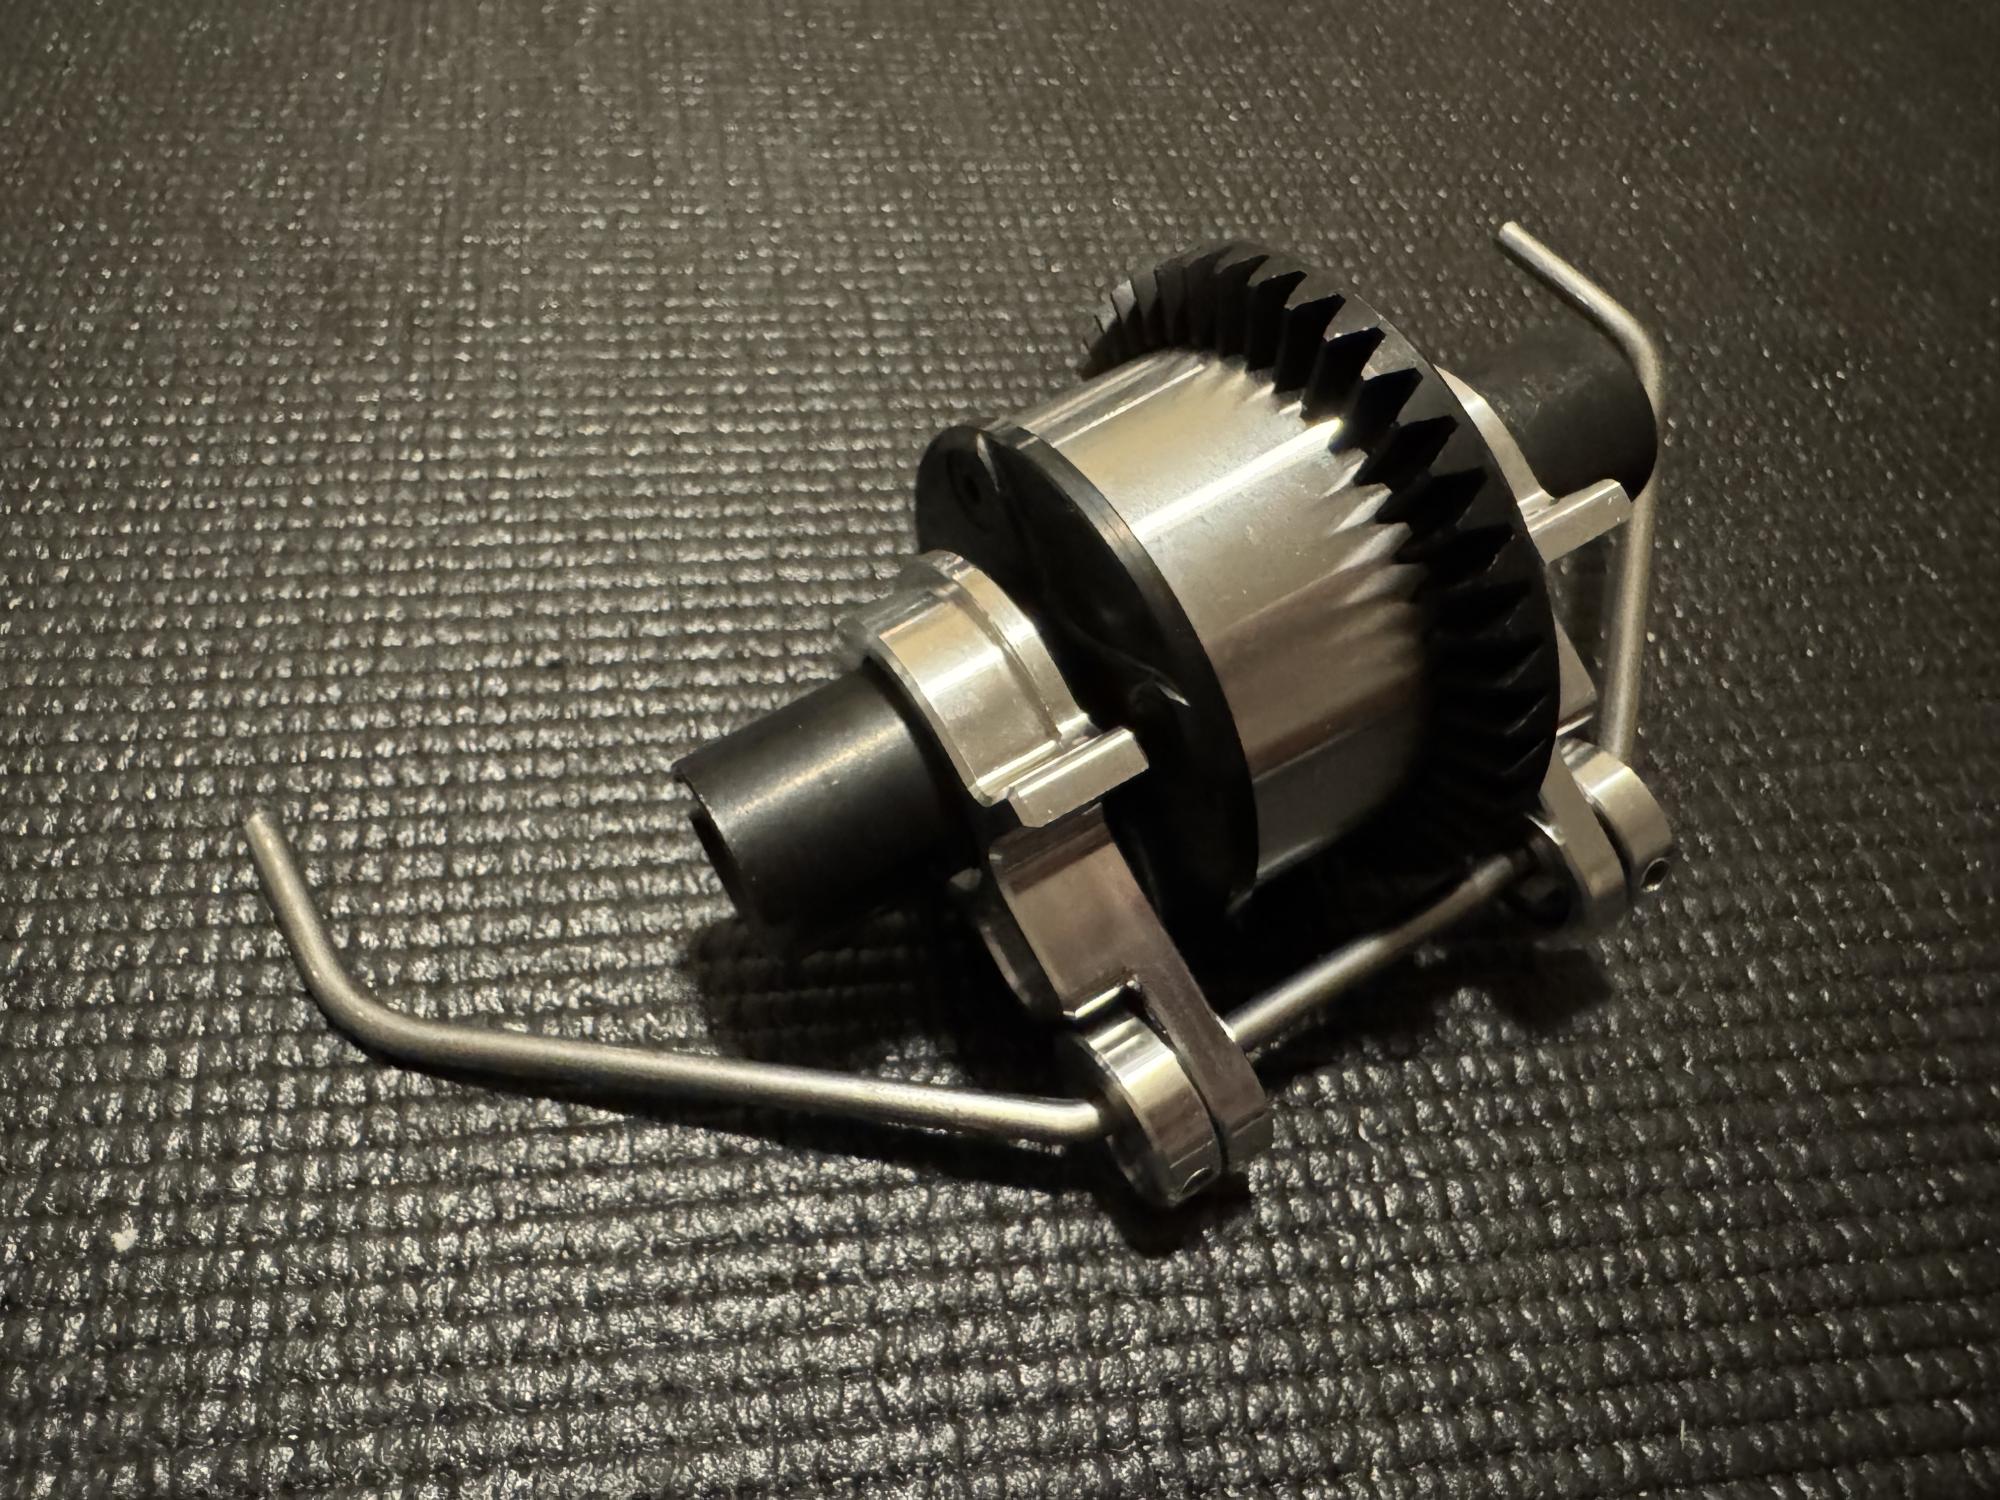
We continue where we left off by inserting the diff in the rear with 30K oil.
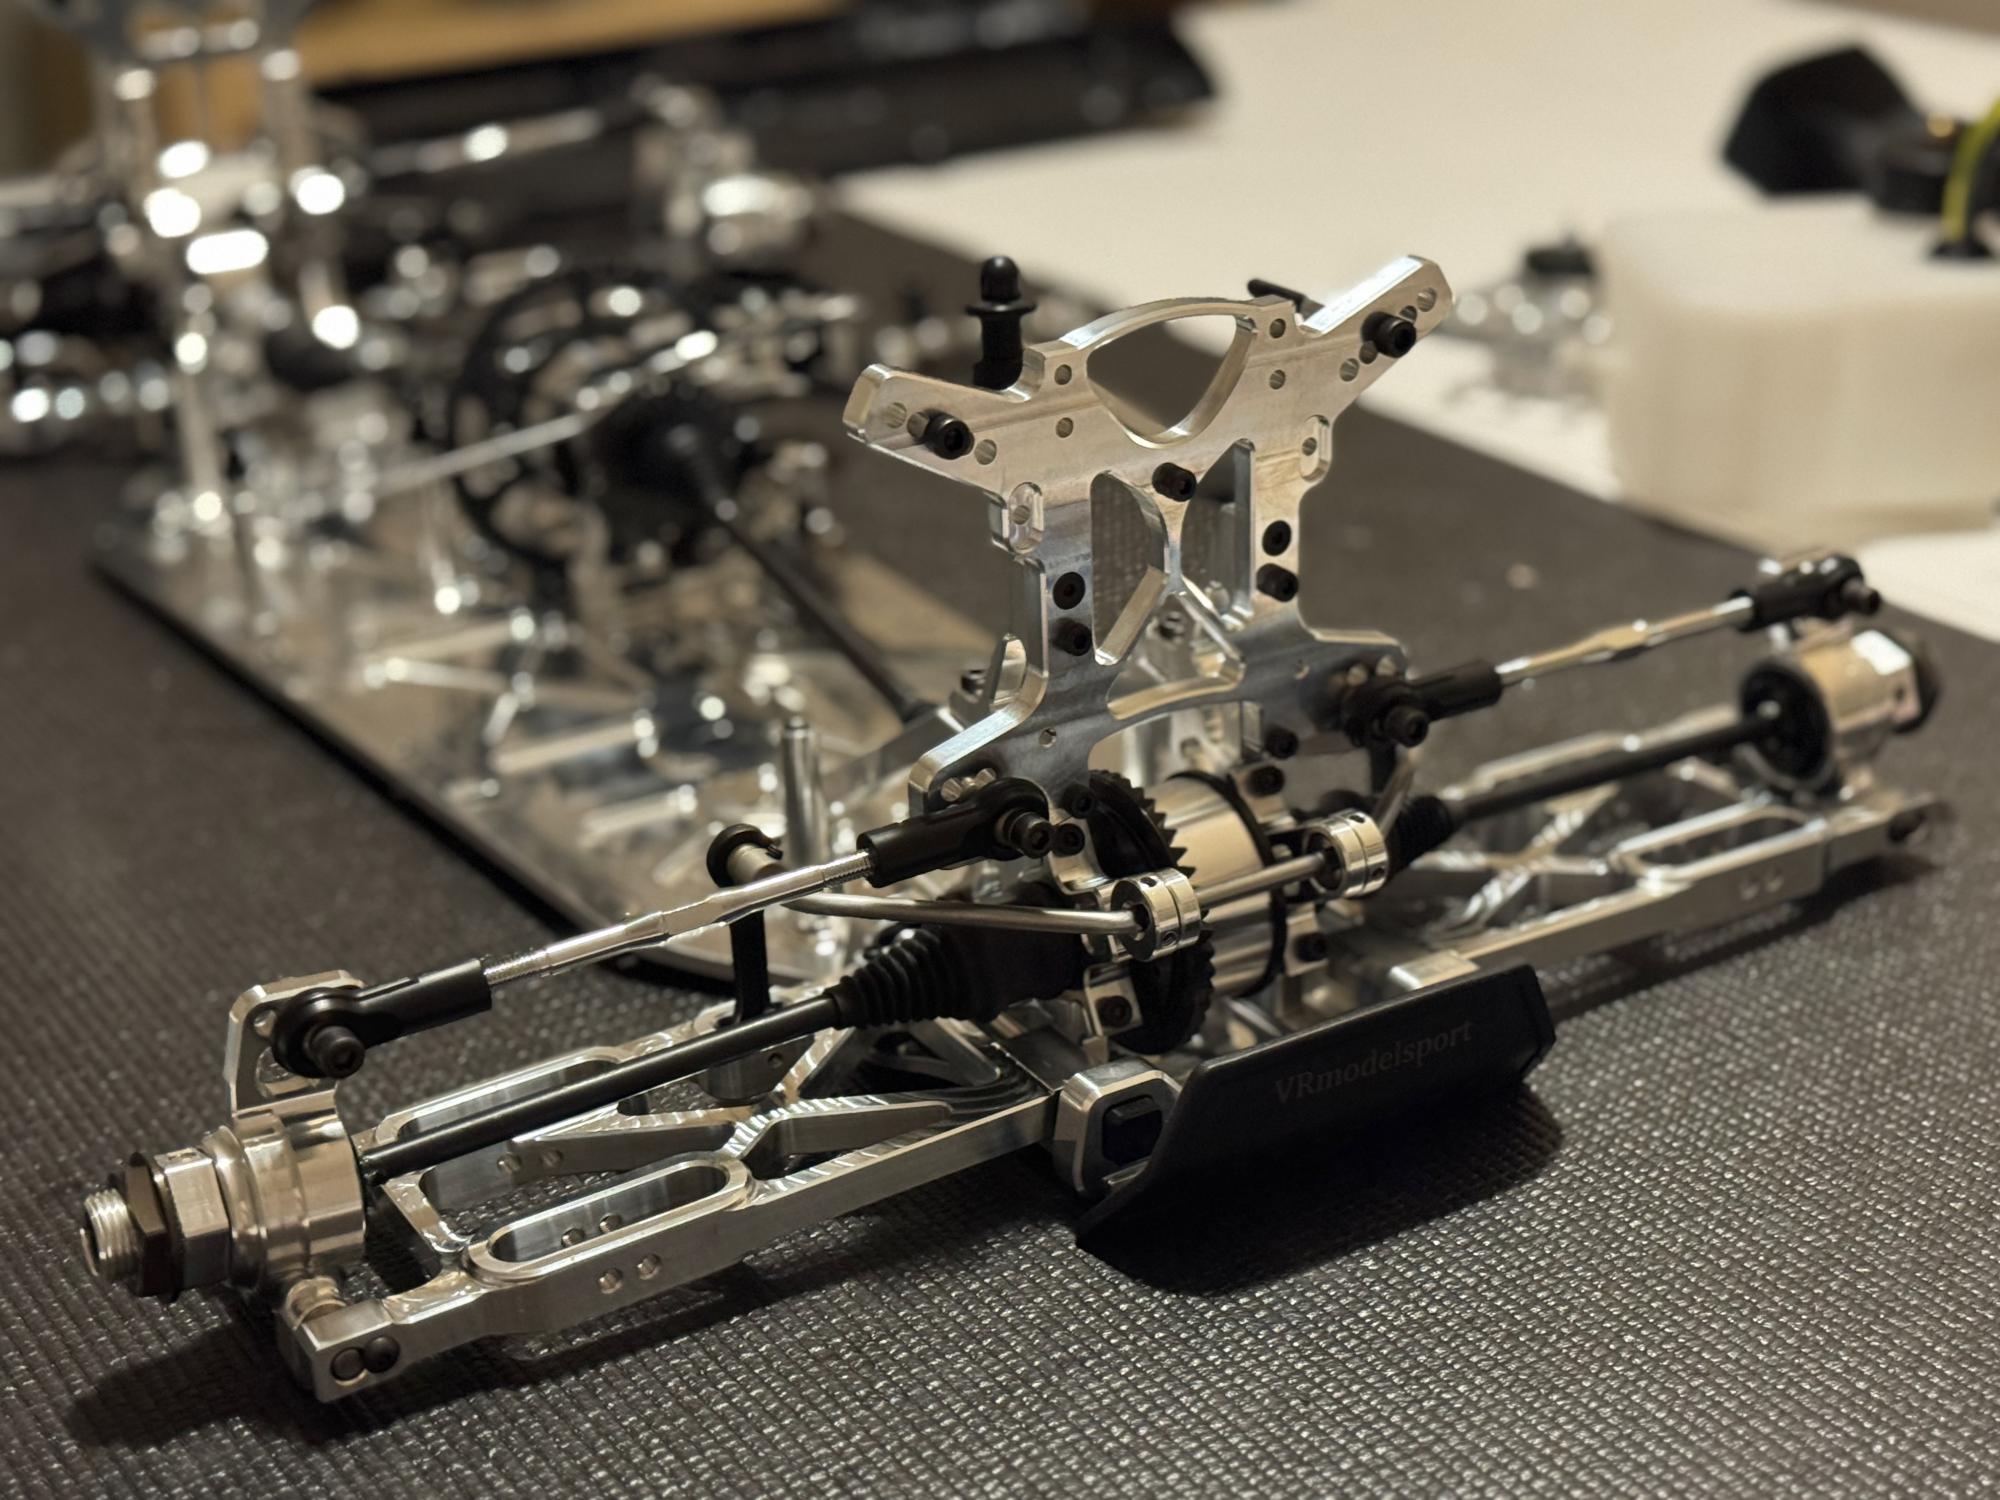
Mounted the 4.5mm sway bar and mounting the top arm to complete the suspension package.
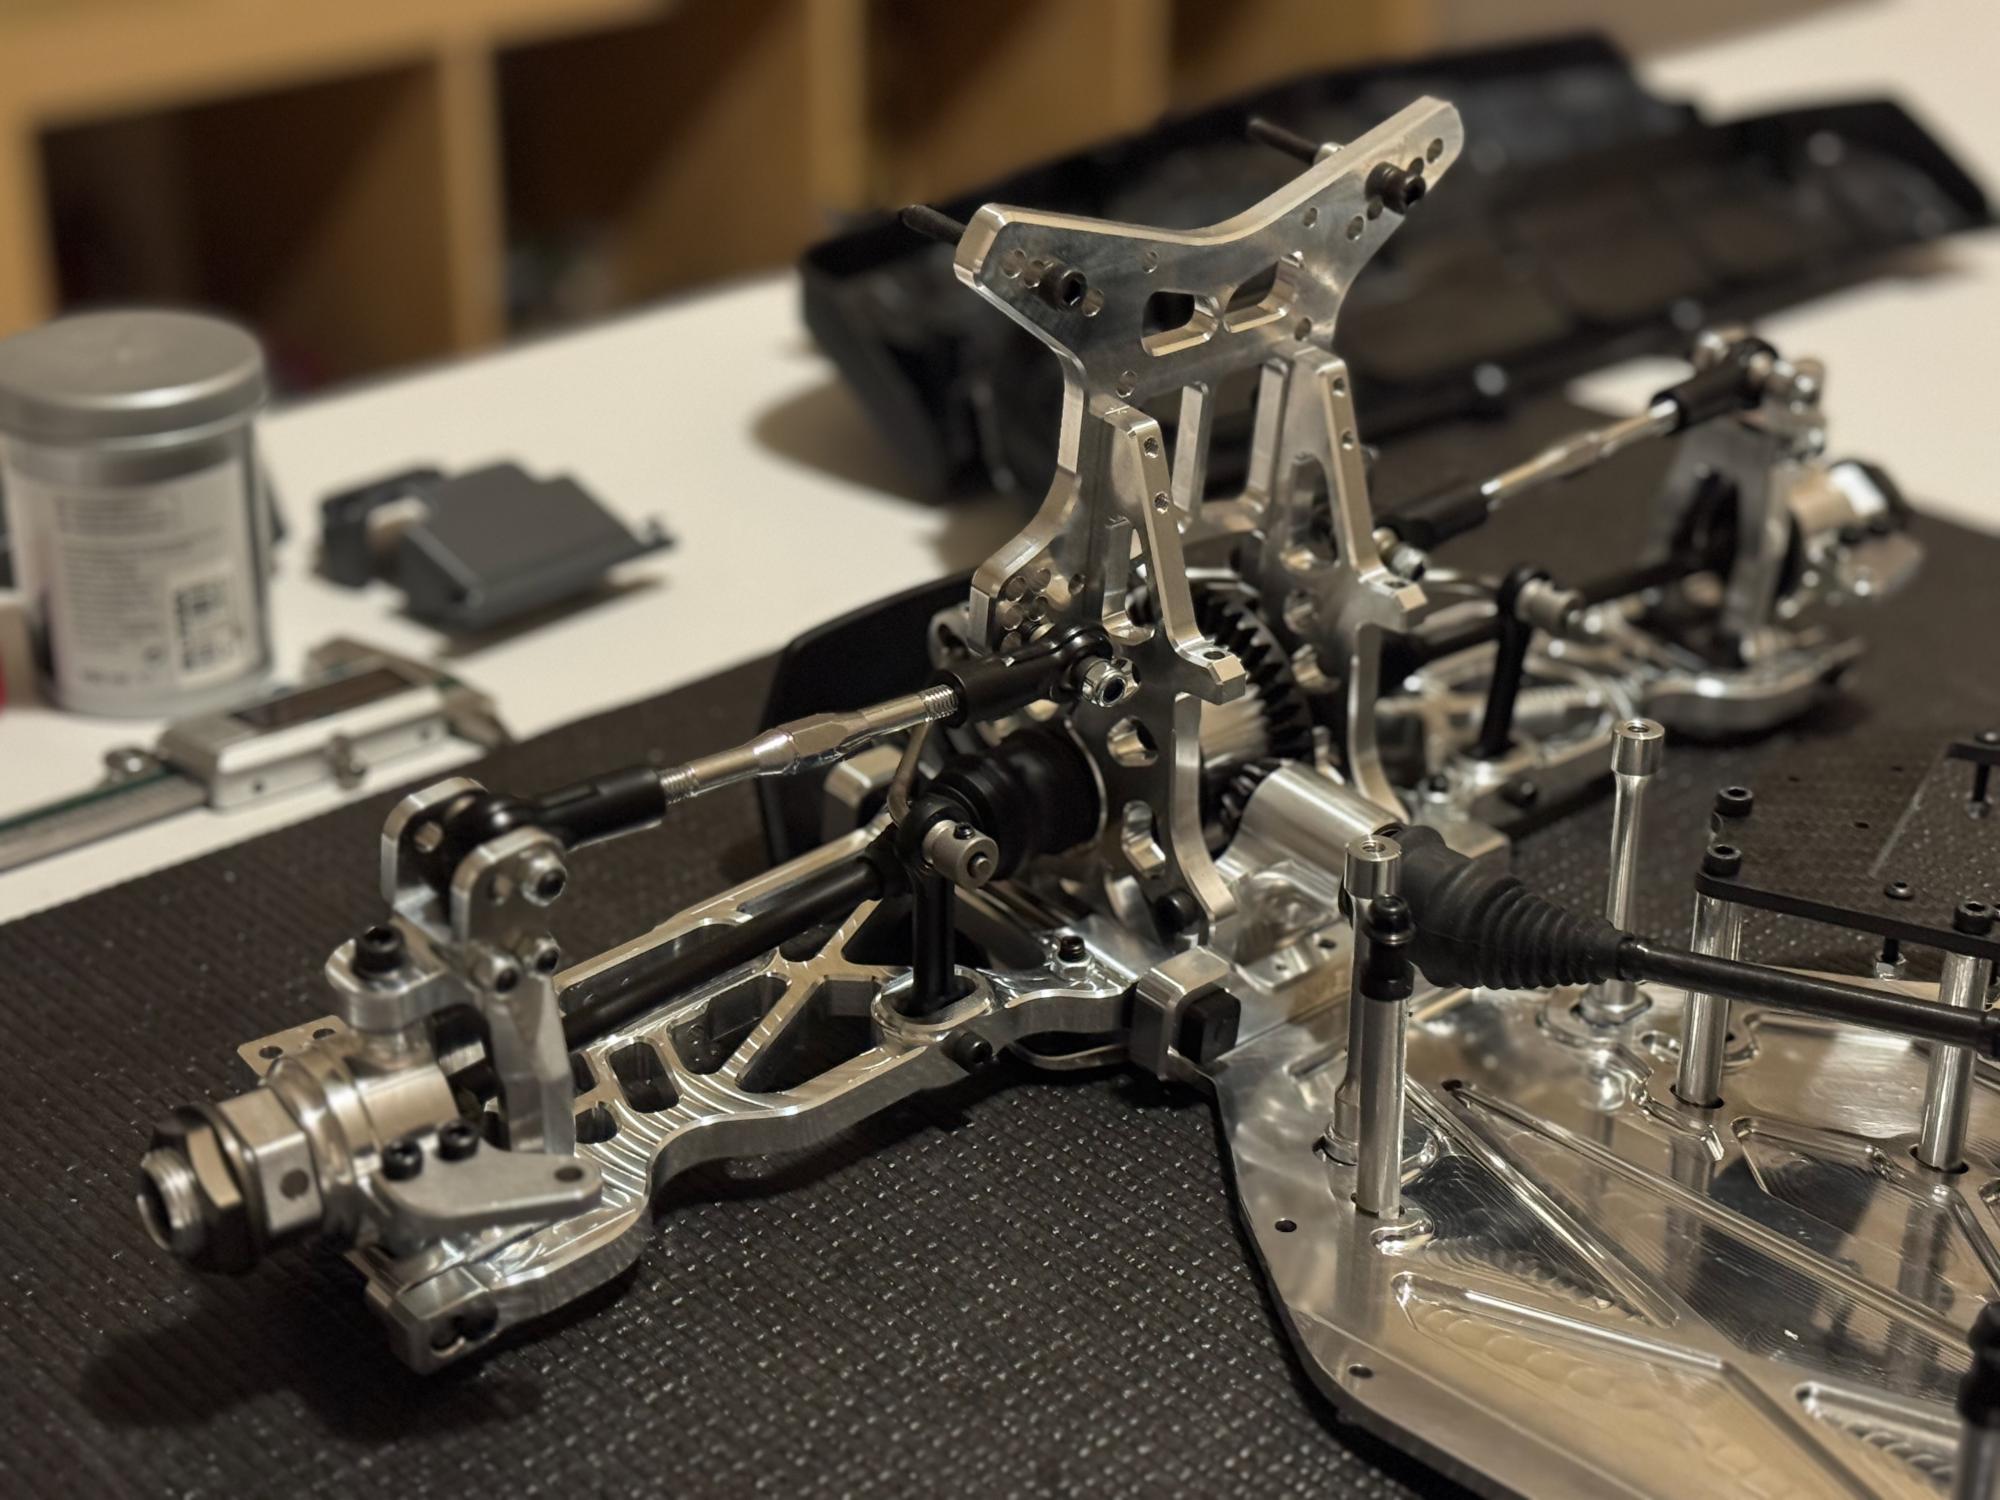
The same procedure is carried out in the from but with 50K oil and a 4.0mm sway bar.
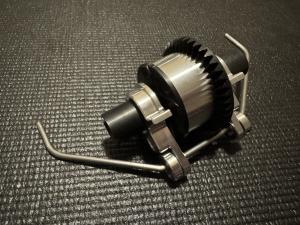
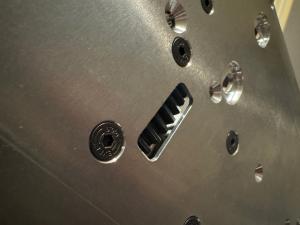
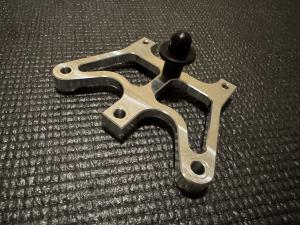
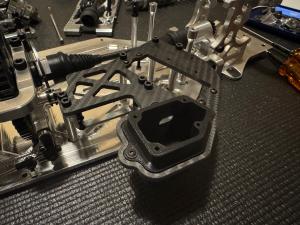
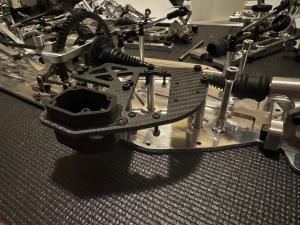
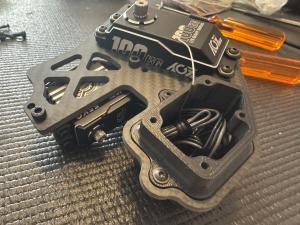
The same kind of diff cover is mounted both in the rear and in the front. This is to protect from gravel and other stuff to get into the diff but also preventing any finger to touch the gear when marshaling the car as a safety precaution.
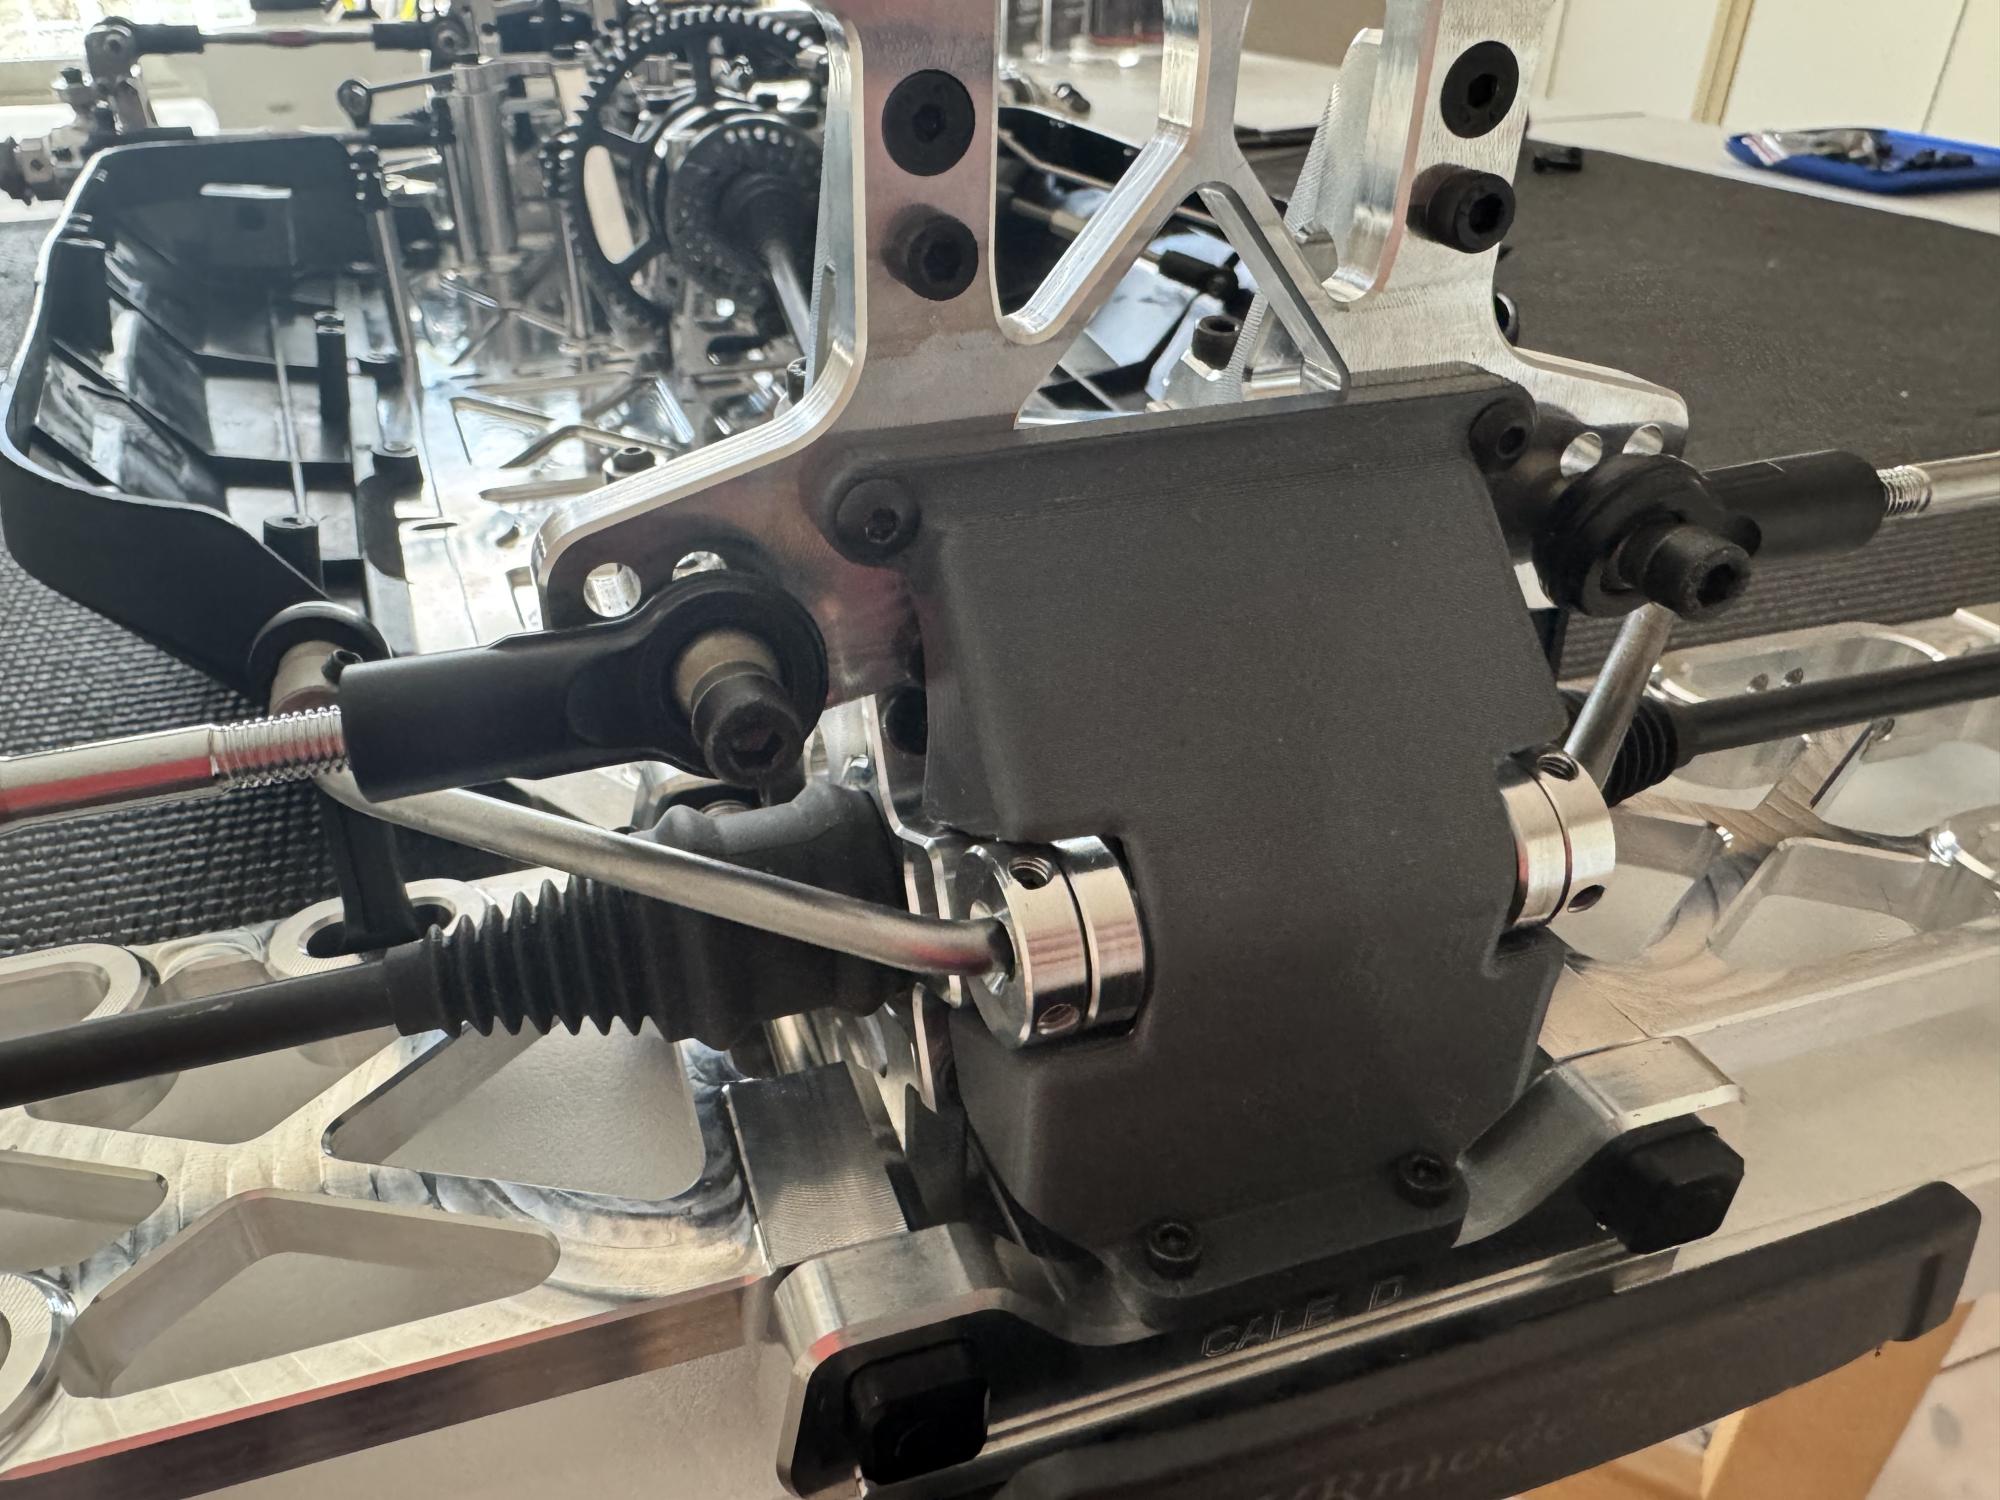
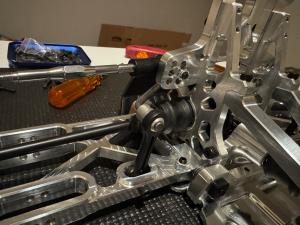
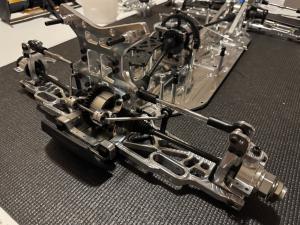
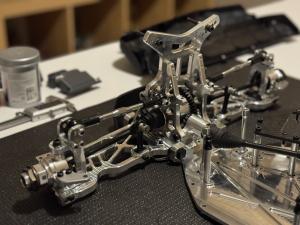
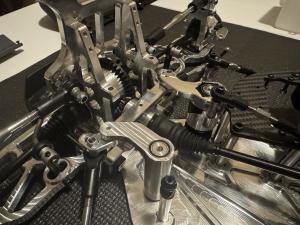
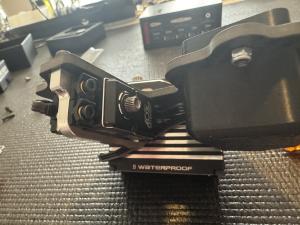
The next part after the rear and front diff and driveshafts being completely assembled we move on to the steering. The steering rack is a pretty regular design with ackermann adjustments to fine the feeling in the steering. The servo saver adjustment screw is in the bottom for tightening the spring and stiffness of the saver depending on how much give you want to have saving servos or having better and more direct control of the steering.
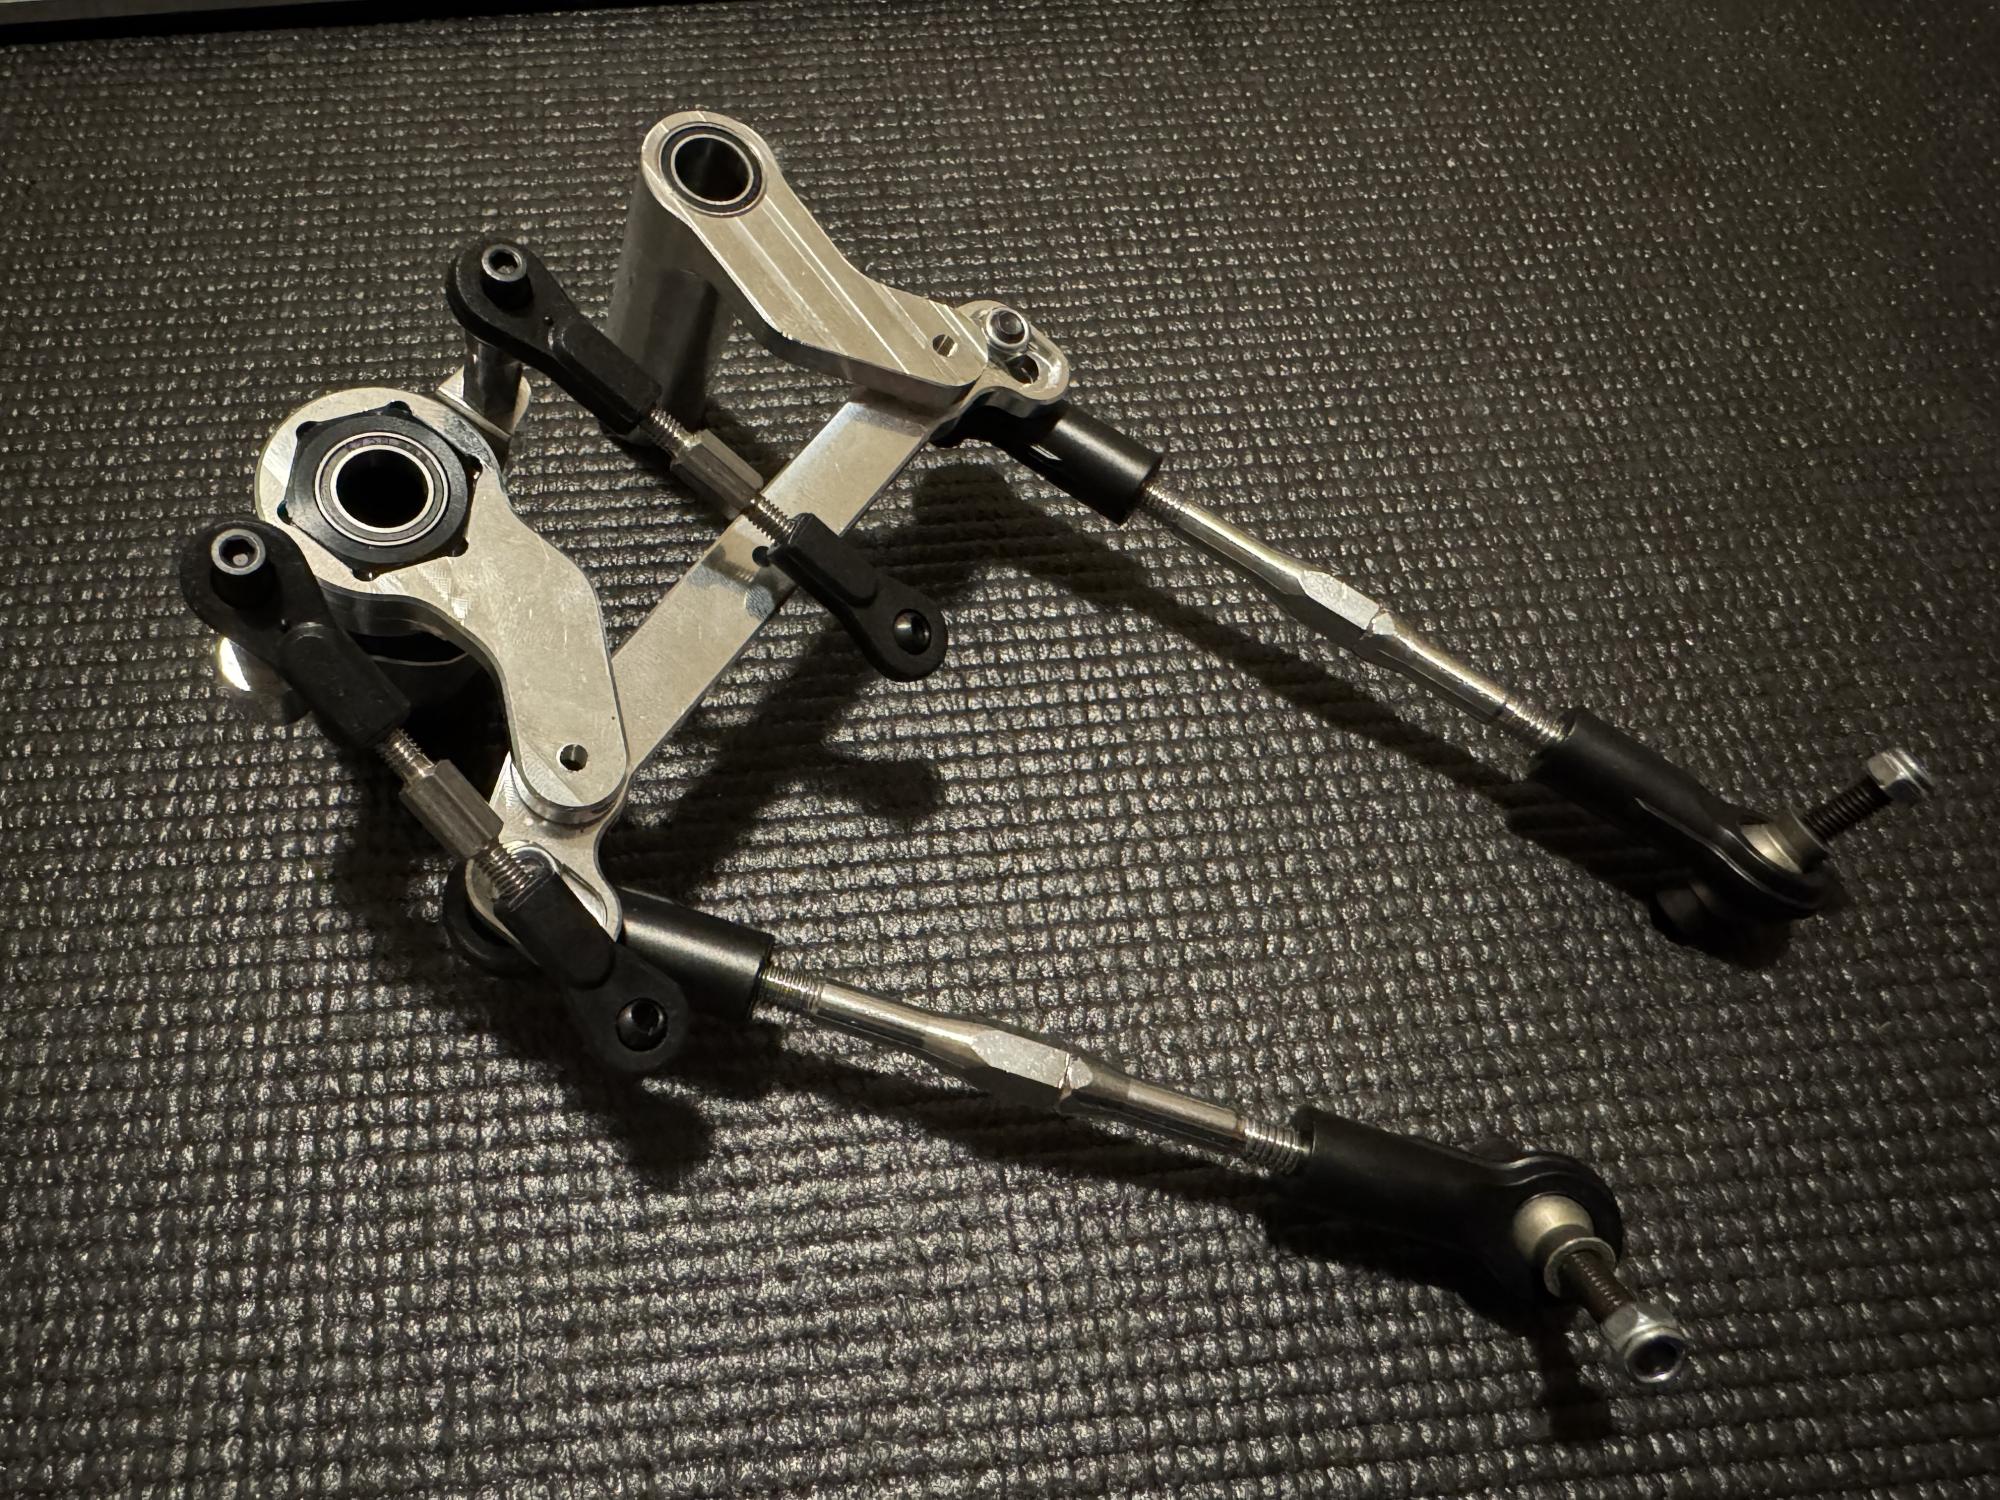
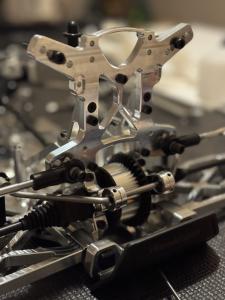
With a top plate and a connecting brace to the chassis the steering is complete.

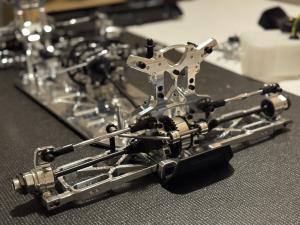
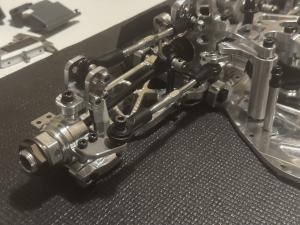
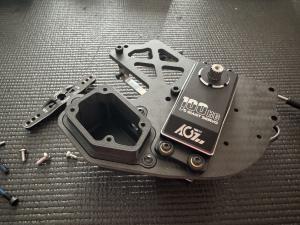
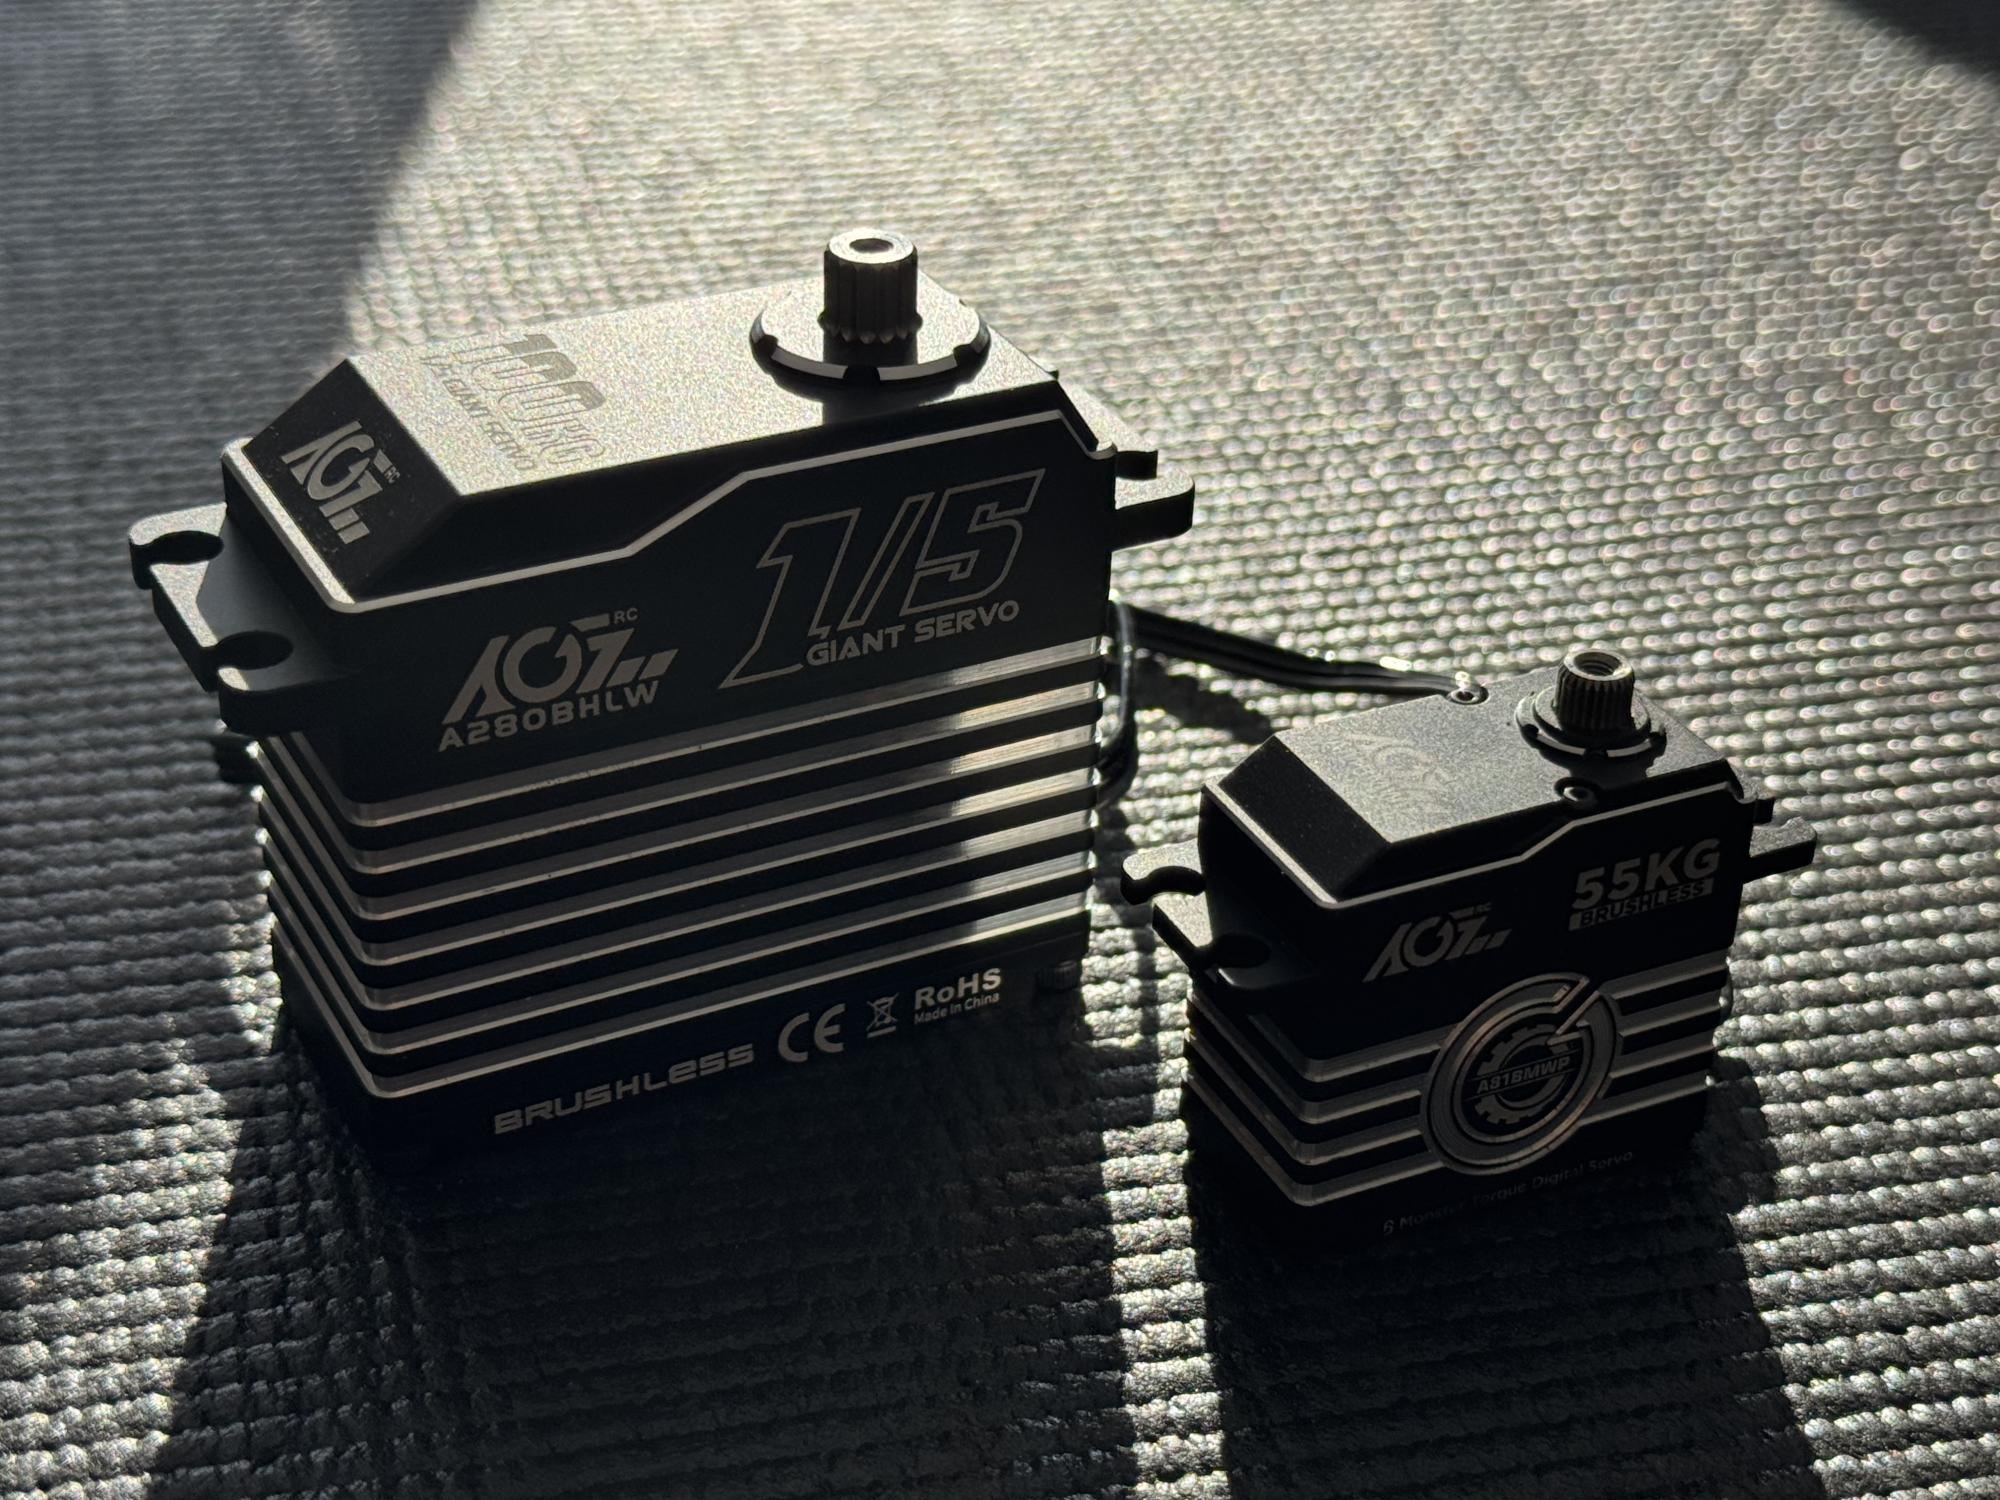
Once the steering rack is in place we need a servo to control it. The Phoenix let you choose between two standard sized servos or a big large scale servos. In the Ultron I was running two servos but this time I opted for a single AGFRC 100kg large scale servo to do the job. For throttle and brake I choose to go for a regular 55kg AGFRC servo.
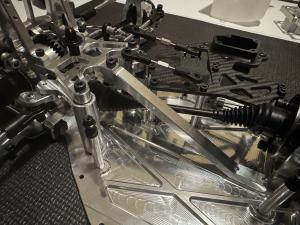
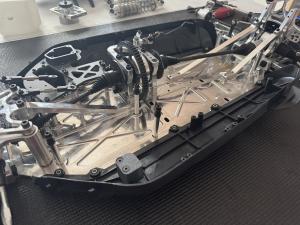
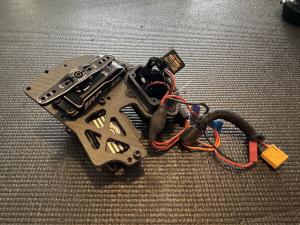
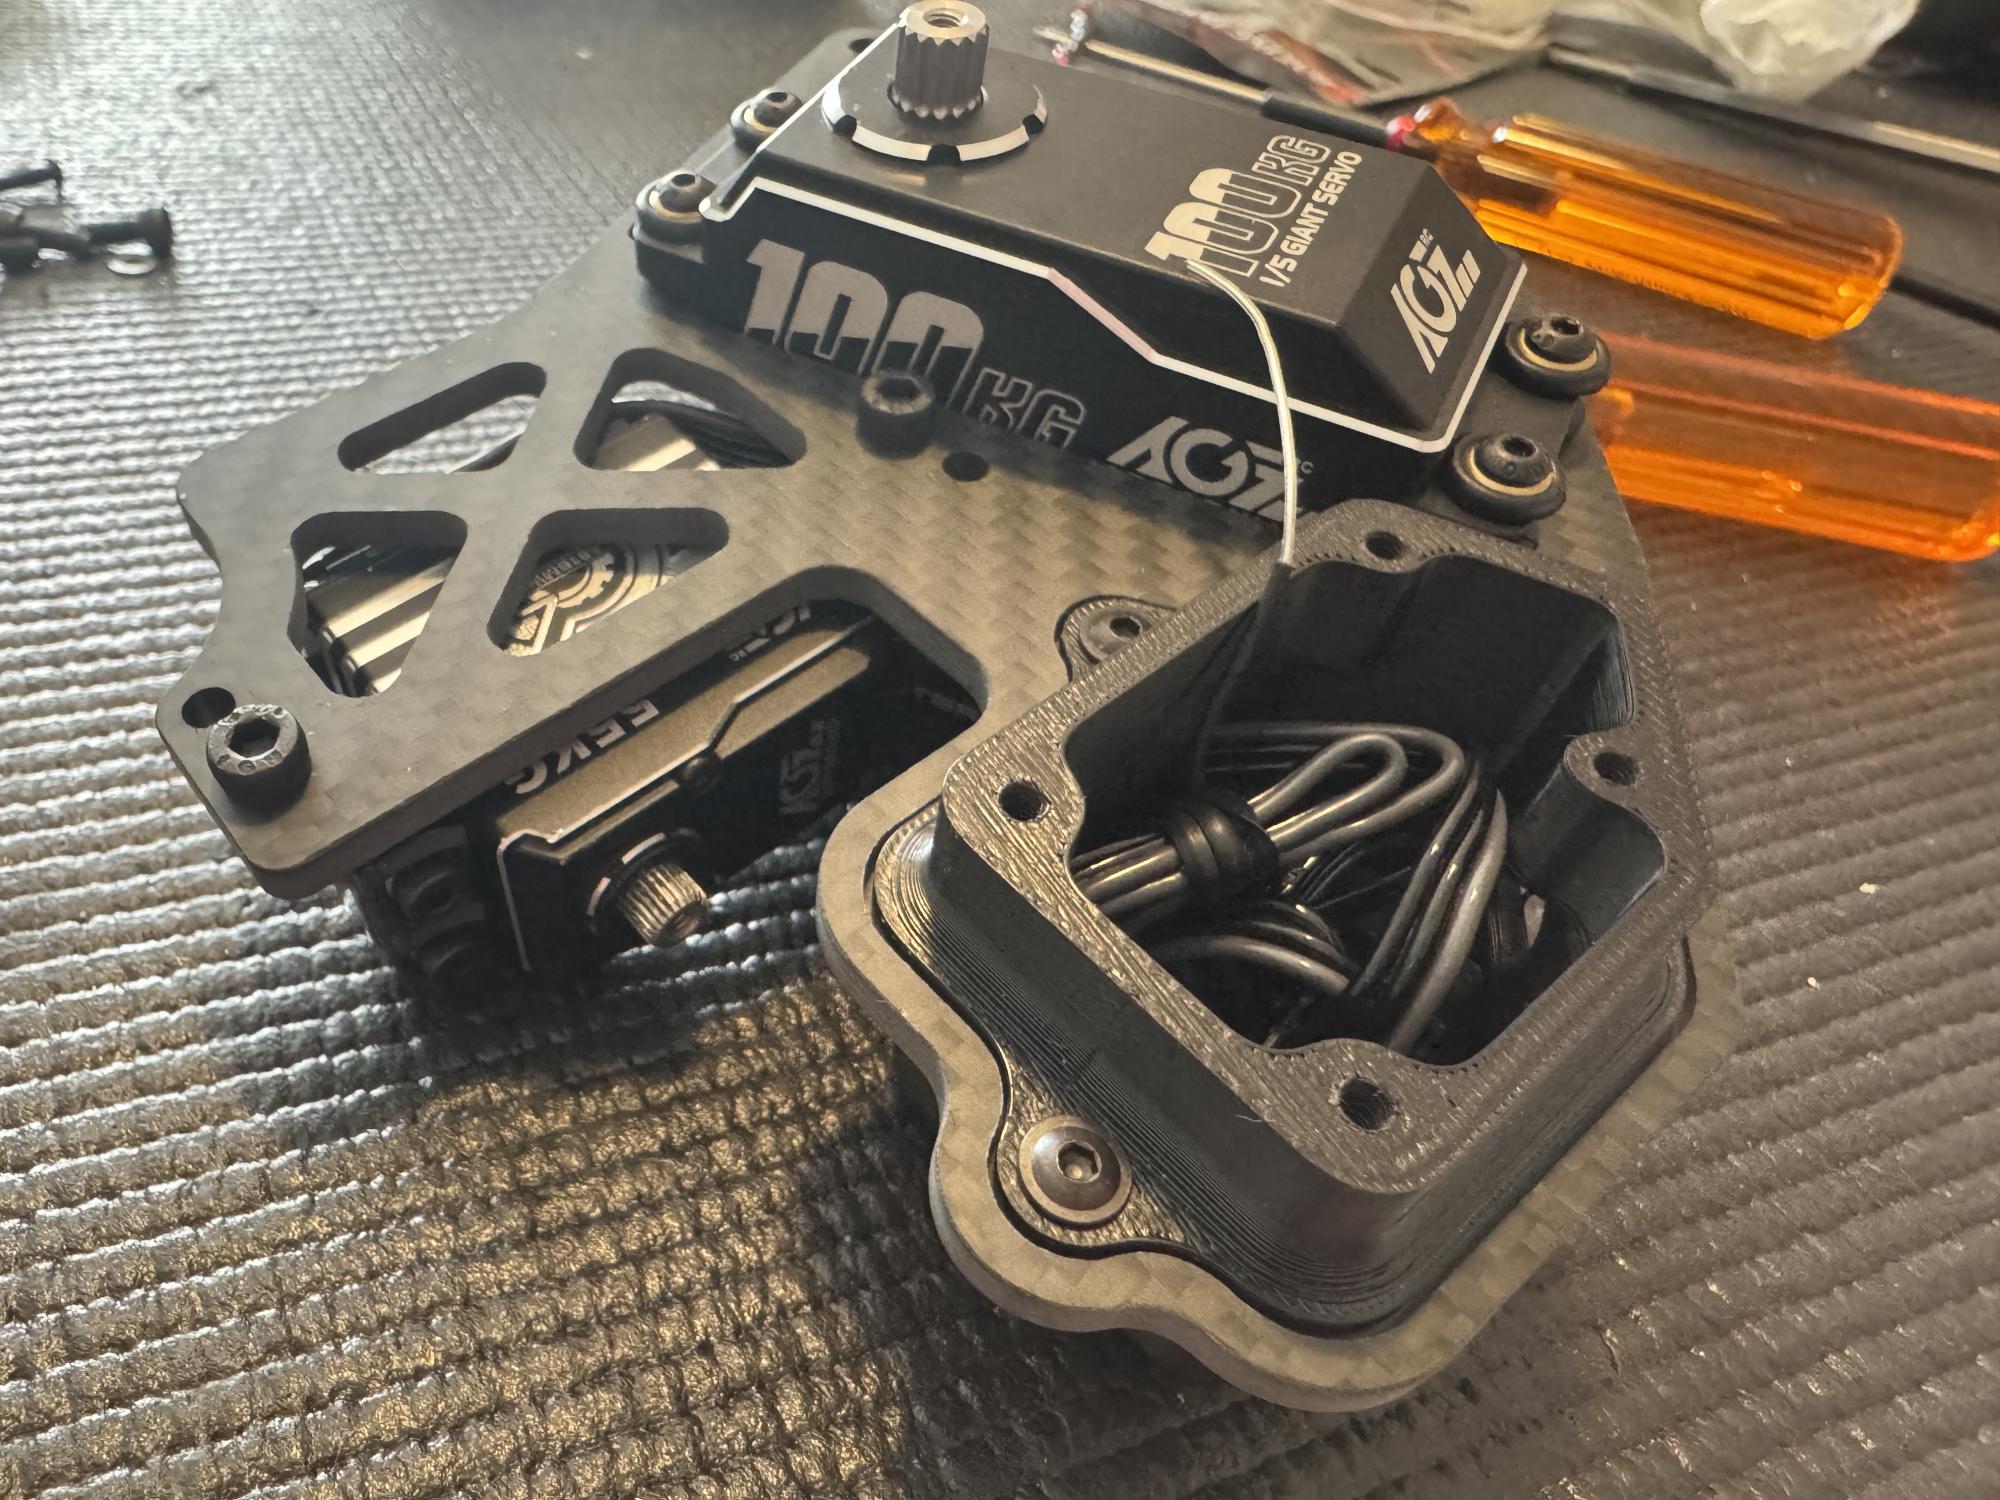
The servo tray in carbon fibre holds both servos and the radio box where the receiver, kill switch and the cable management goes. The throttle and brake servo can be accessed without removing the whole plate just be removing two screws that holds an aluminium servo mount.
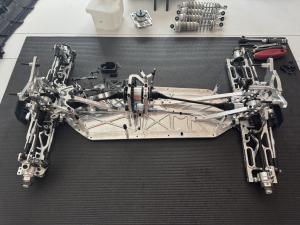
The whole thing is mounted to the chassis with five posts for a stable and solid construction.
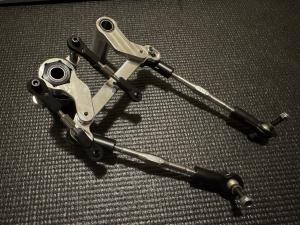
The throttle and brake servo is using a double arm to mount linkage to the throttle L-arm and the double levers for the front and rear brakes.
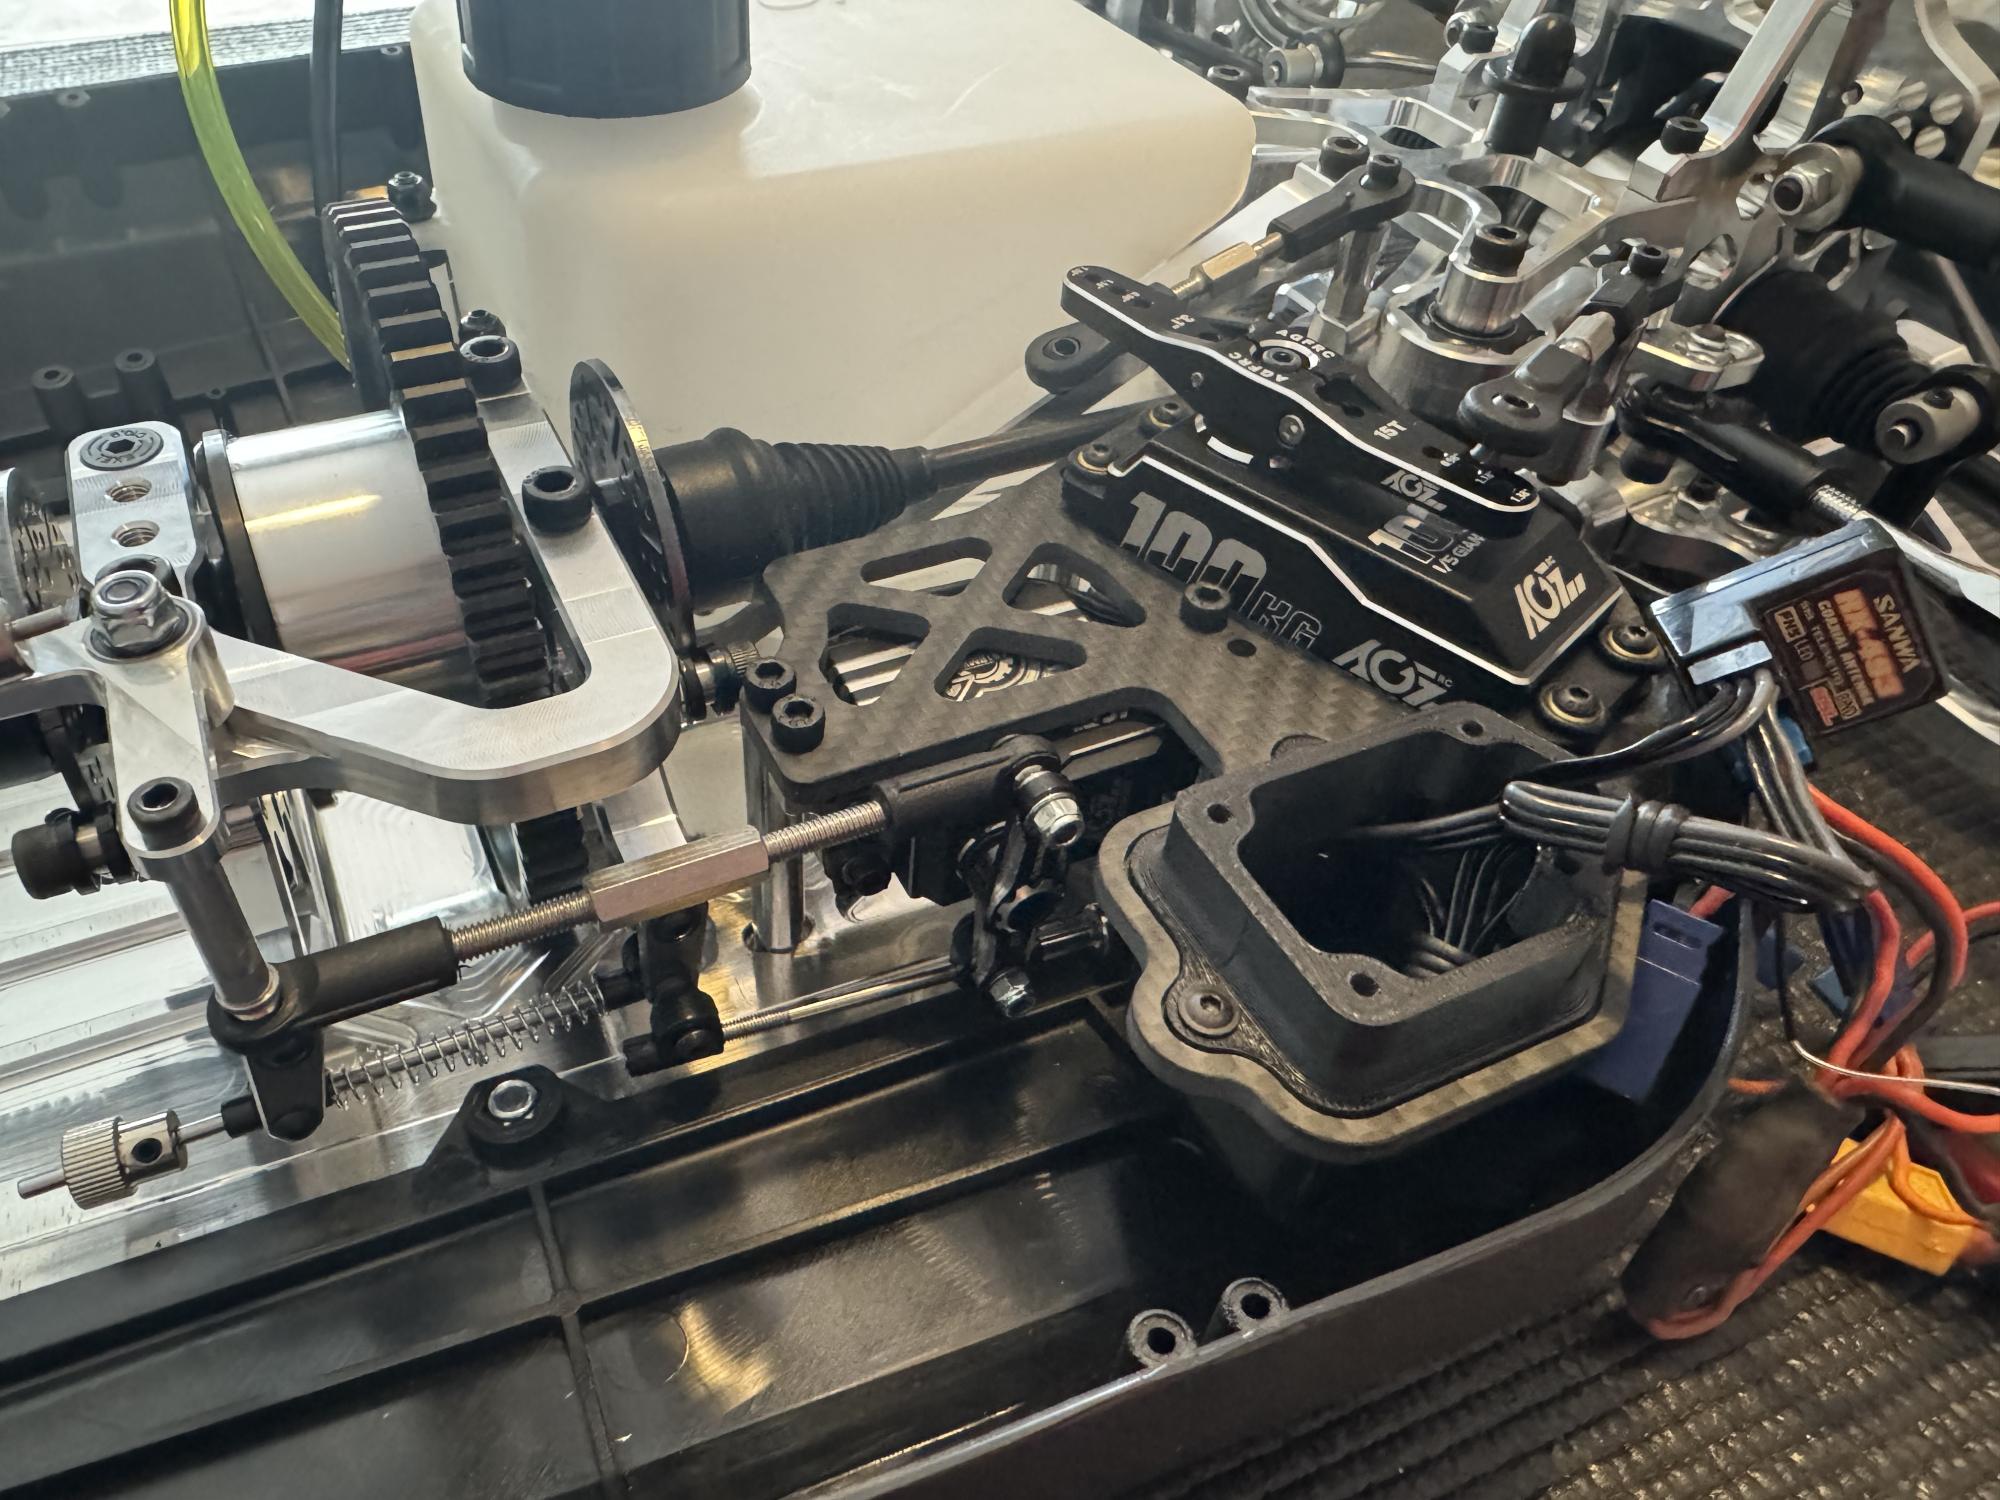
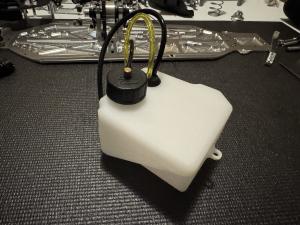
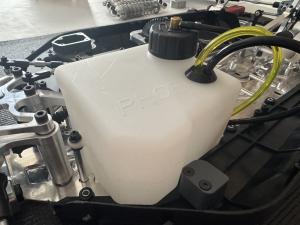
As a final piece for this build the tank is mounted on the three posts in the chassis. The tank is fairly standard and has a simple almost squarish design. The tank holds 950cc so make sure to have balls or other volume compensating parts if you have 800cc EFRA rules where you compete.

Next time we mount engine, exhaust, shocks and the wing for a final part of this build series. See you back then!