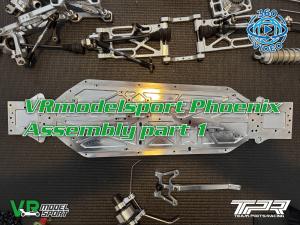
Let the assembly begin, with 360 videos, part #1
Before we dive into this build I want to make you aware of the new 360 video feature. You will see all posts that have them with a 360 video logo up in the right hand corner. The 360 videos will be detailed videos that you can spin around to get a glimpse from the parts from any angle. Just spin it around. These videos can bee seen in the right hand column, or below if you're on a mobile. You can take a look right away if you want to check them out. But come back here again to read bout the build.
Also make sure to check out the images in the resource section as these are many more than displayed in the post itself.
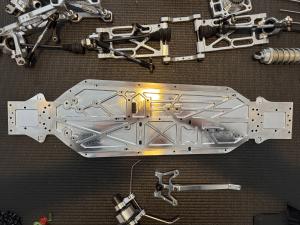
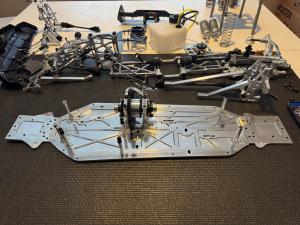
Ok, let's get into it! As I described in the last post I wanted to make the chassis really nice and shiny to fit nicely with all other aluminium milled parts and also to make it easy to clean in the future.

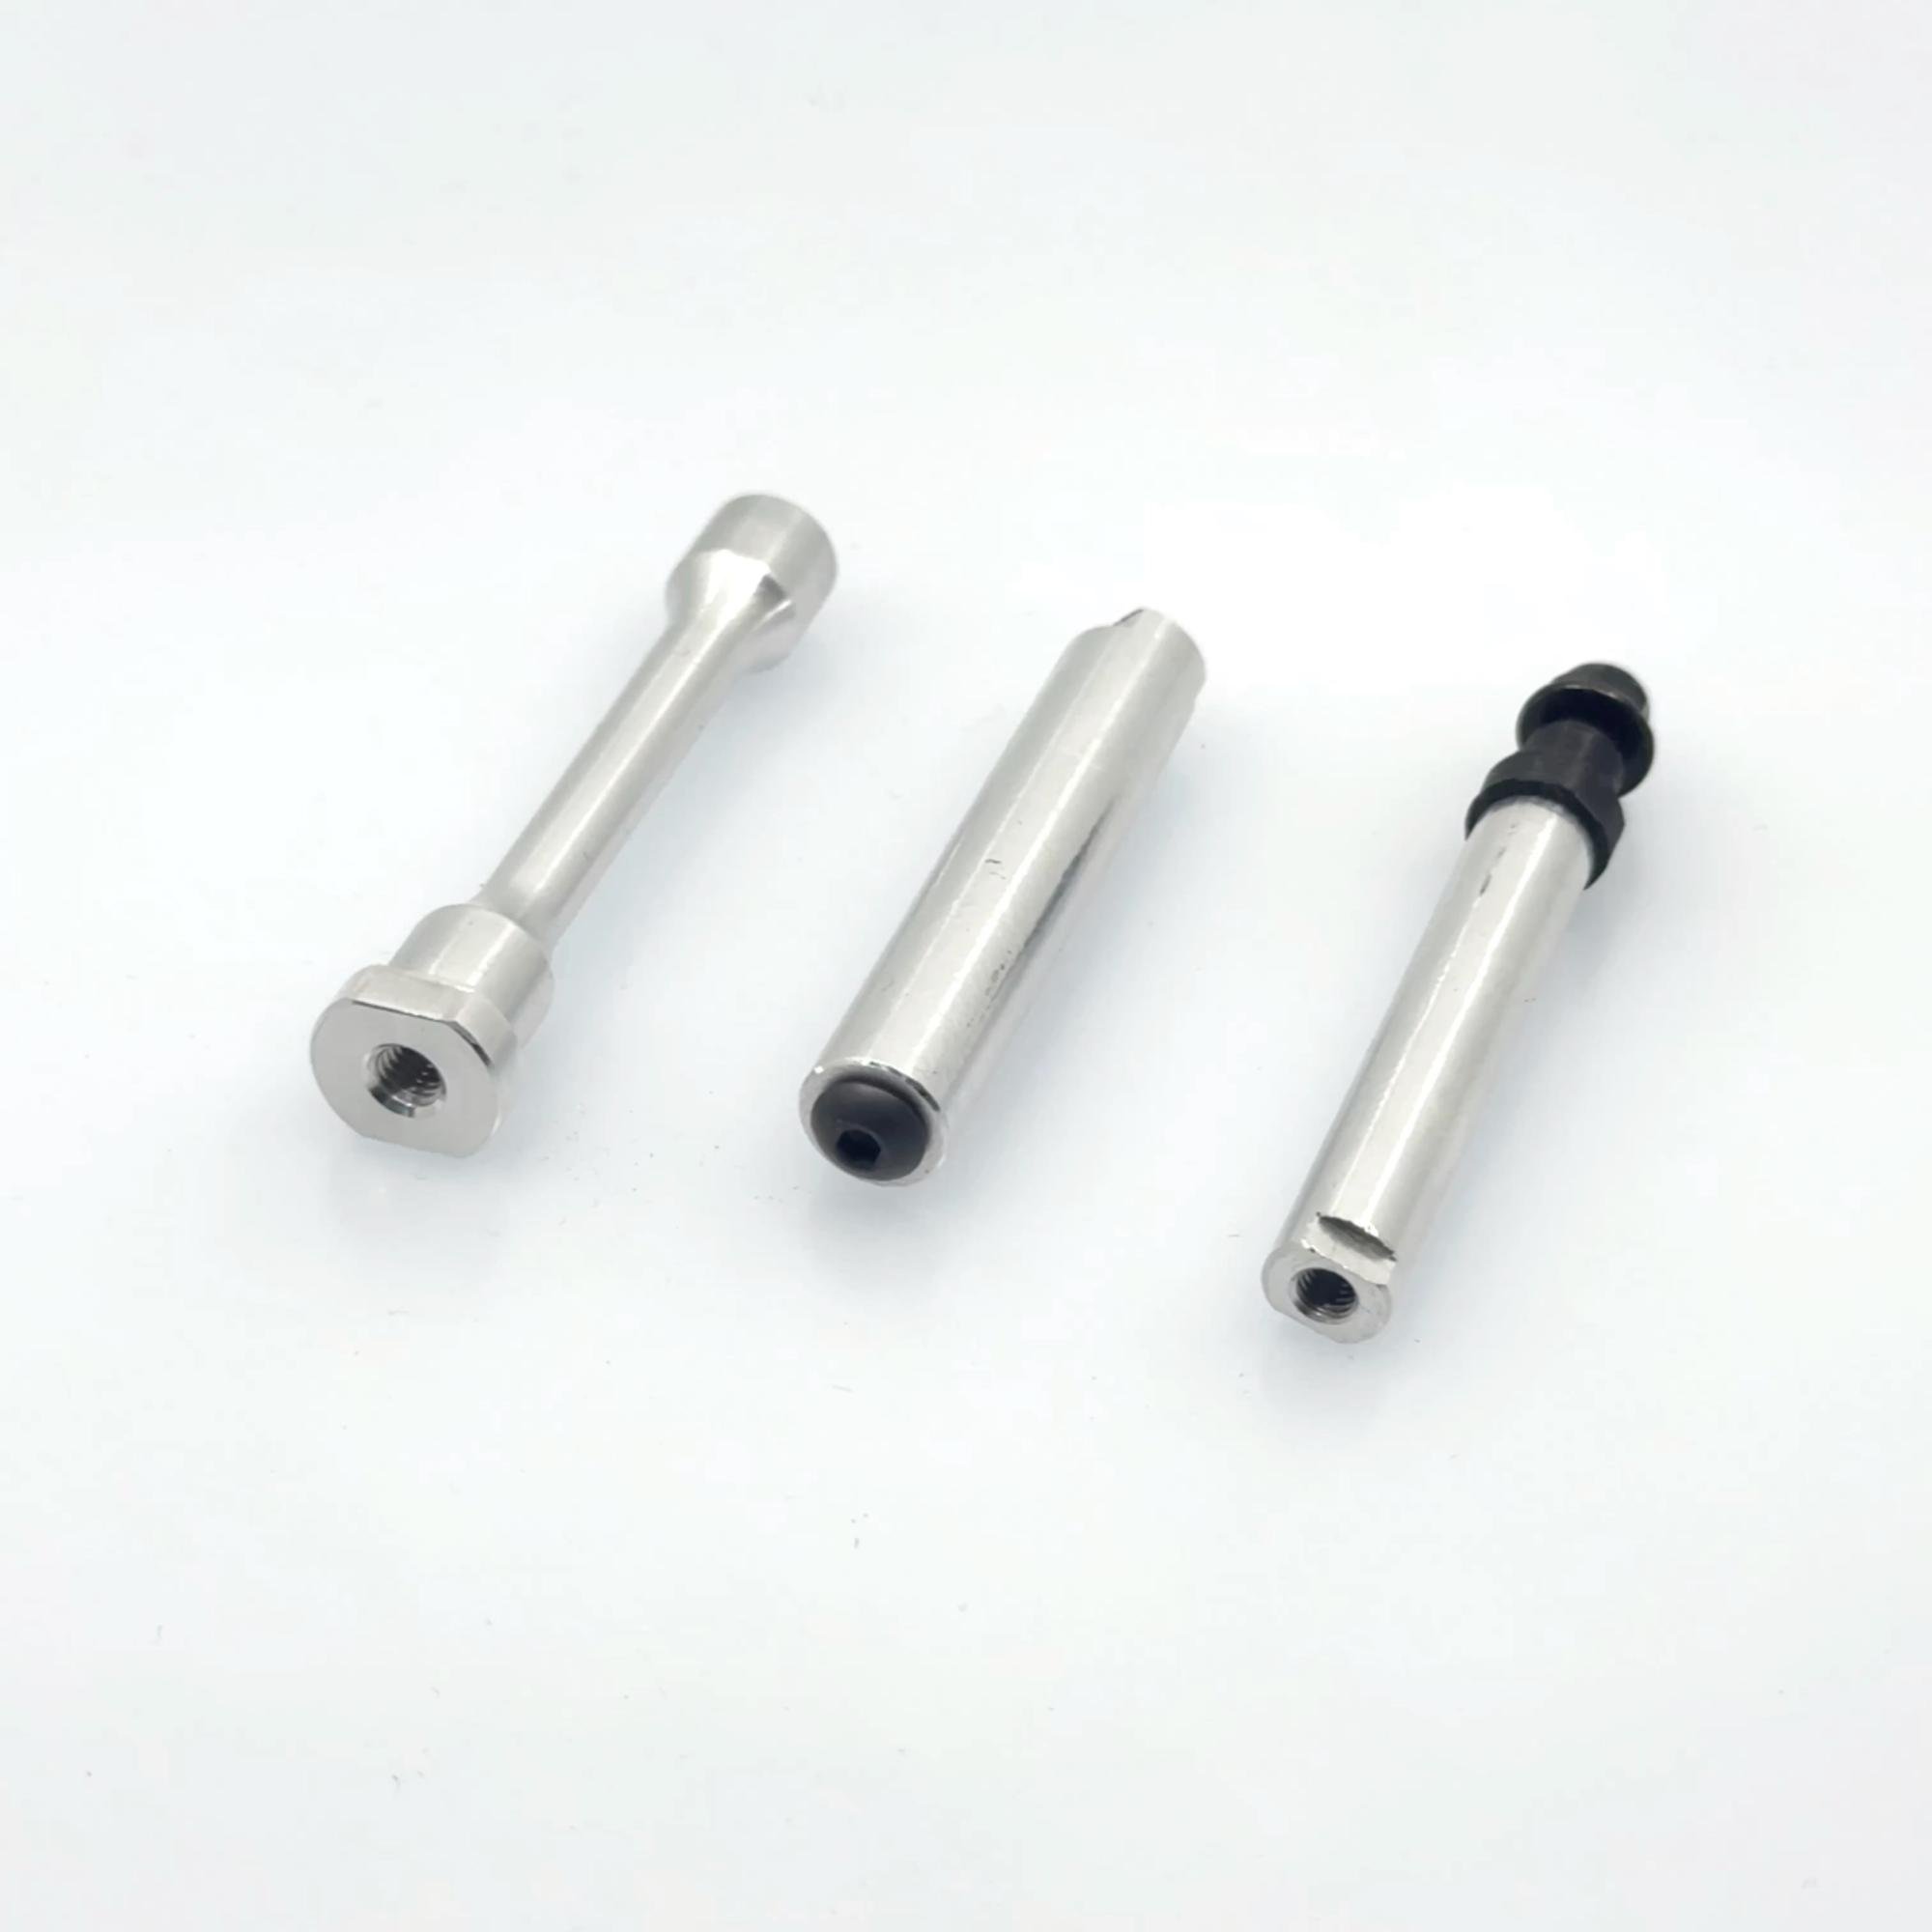
The build starts with an empty shiny chassis. The first thing I did was to add all body posts. These supports, steering, the fuel tank and the pipe. At the bottom they're flat on both side to fit into slot in the chassis. This is clever as it makes it more sturdy but also that the post is not rotating as you screw it in so you can easily tighten it and don't worry about it getting loose when screwing from the other direction.
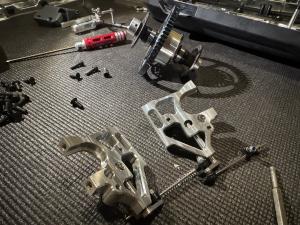
After the posts I went on to the mid diff and breaking mount. This is the center piece of the car and has some different mechanics.
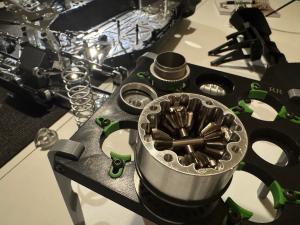
I started by taking apart the center diff and filled it up with 100K oil. It's really nice to see that thick oil slowly slowly getting down and spread through the gears, almost meditative.
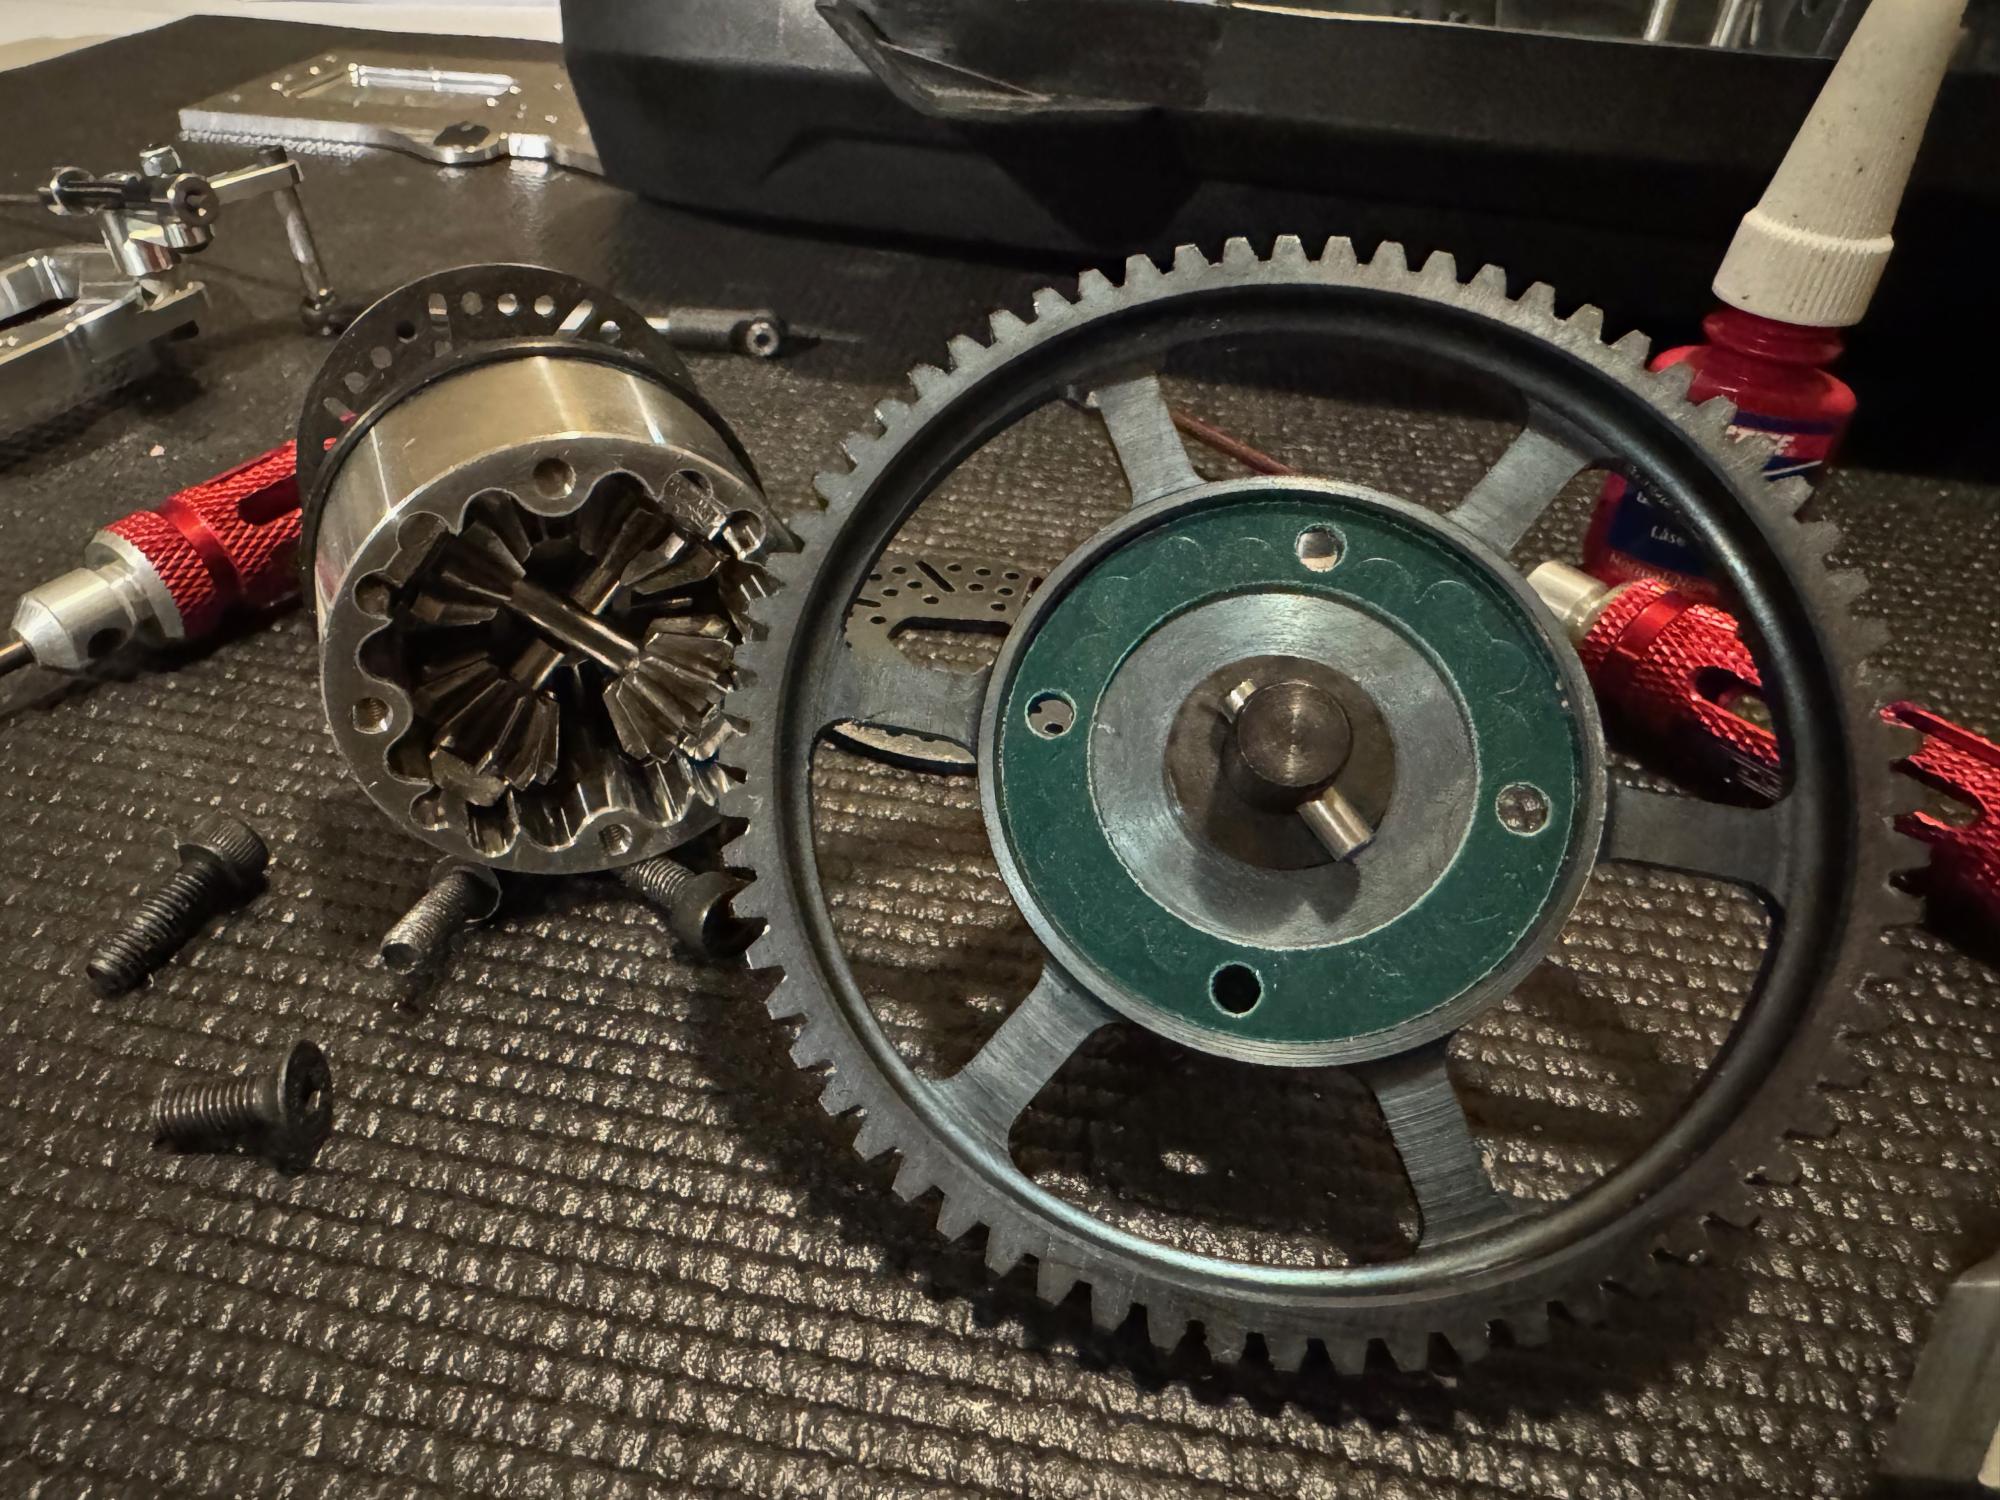
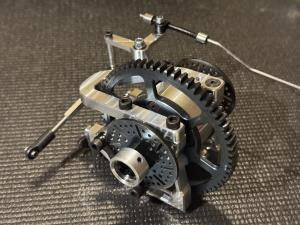
After putting together the diff again and putting loctite and all the screws for the rest of the section and could then lower the diff into the mount. It's really easy to service the center diff as you only have to remove the top brace and then lift it right up. Unfortunately I didn't take a picture of this.
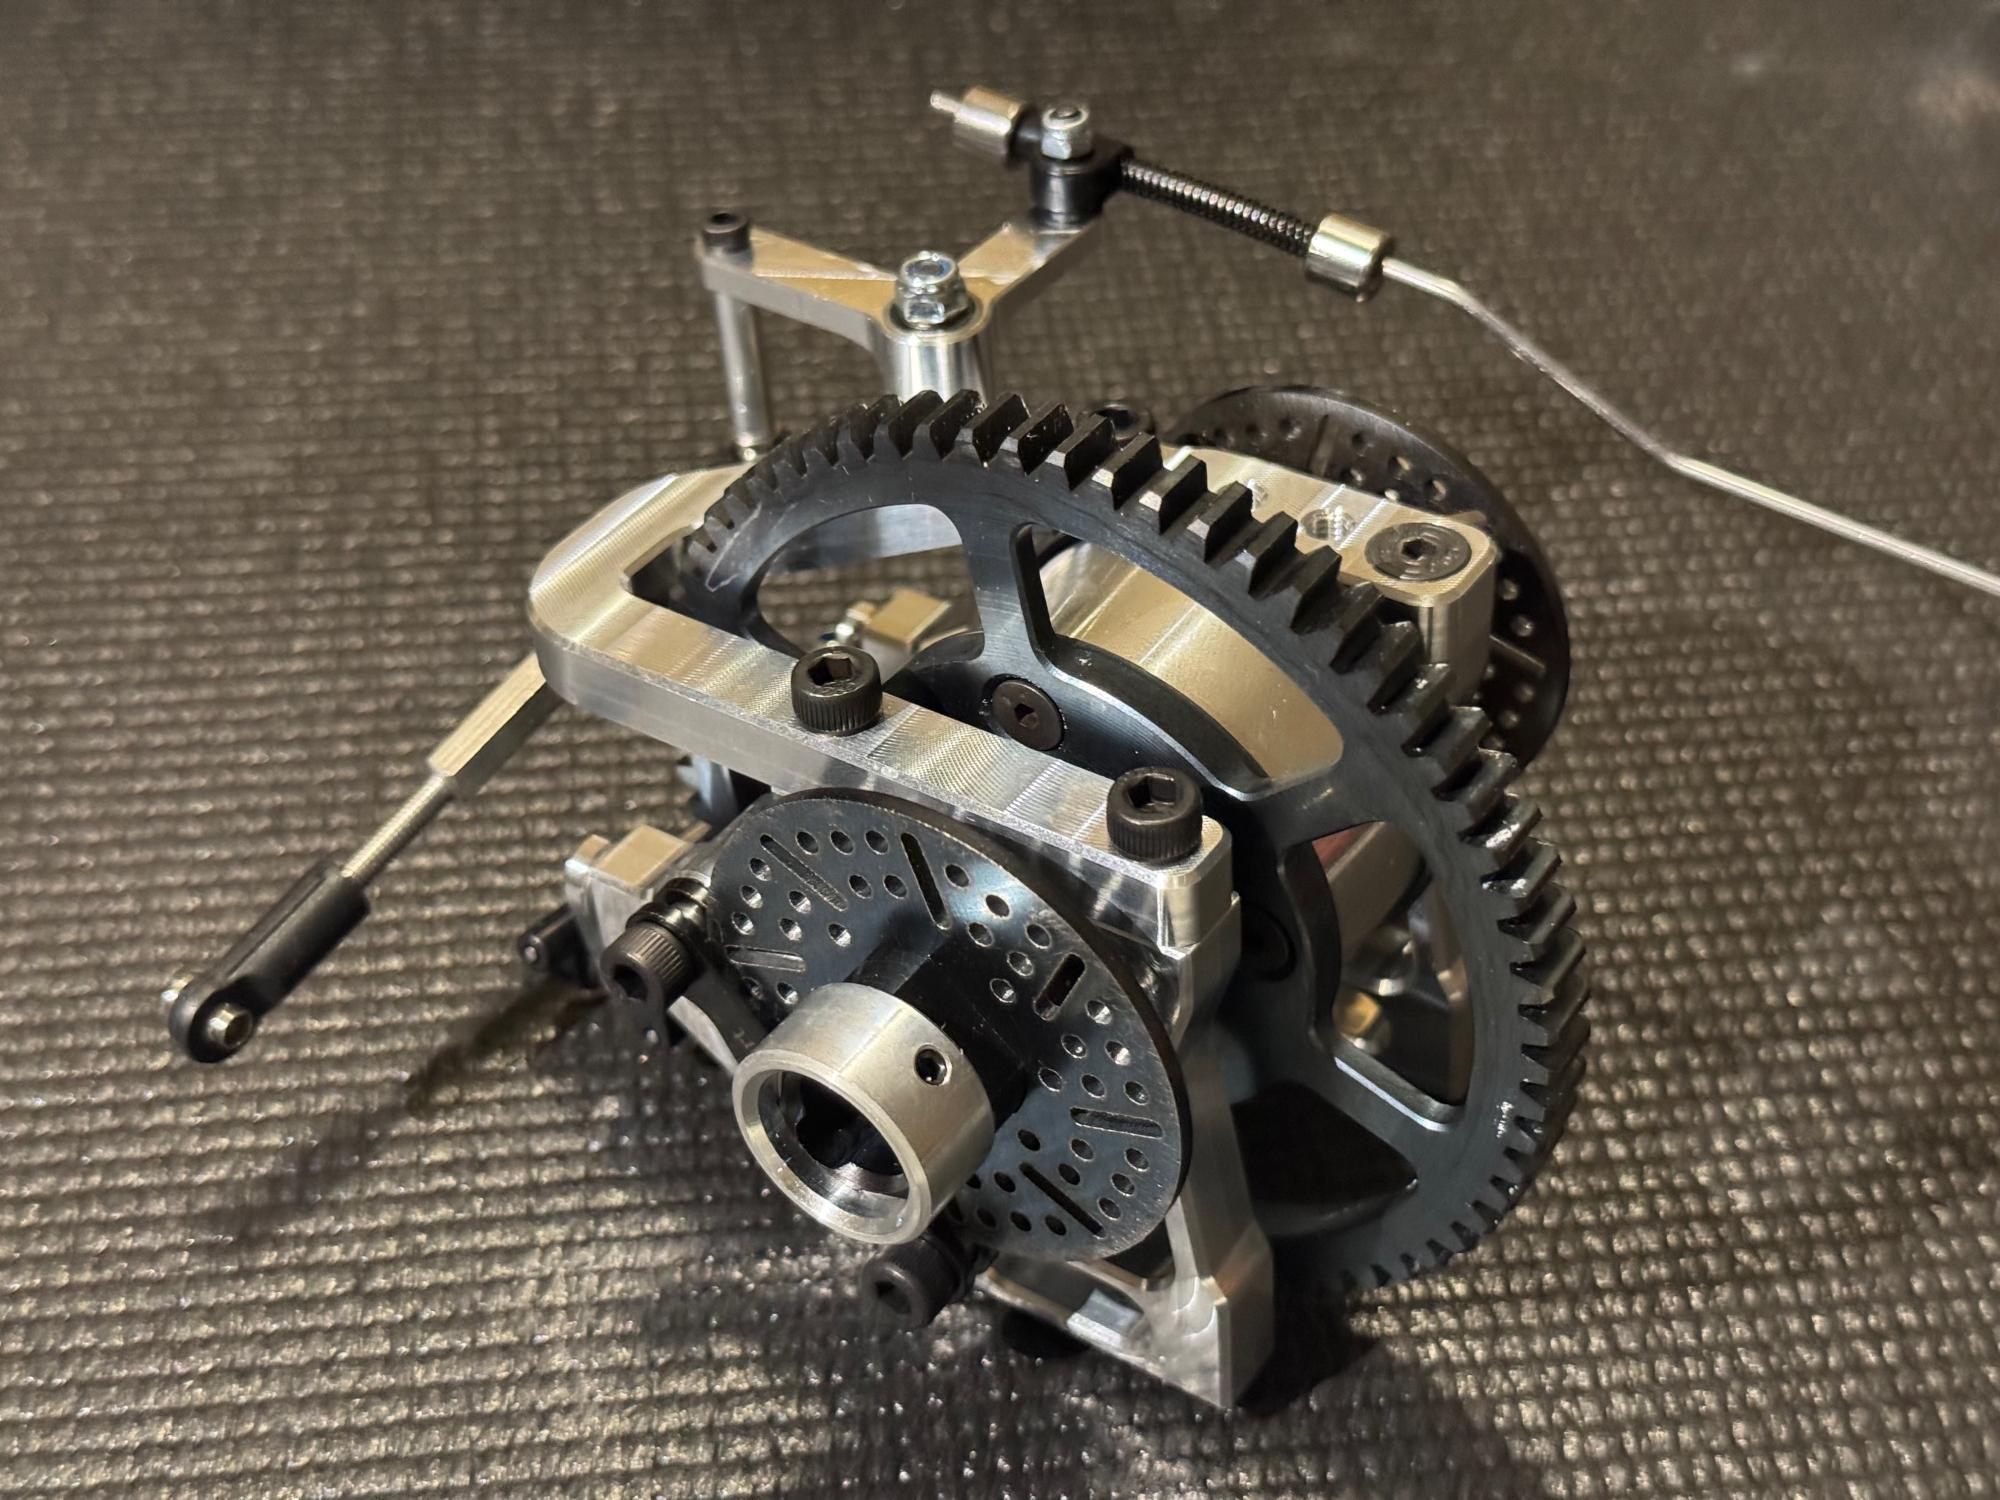
The center mount also has the breaking mechanism in there which is mounted low and uses the regular feature of an off center axle that pushes a small piston onto the breaking pads. The top brace also holds the swivel arm for the throttle linkage.
The center diff outdrives uses a ball drive system instead of regular dogbones. This makes it smoother and less wear. I used this in the Ultron and was very happy with it so I'm happy to see the Phoenix also picking up this.
The breaks are metal to metal. I have not been using this before but always some kind of breaking pad. I guess it works well otherwise they wouldn't have it. Will be interesting to see if it feels different. Maybe it locks more directly, or maybe the opposite giving a more gradual breaking feel.

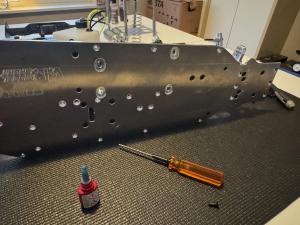
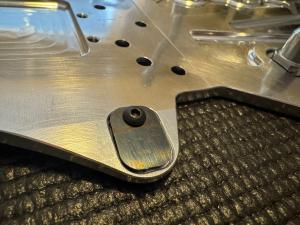
The last little pieces I mounted in this first round was the small steel pieces for the droop screws. This is great to protect the chassis. Otherwise the droop screws will eat into the chassis and you have to adjust your droop to adjust for this.