Phoenix front and rear assembly, part #2
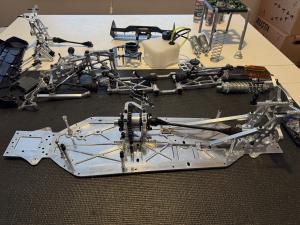
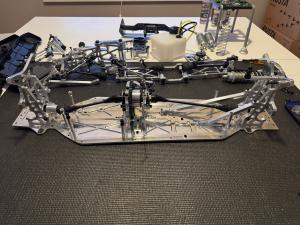
After mounting the center diff mount and different posts lets continue to the front and rear parts which houses both diffs, towers and suspension parts.
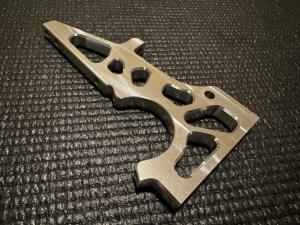
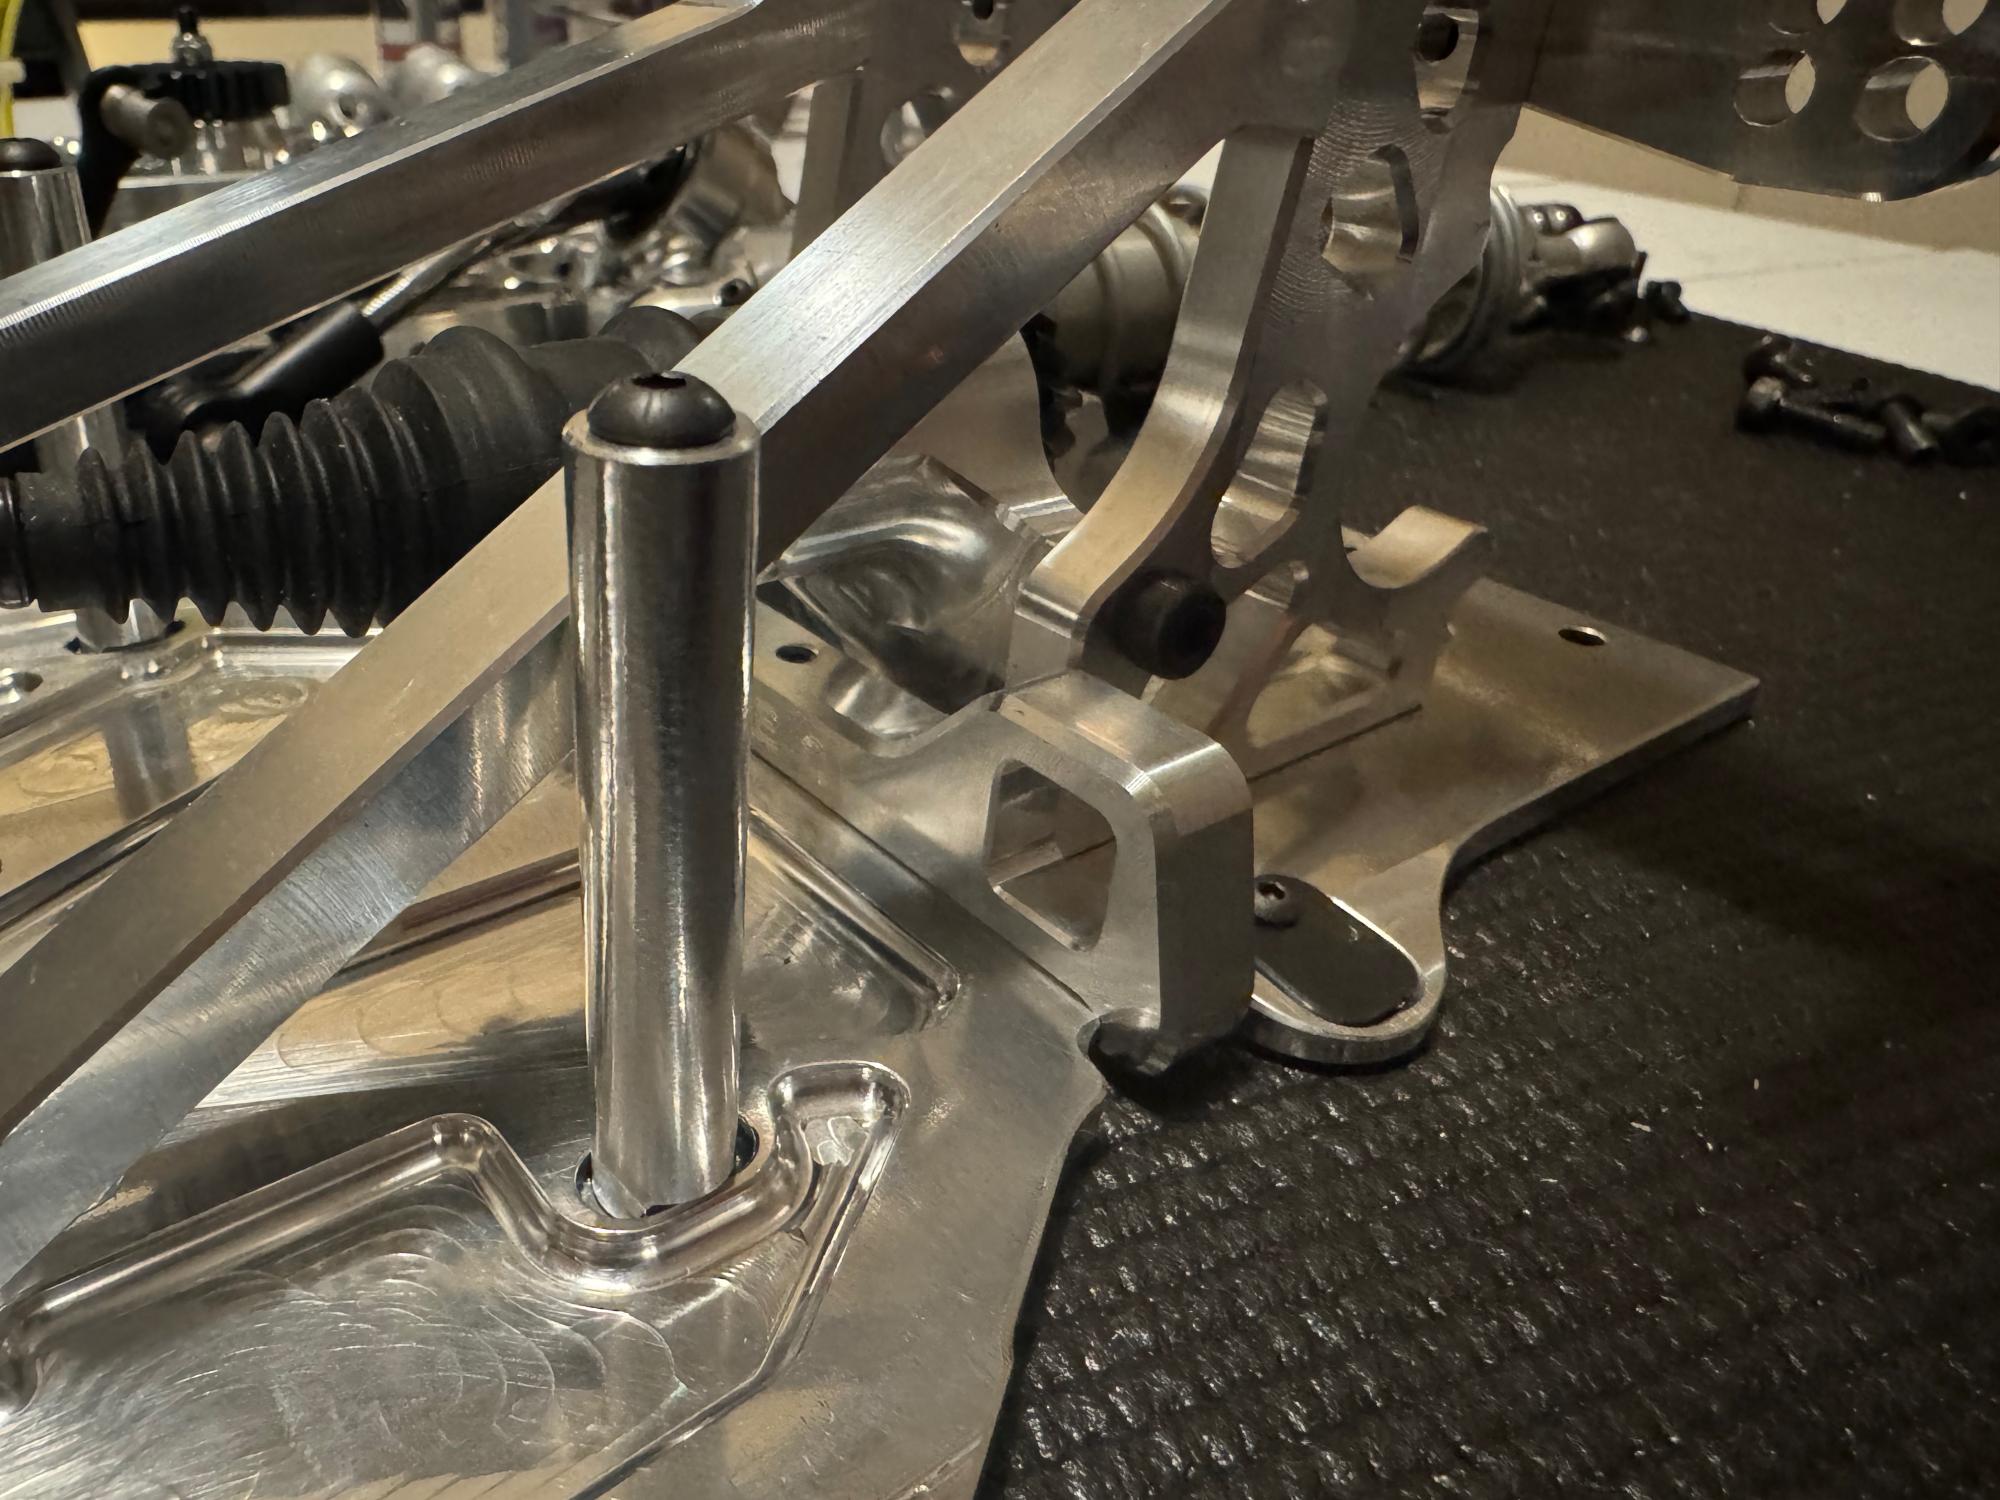
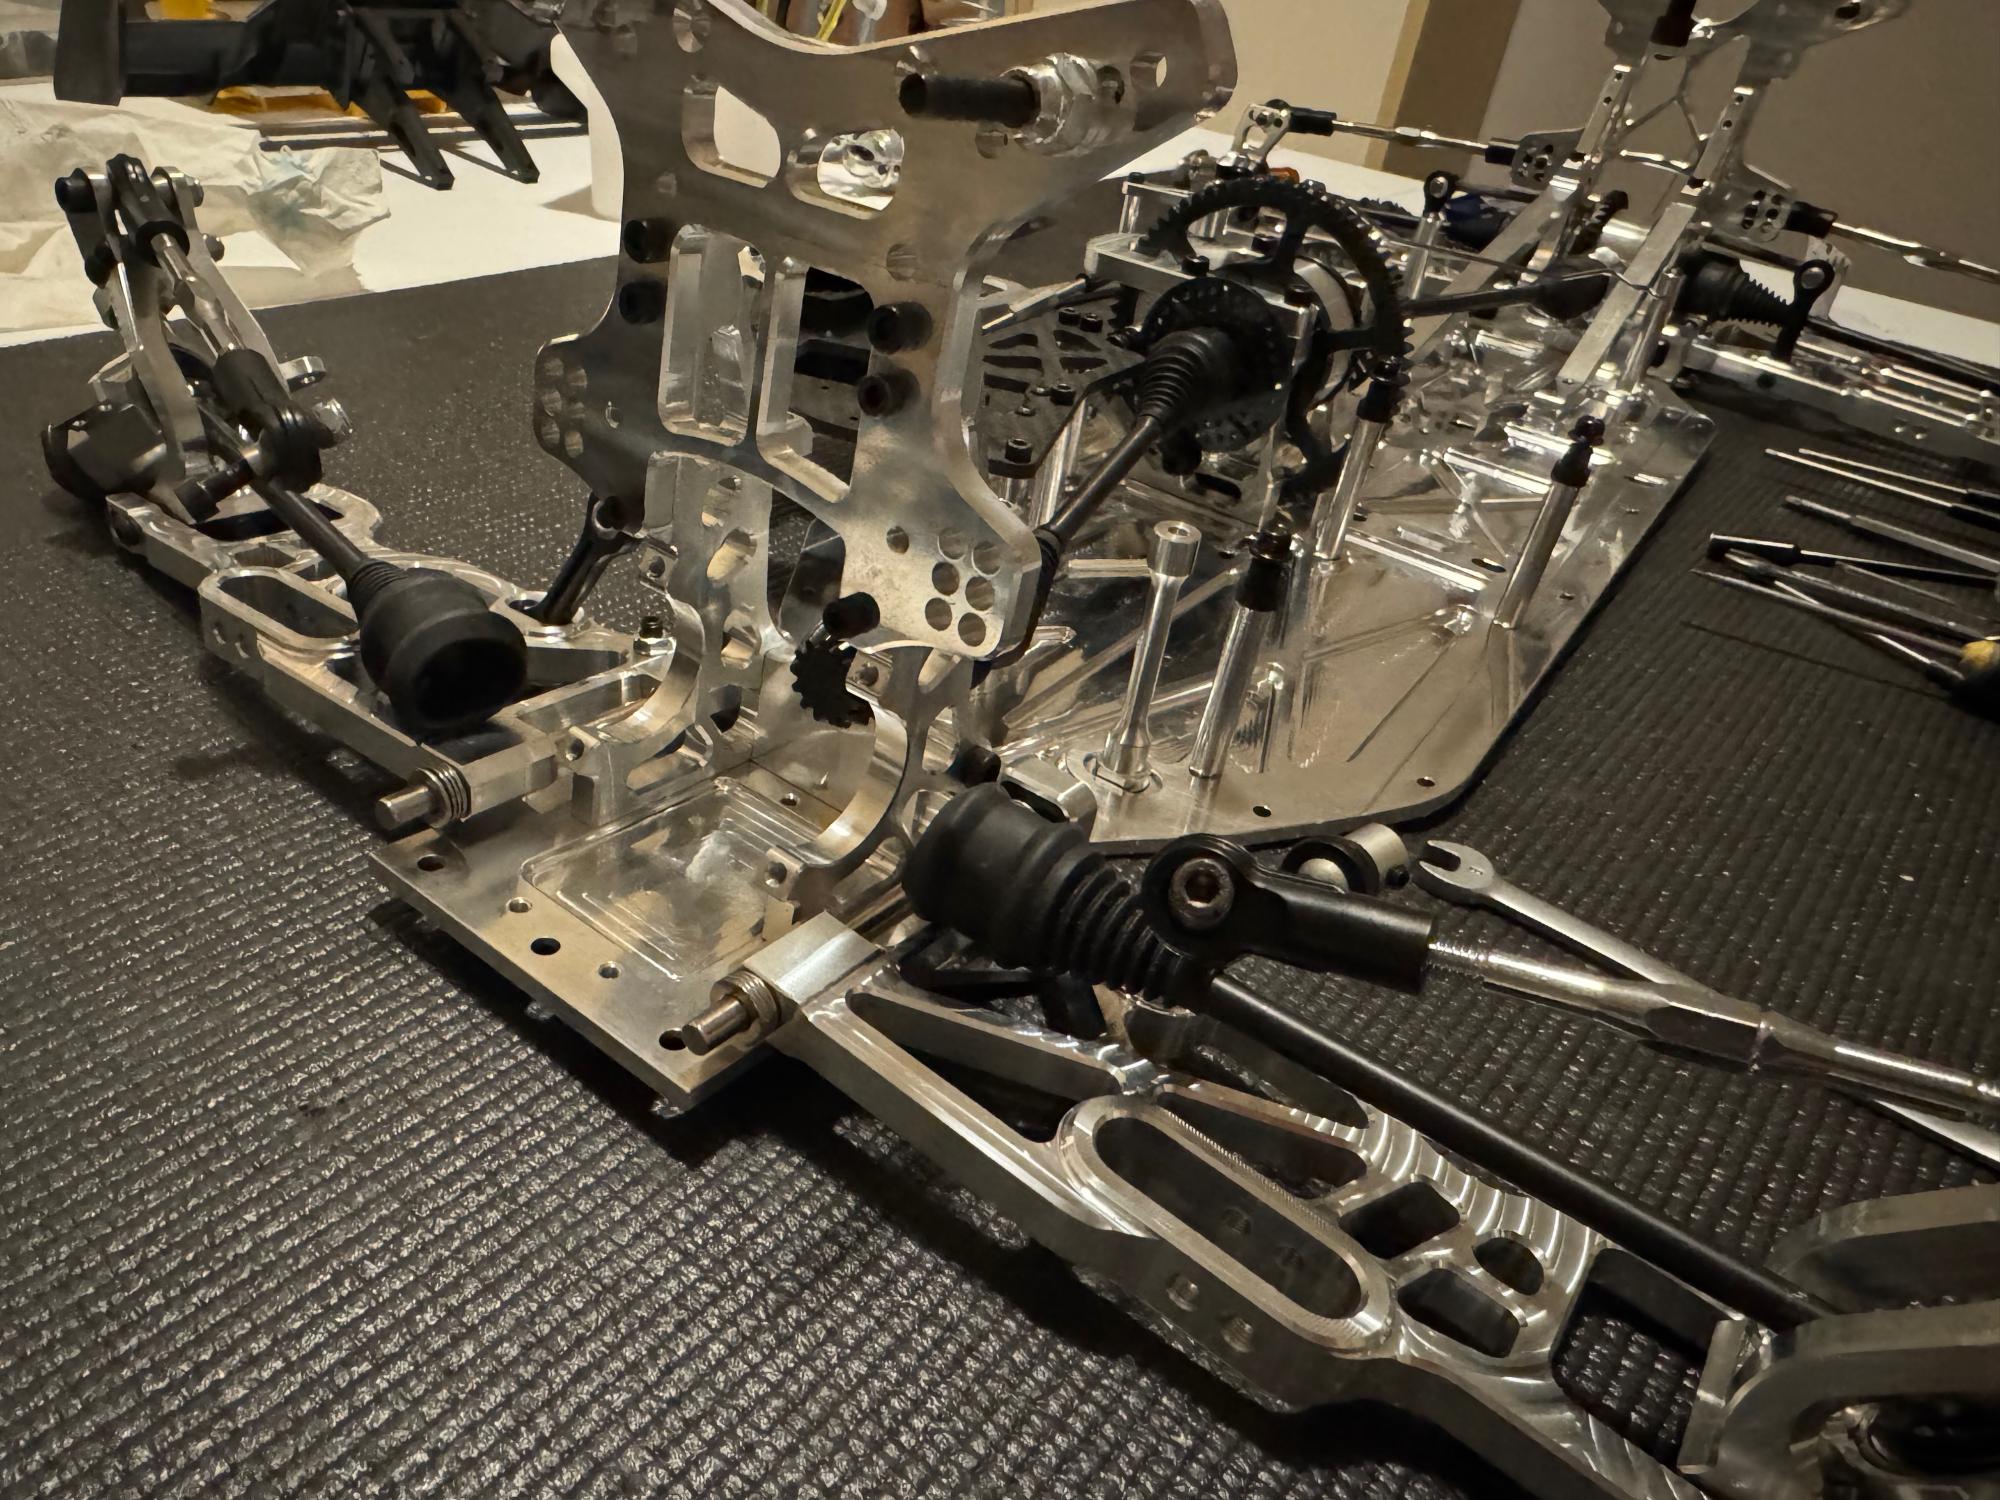
Well start but noticing one thing. The four support braces carrying the shock tower mounts and holding the diffs in the rear and front are all the same. This is a smart design choice as it makes it easier to fabricate but you also need less spare parts.
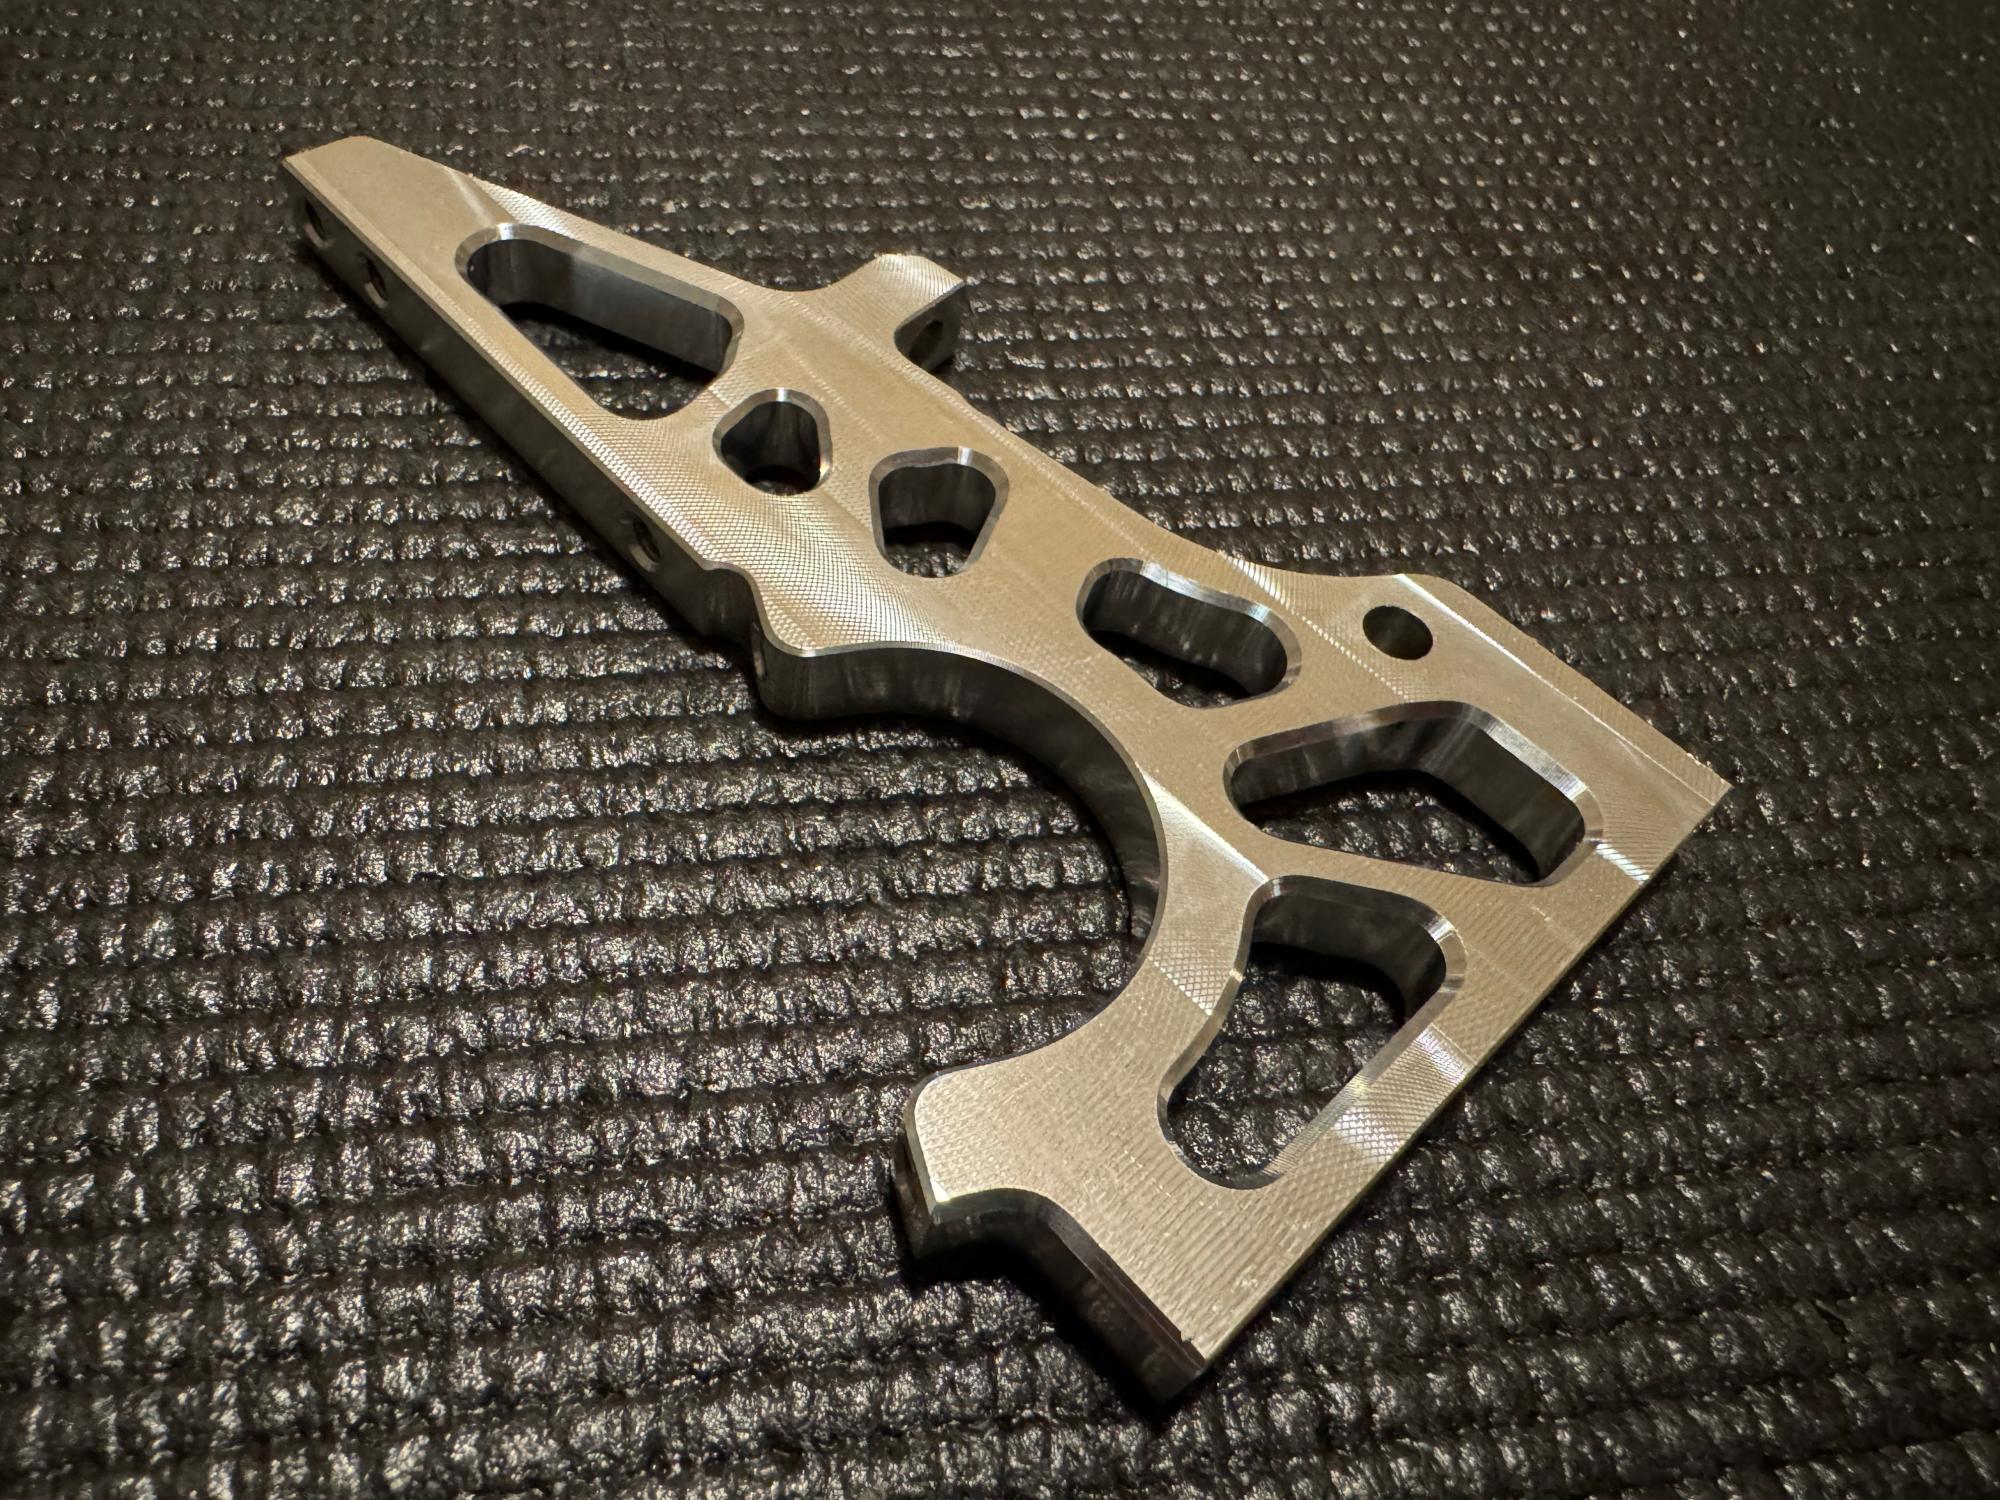
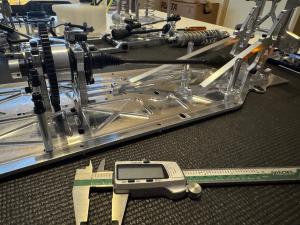
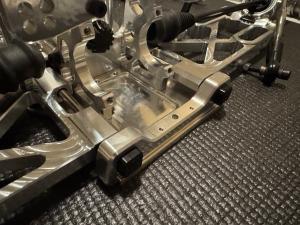
Two braces together with the shock tower and the holder for the angled gear connecting with the diff main gear creates a sturdy construction that is mounted directly to the chassis.
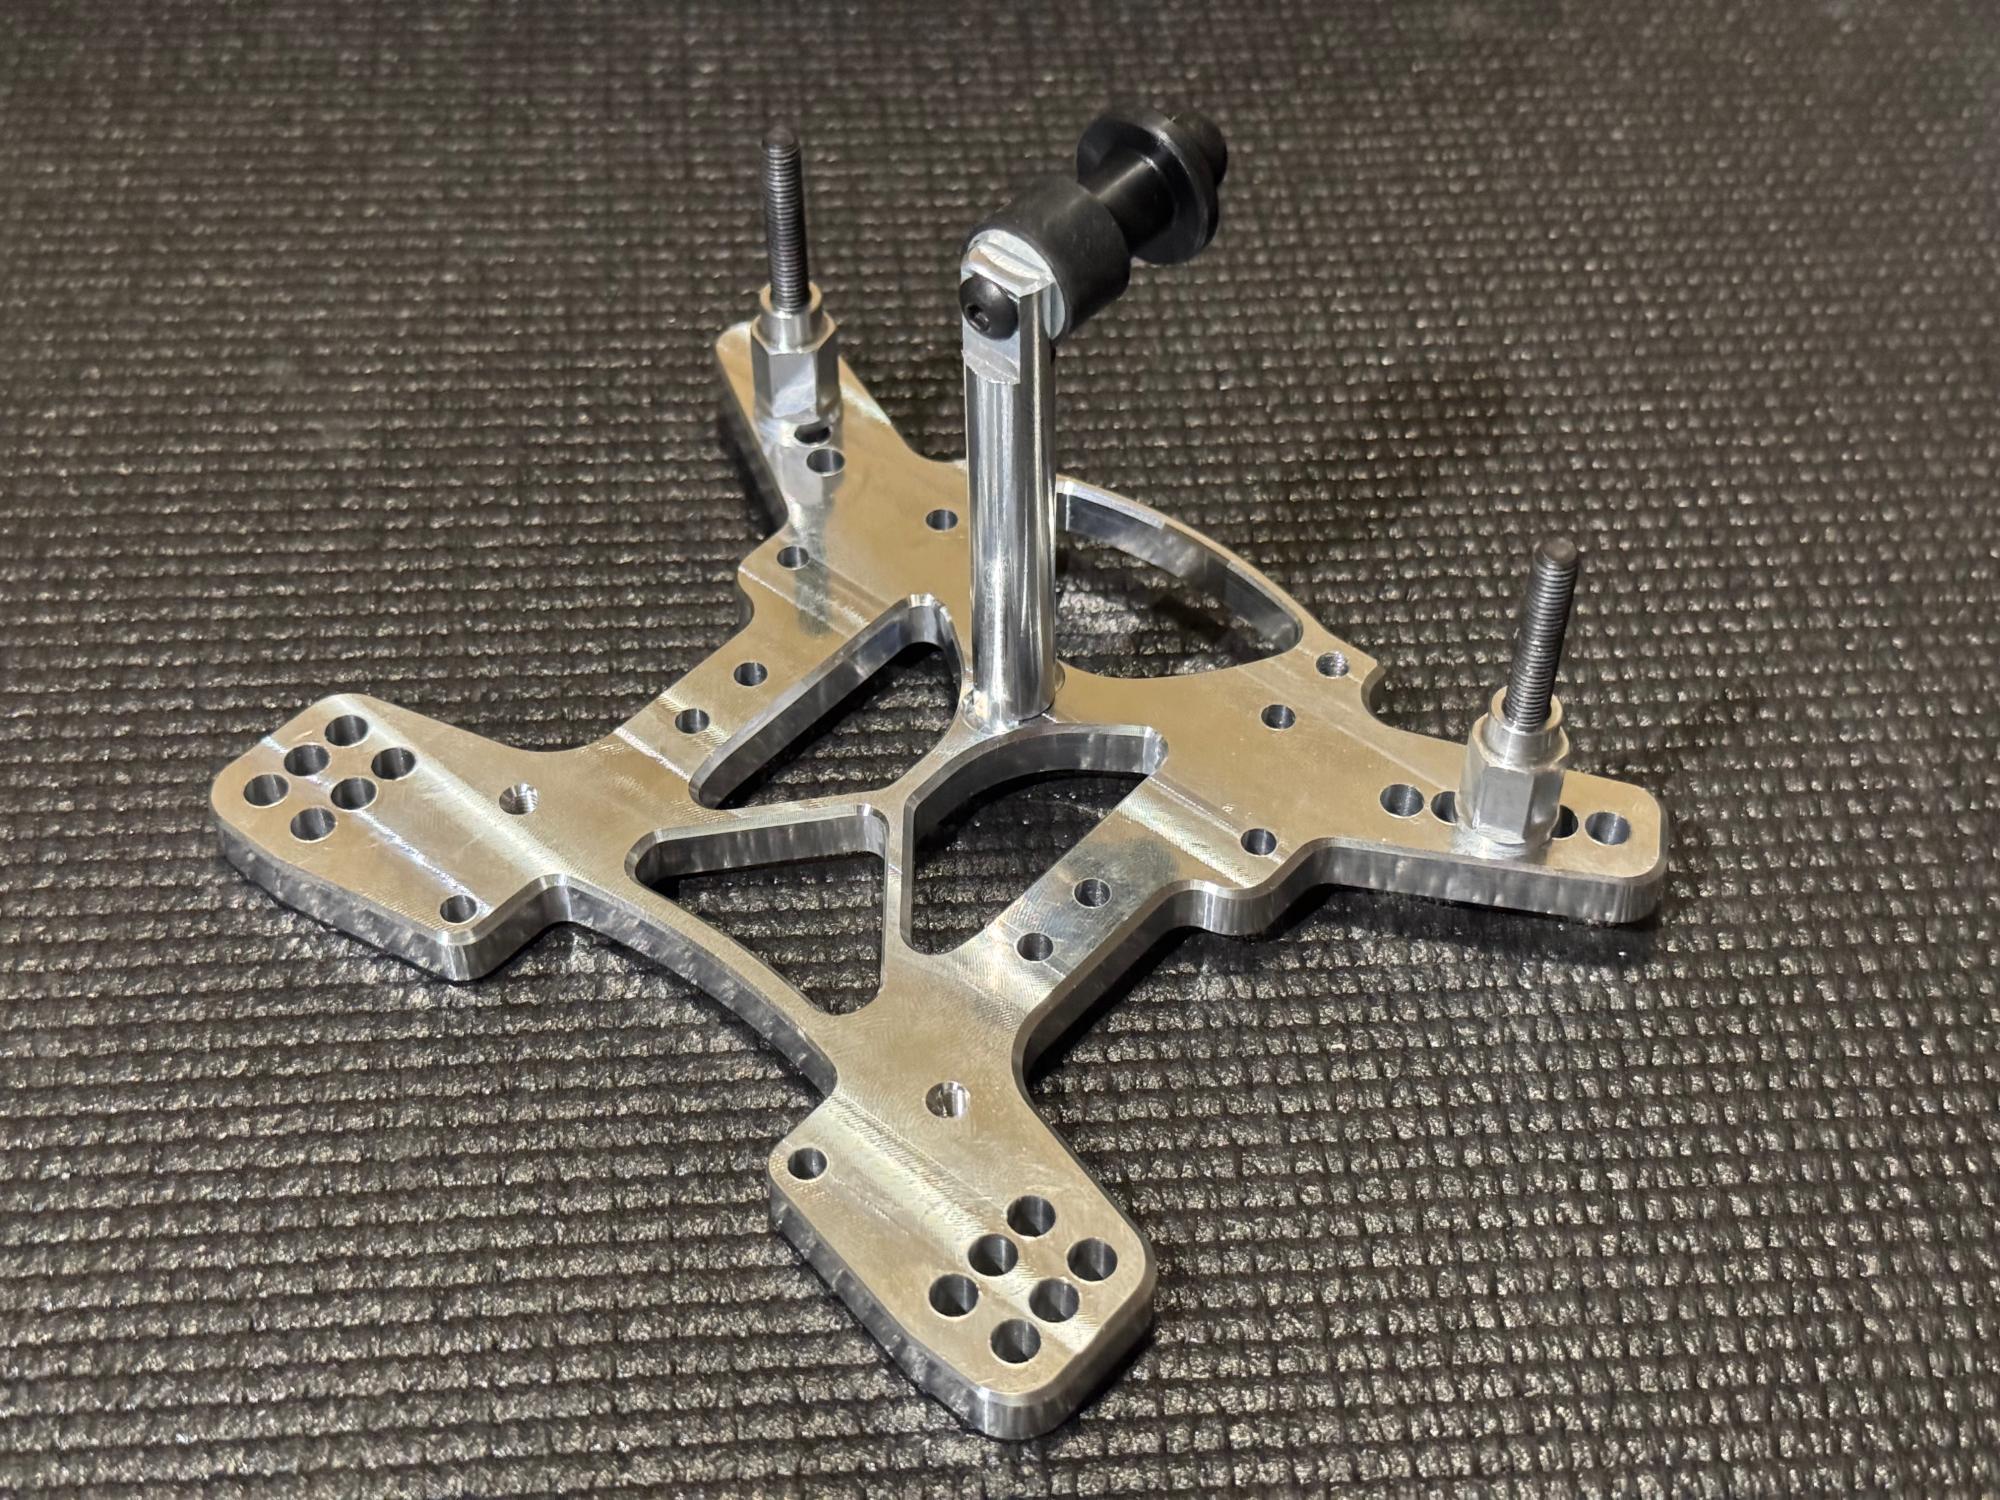
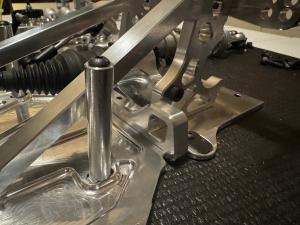
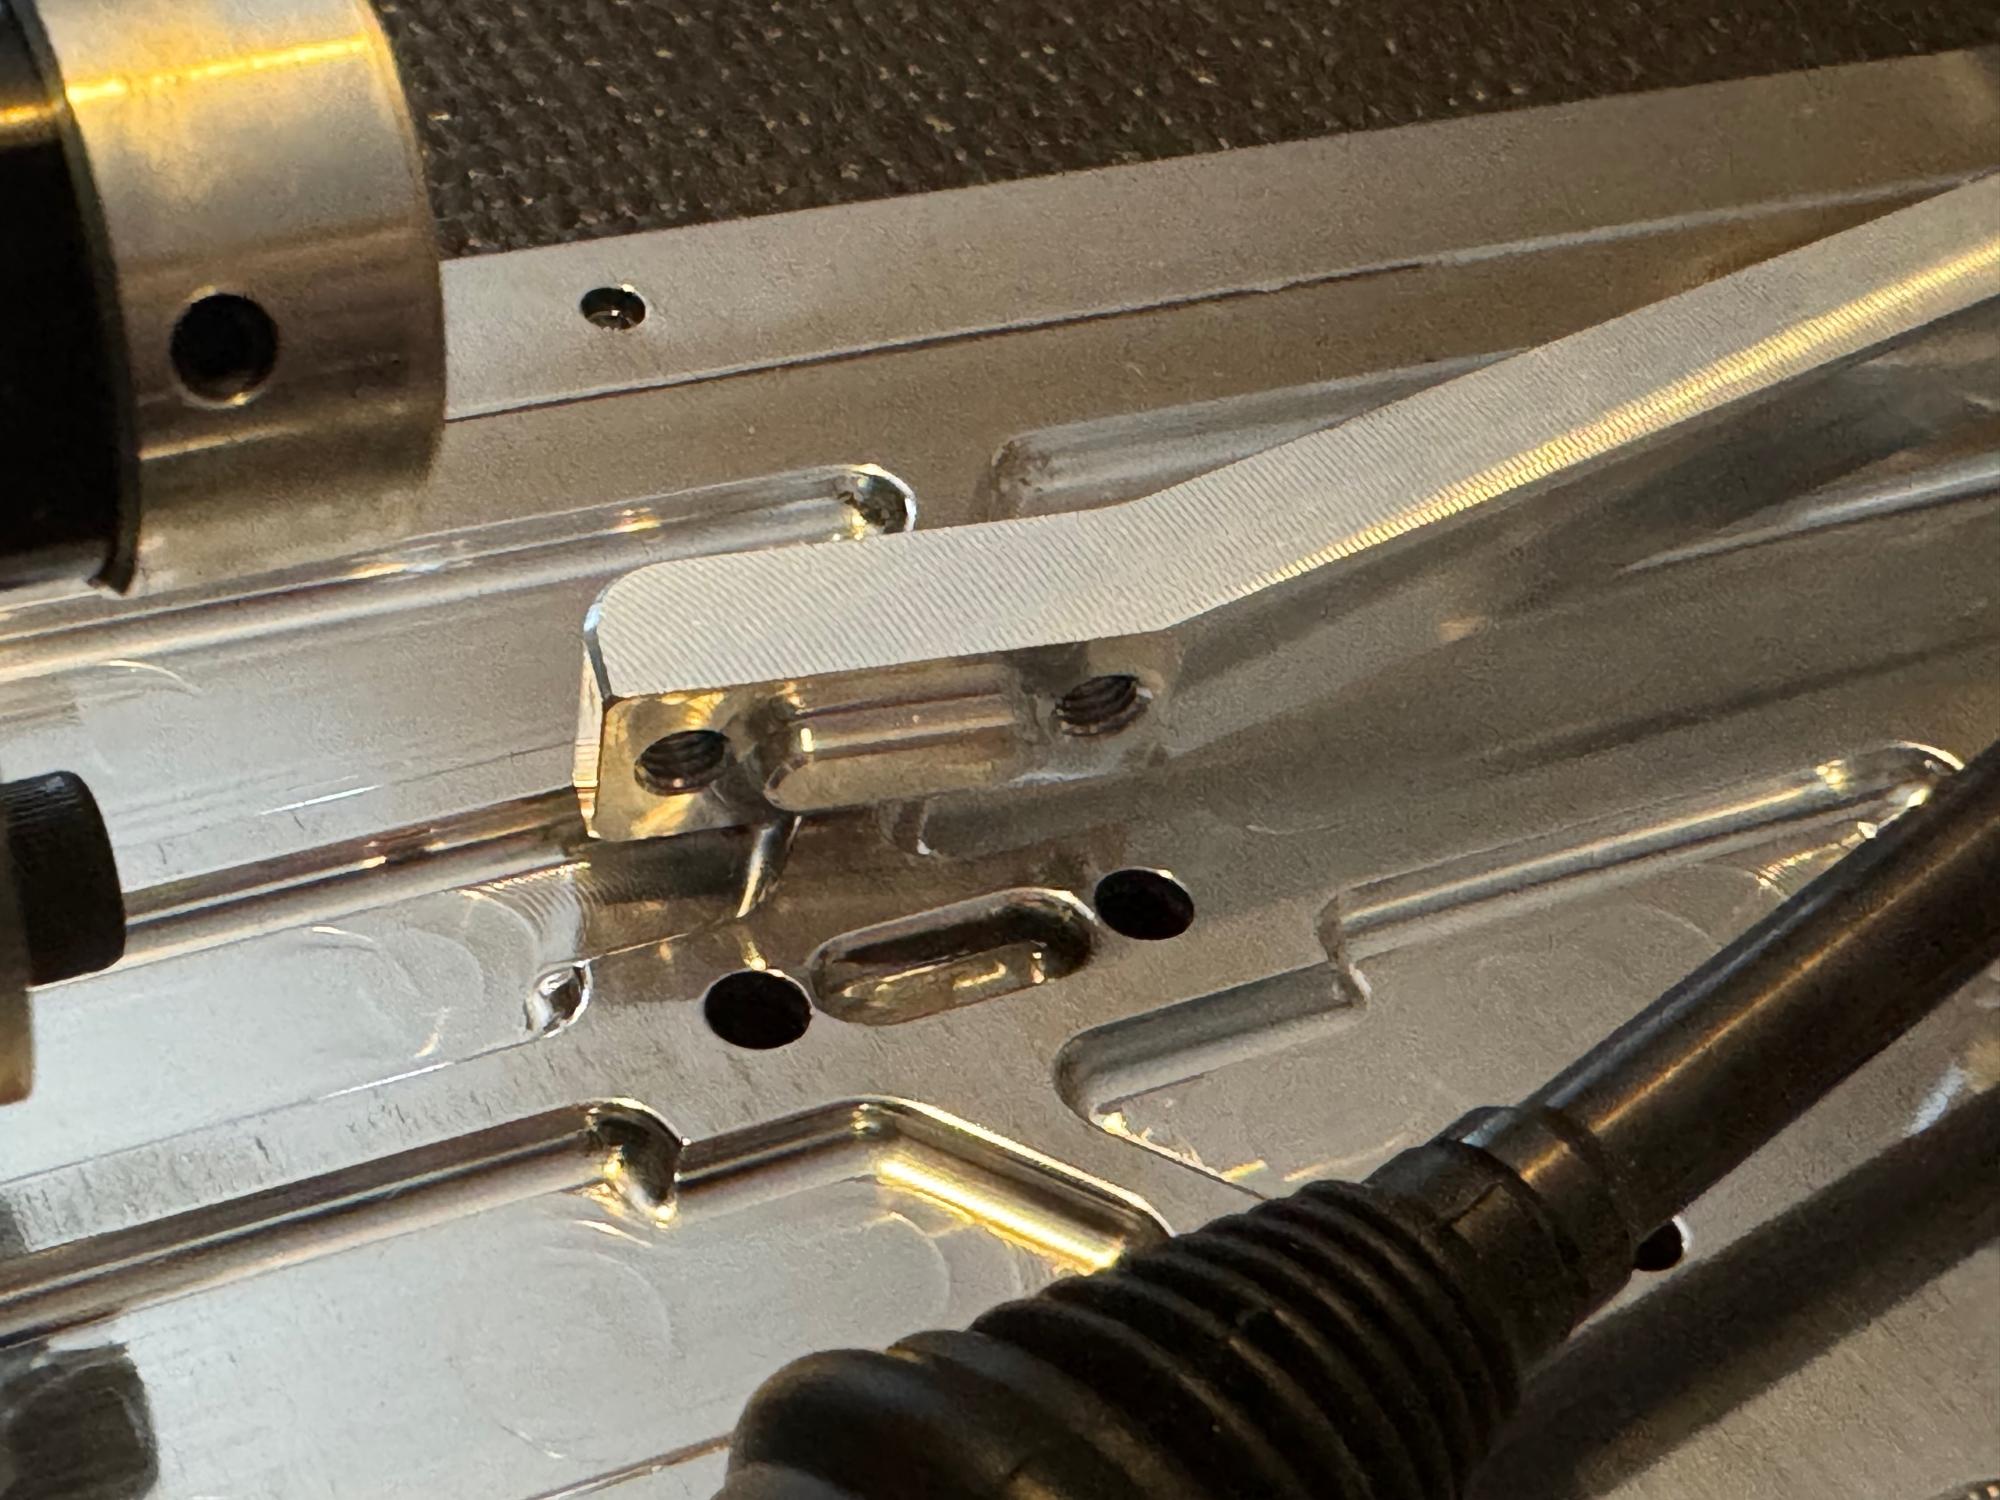
One of the small details that really adds to the whole impression that this is very well thought out is the small slots in the chassis where the braces fits in nicely, the same goes with the central engine mount. This makes force distribution more event and everything is not just on the screws.
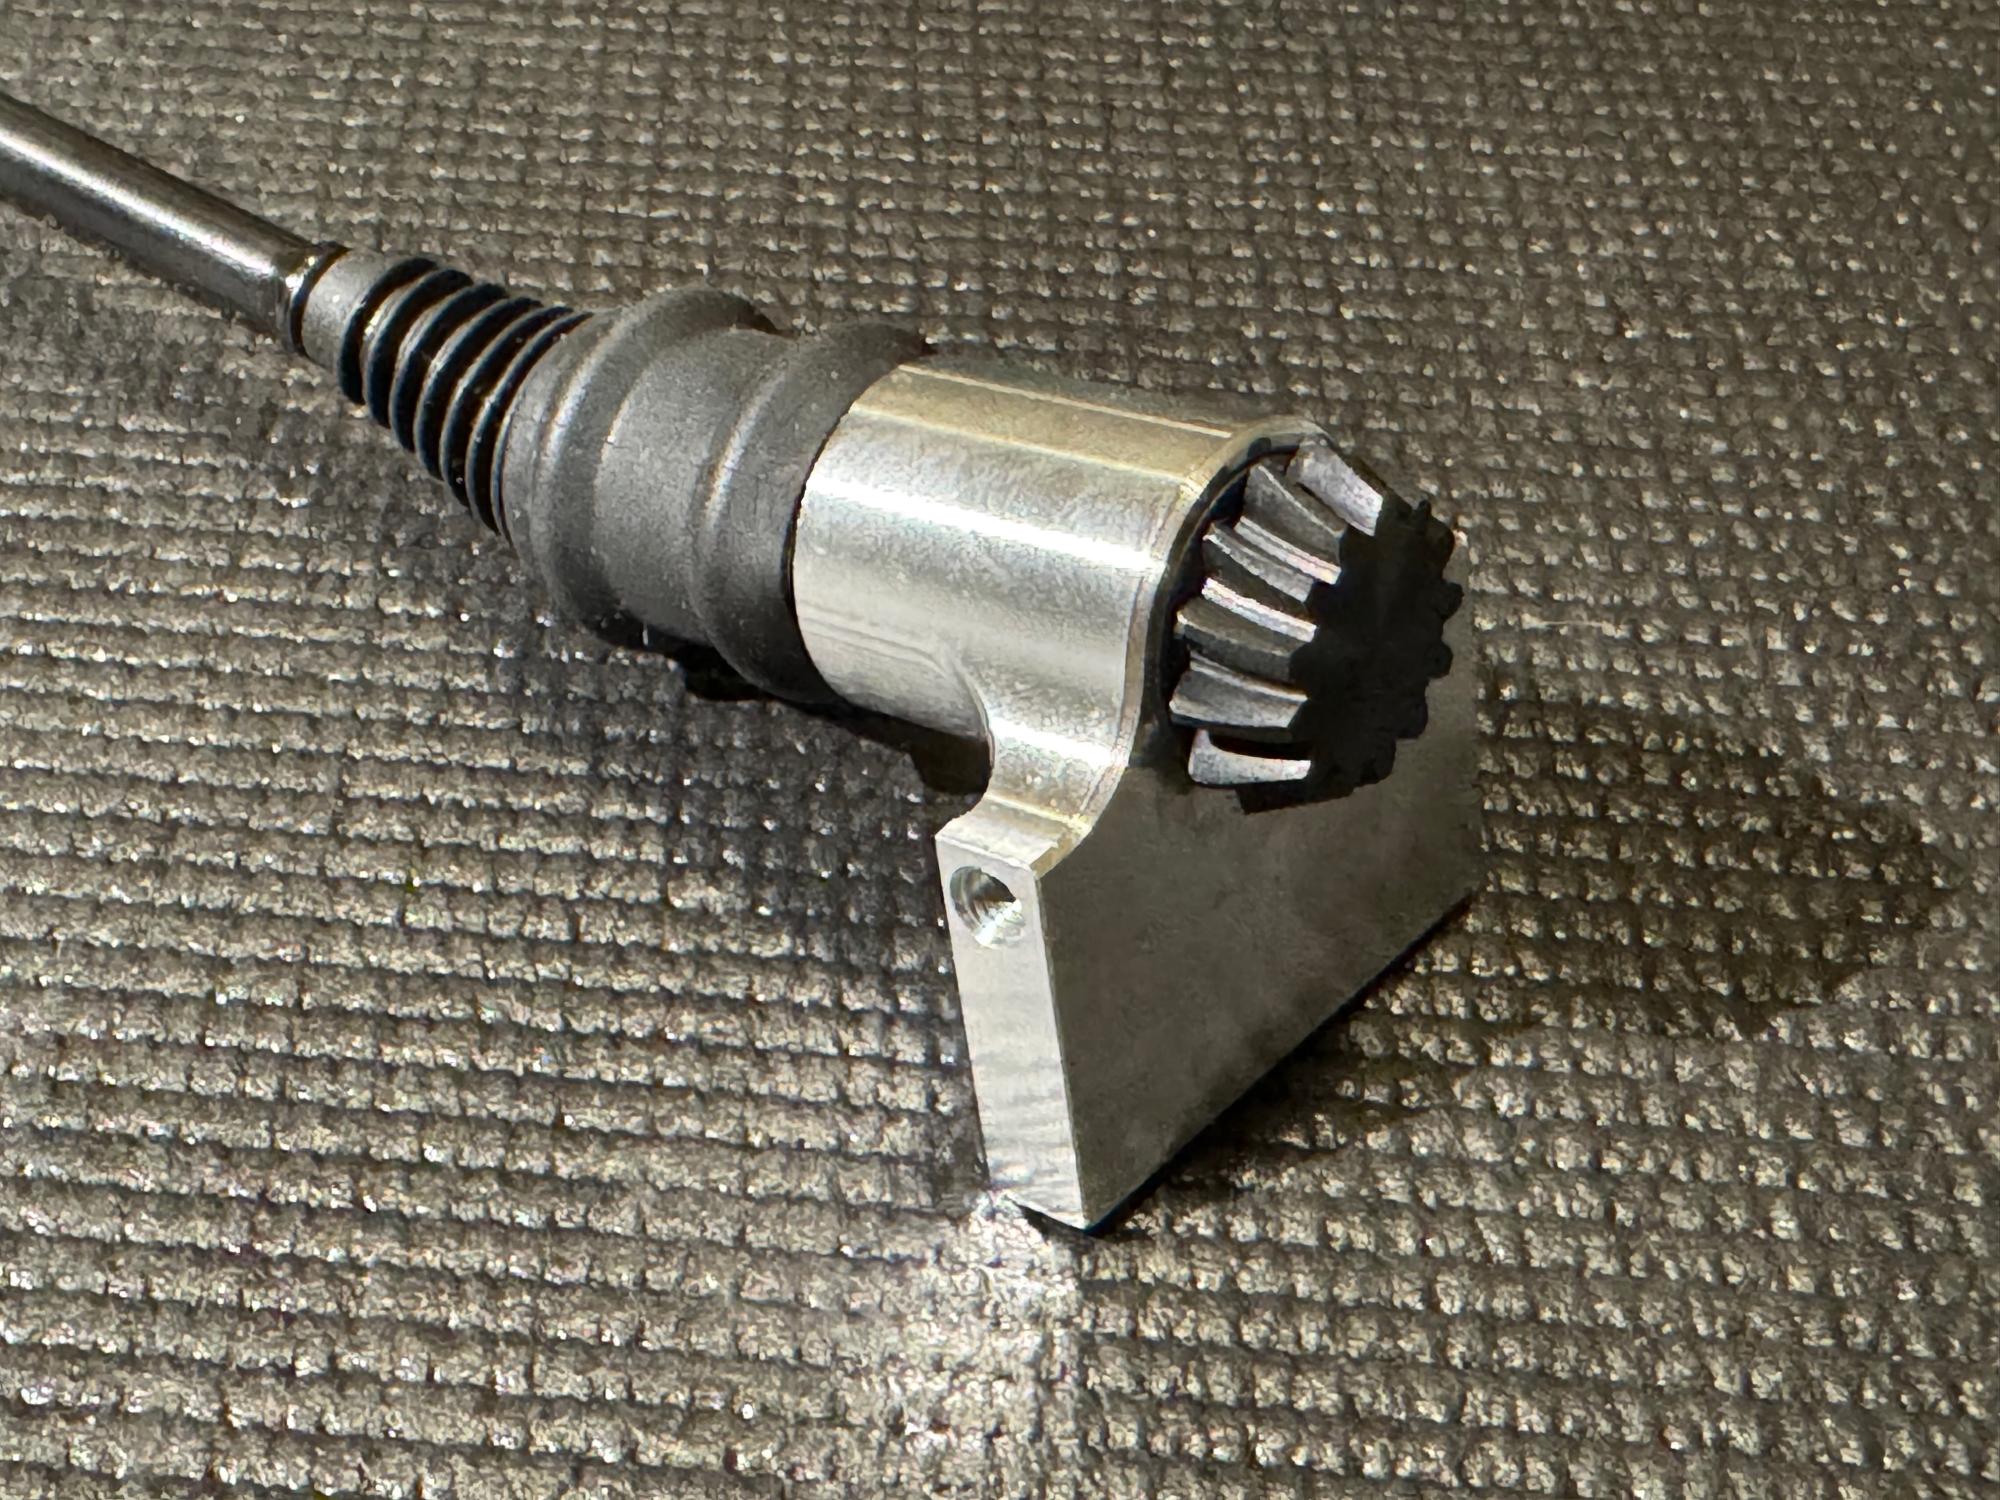
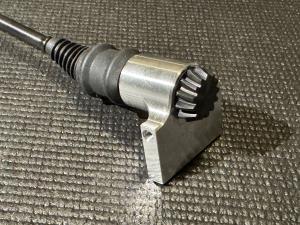
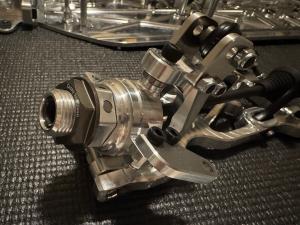
As you can see on the image for the transfer gear it's curved to create a smooth mesh with the main diff gear. This improves efficiency and reduced wear and sound in the drivetrain.
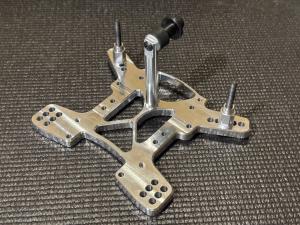
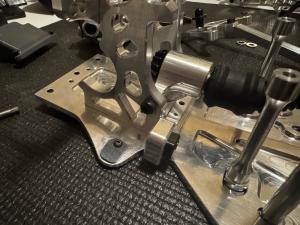
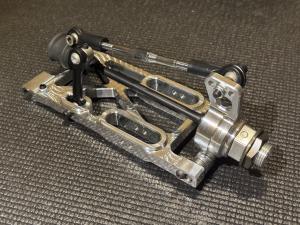
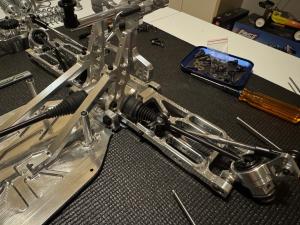
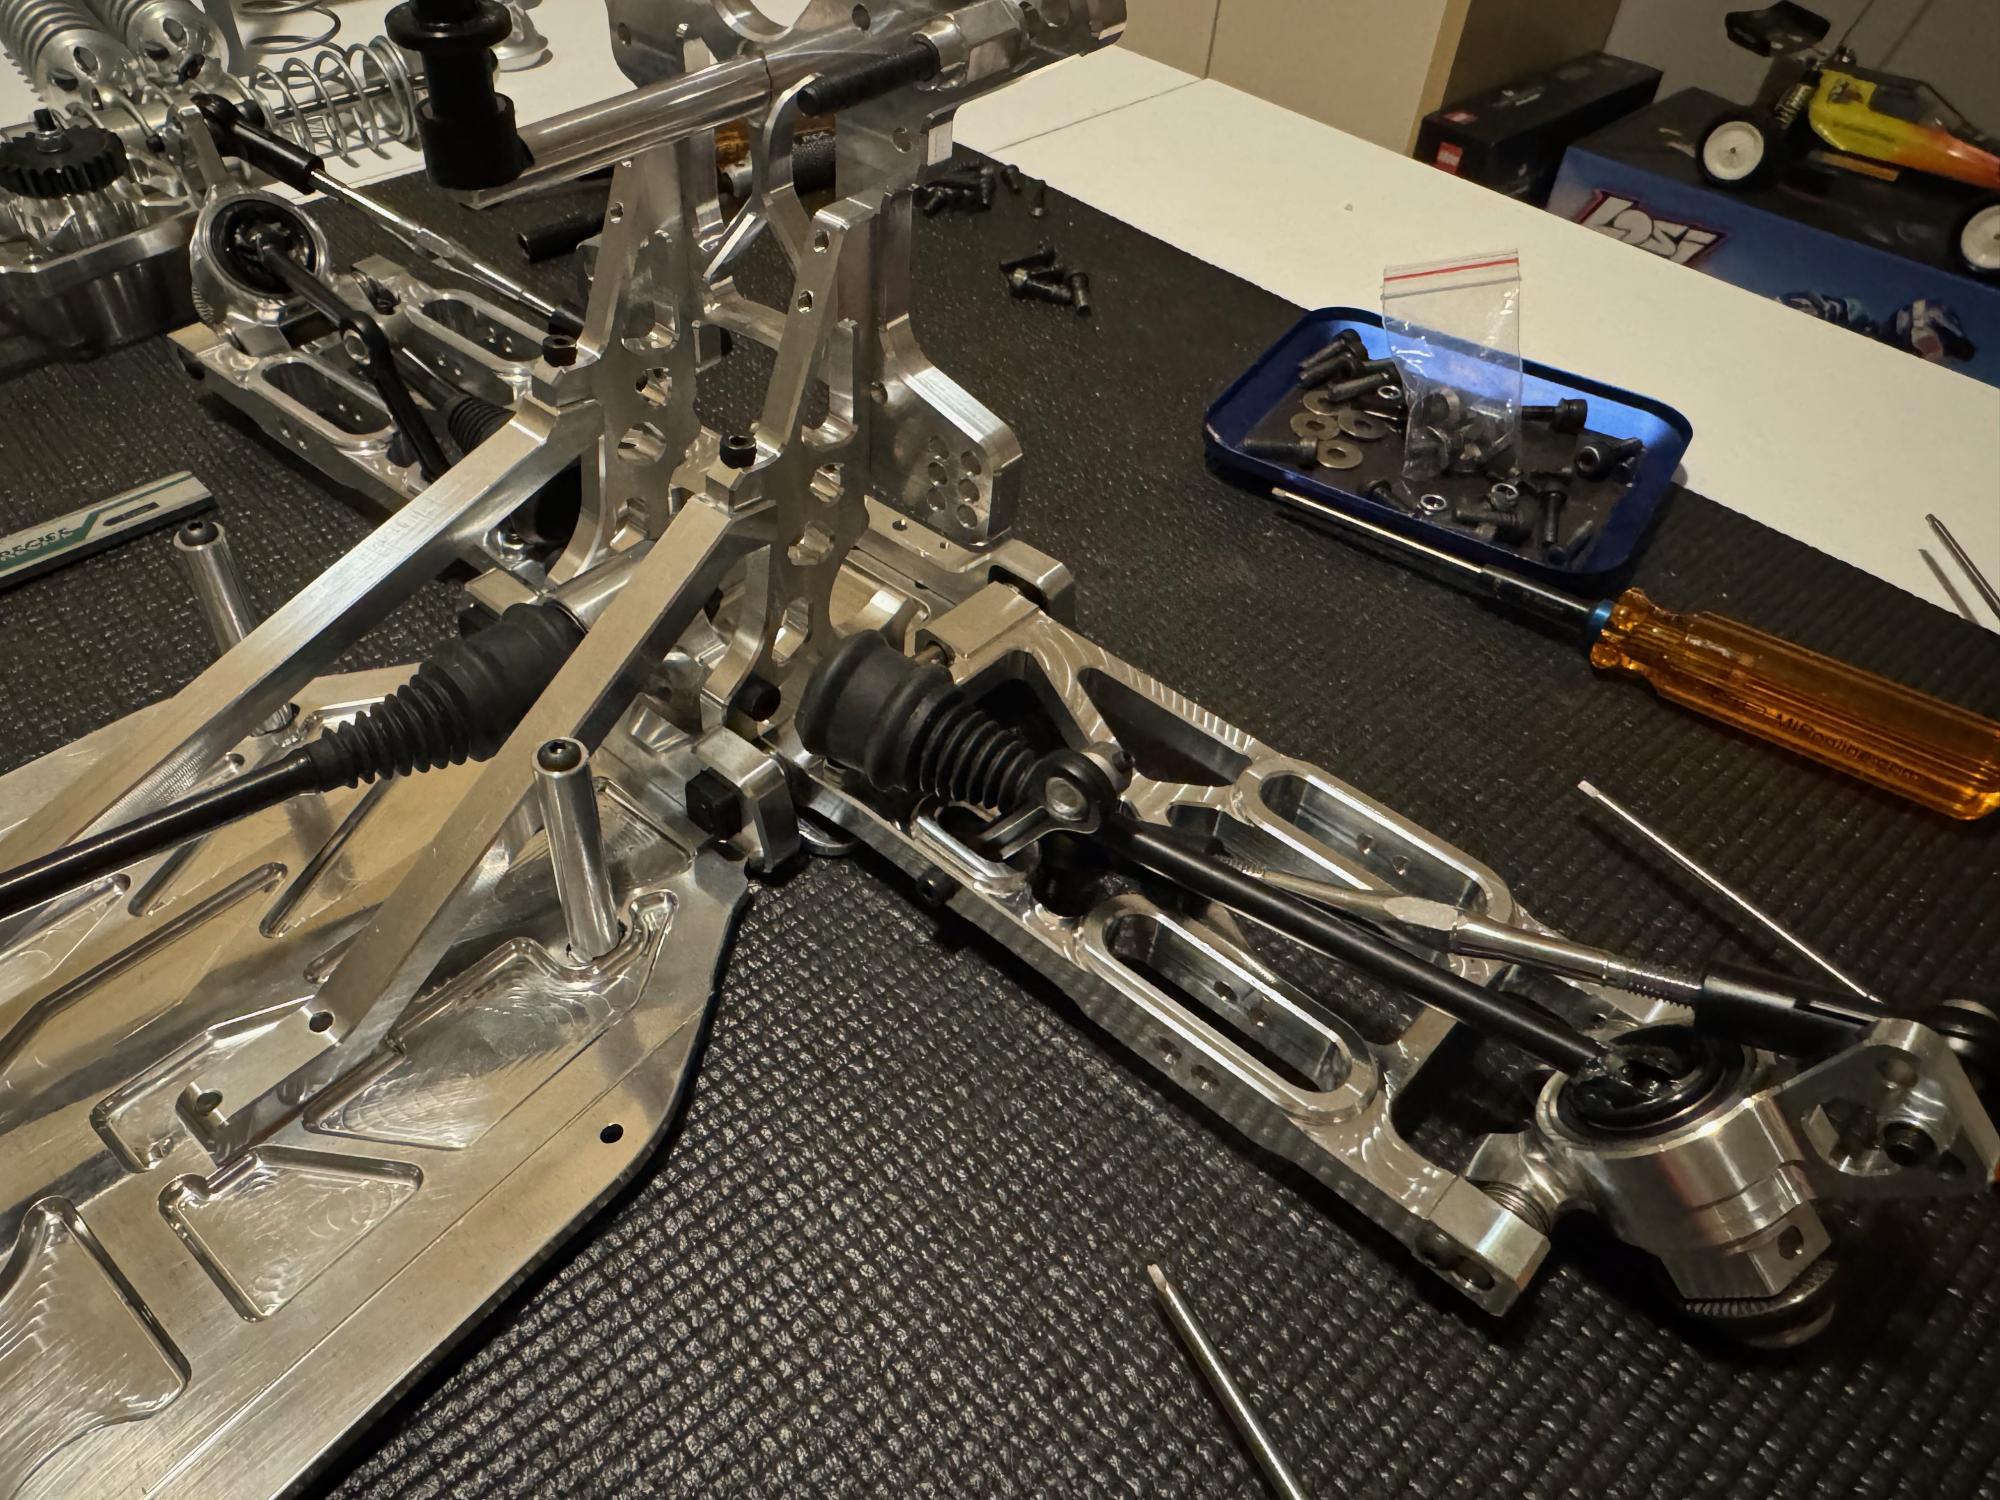
The arm mount brackets are mounted separately to the chassis meaning that you can remove the whole shock tower package but still have the suspension arms mounted on the chassis. This is great for serviceability off the car. It makes for some more screws underneath the chassis but it's good to have these parts separated.
There are 3 different arms mounting brackets. In the front they're both the same A, in the rear it's C and D as there is a built in 2 degrees toe in.
The plastic pills are now the usual kind that you can rotate and create different toe in and anti squat. There are three different pills, one with the whole in the center, one off center and one in the corner. By mounting different ones and rotating them you can create 9 different positions for each and combining two you get good flexibility in fine tuning your car.
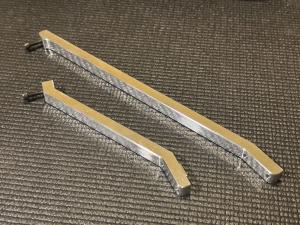
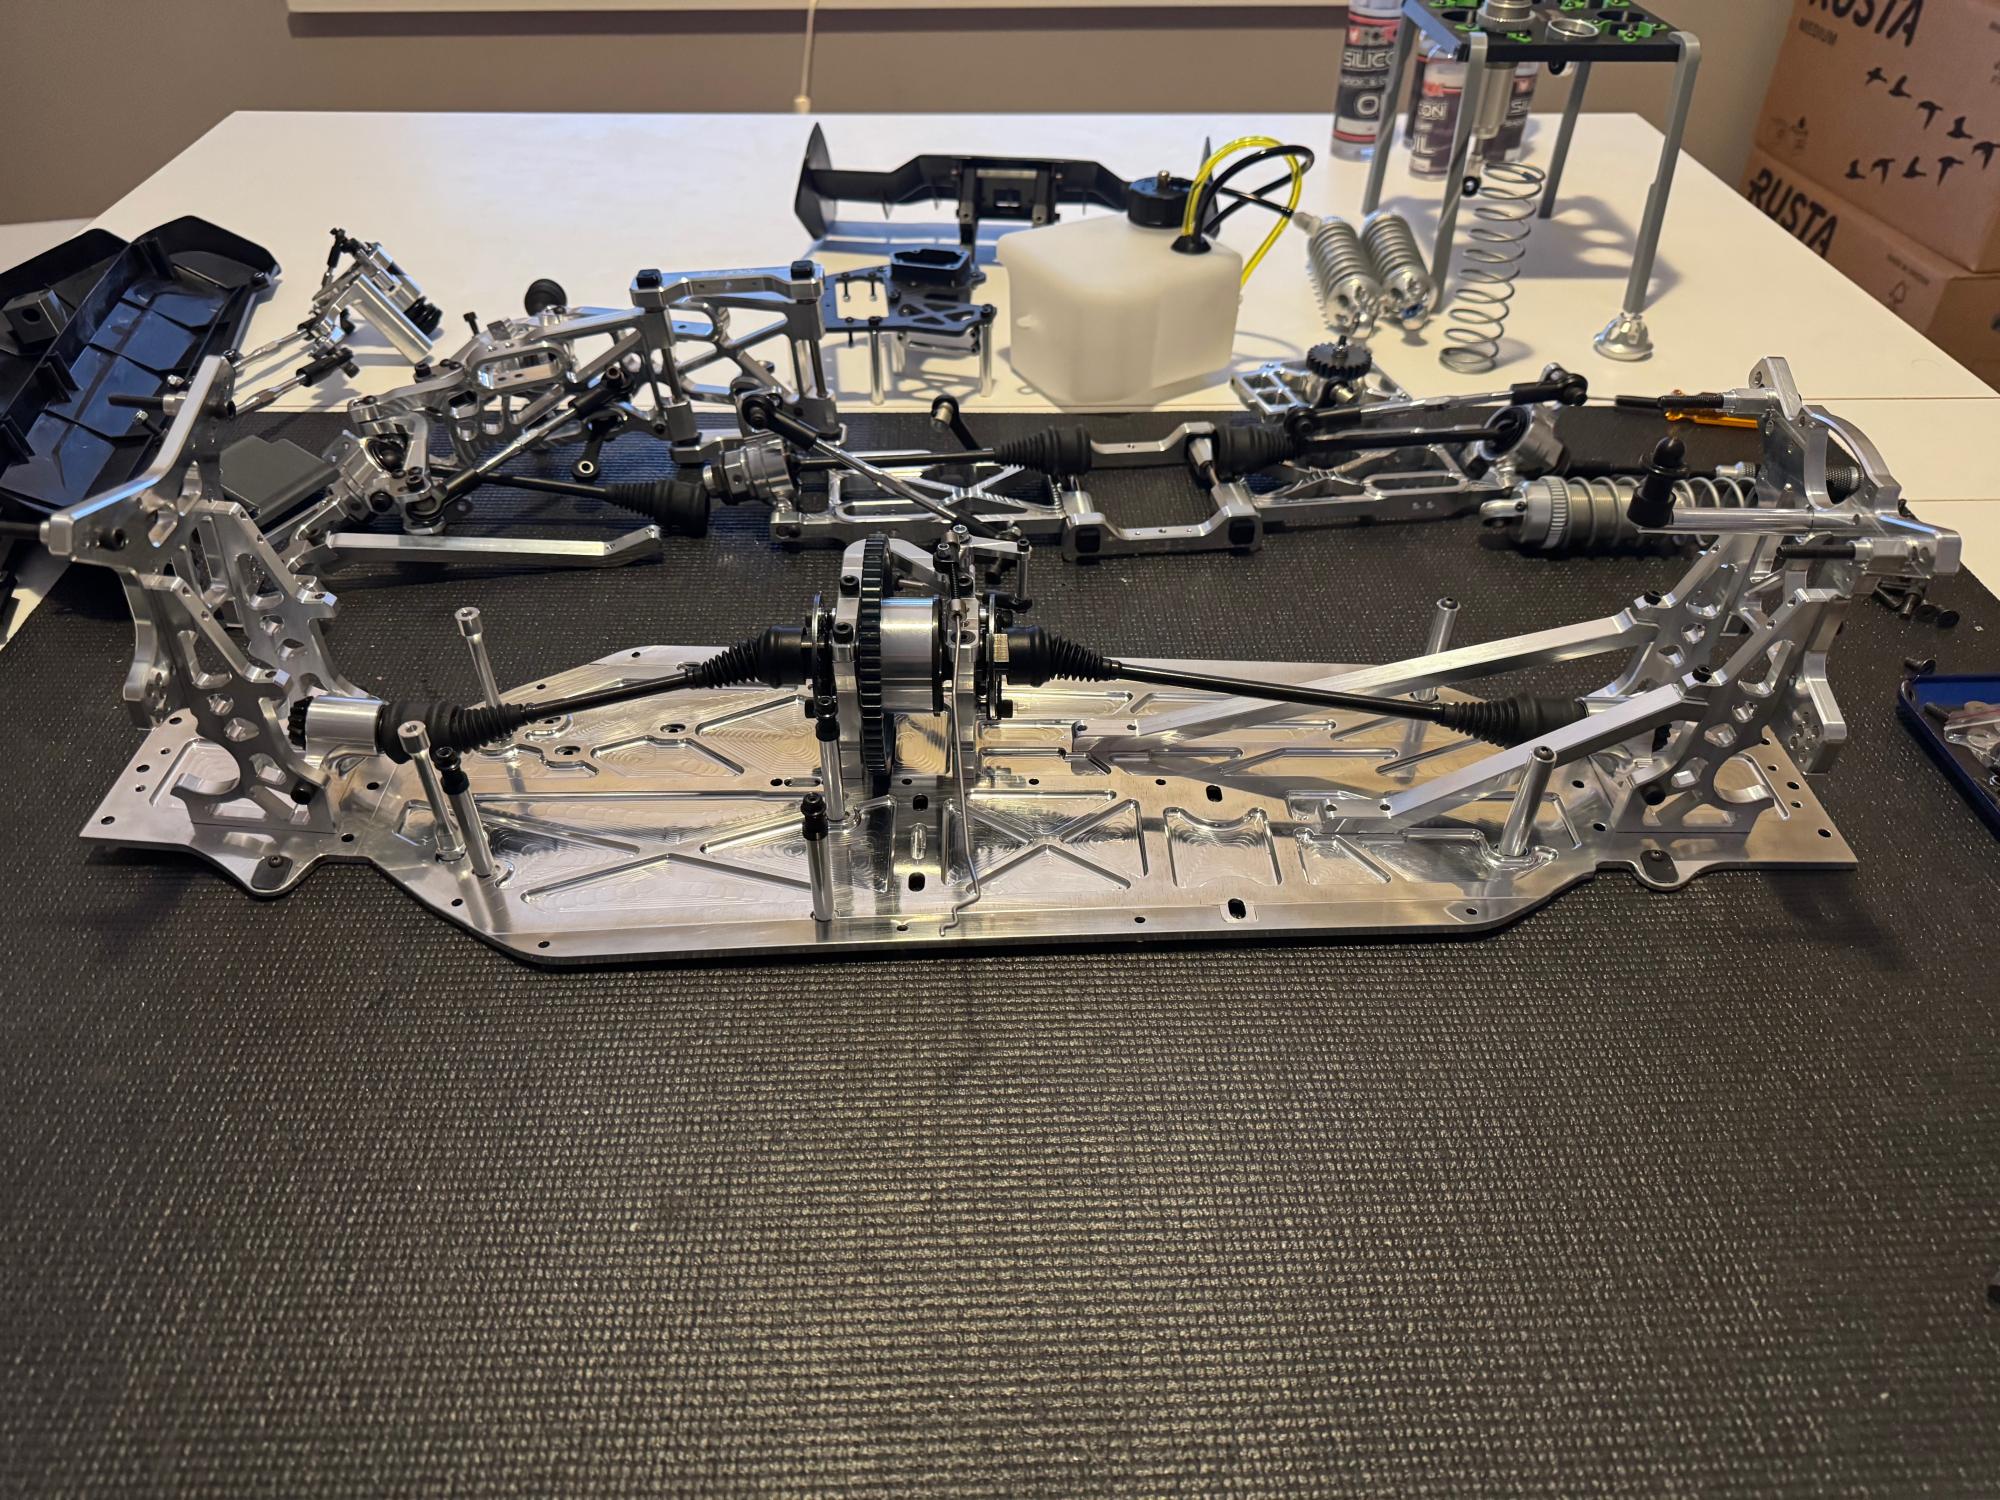
The rear and front looks and are designed pretty much the same so no need to repeat my self. Instead lets move on to the suspension arms.
The arms has small stop screws to make sure the hinge pins doesn't fall out. This is much better than the C-clips solution that the Ultron had.
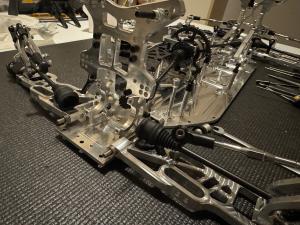
As you can see the rear hub can be adjusted for height as well giving you different positions of the arm.
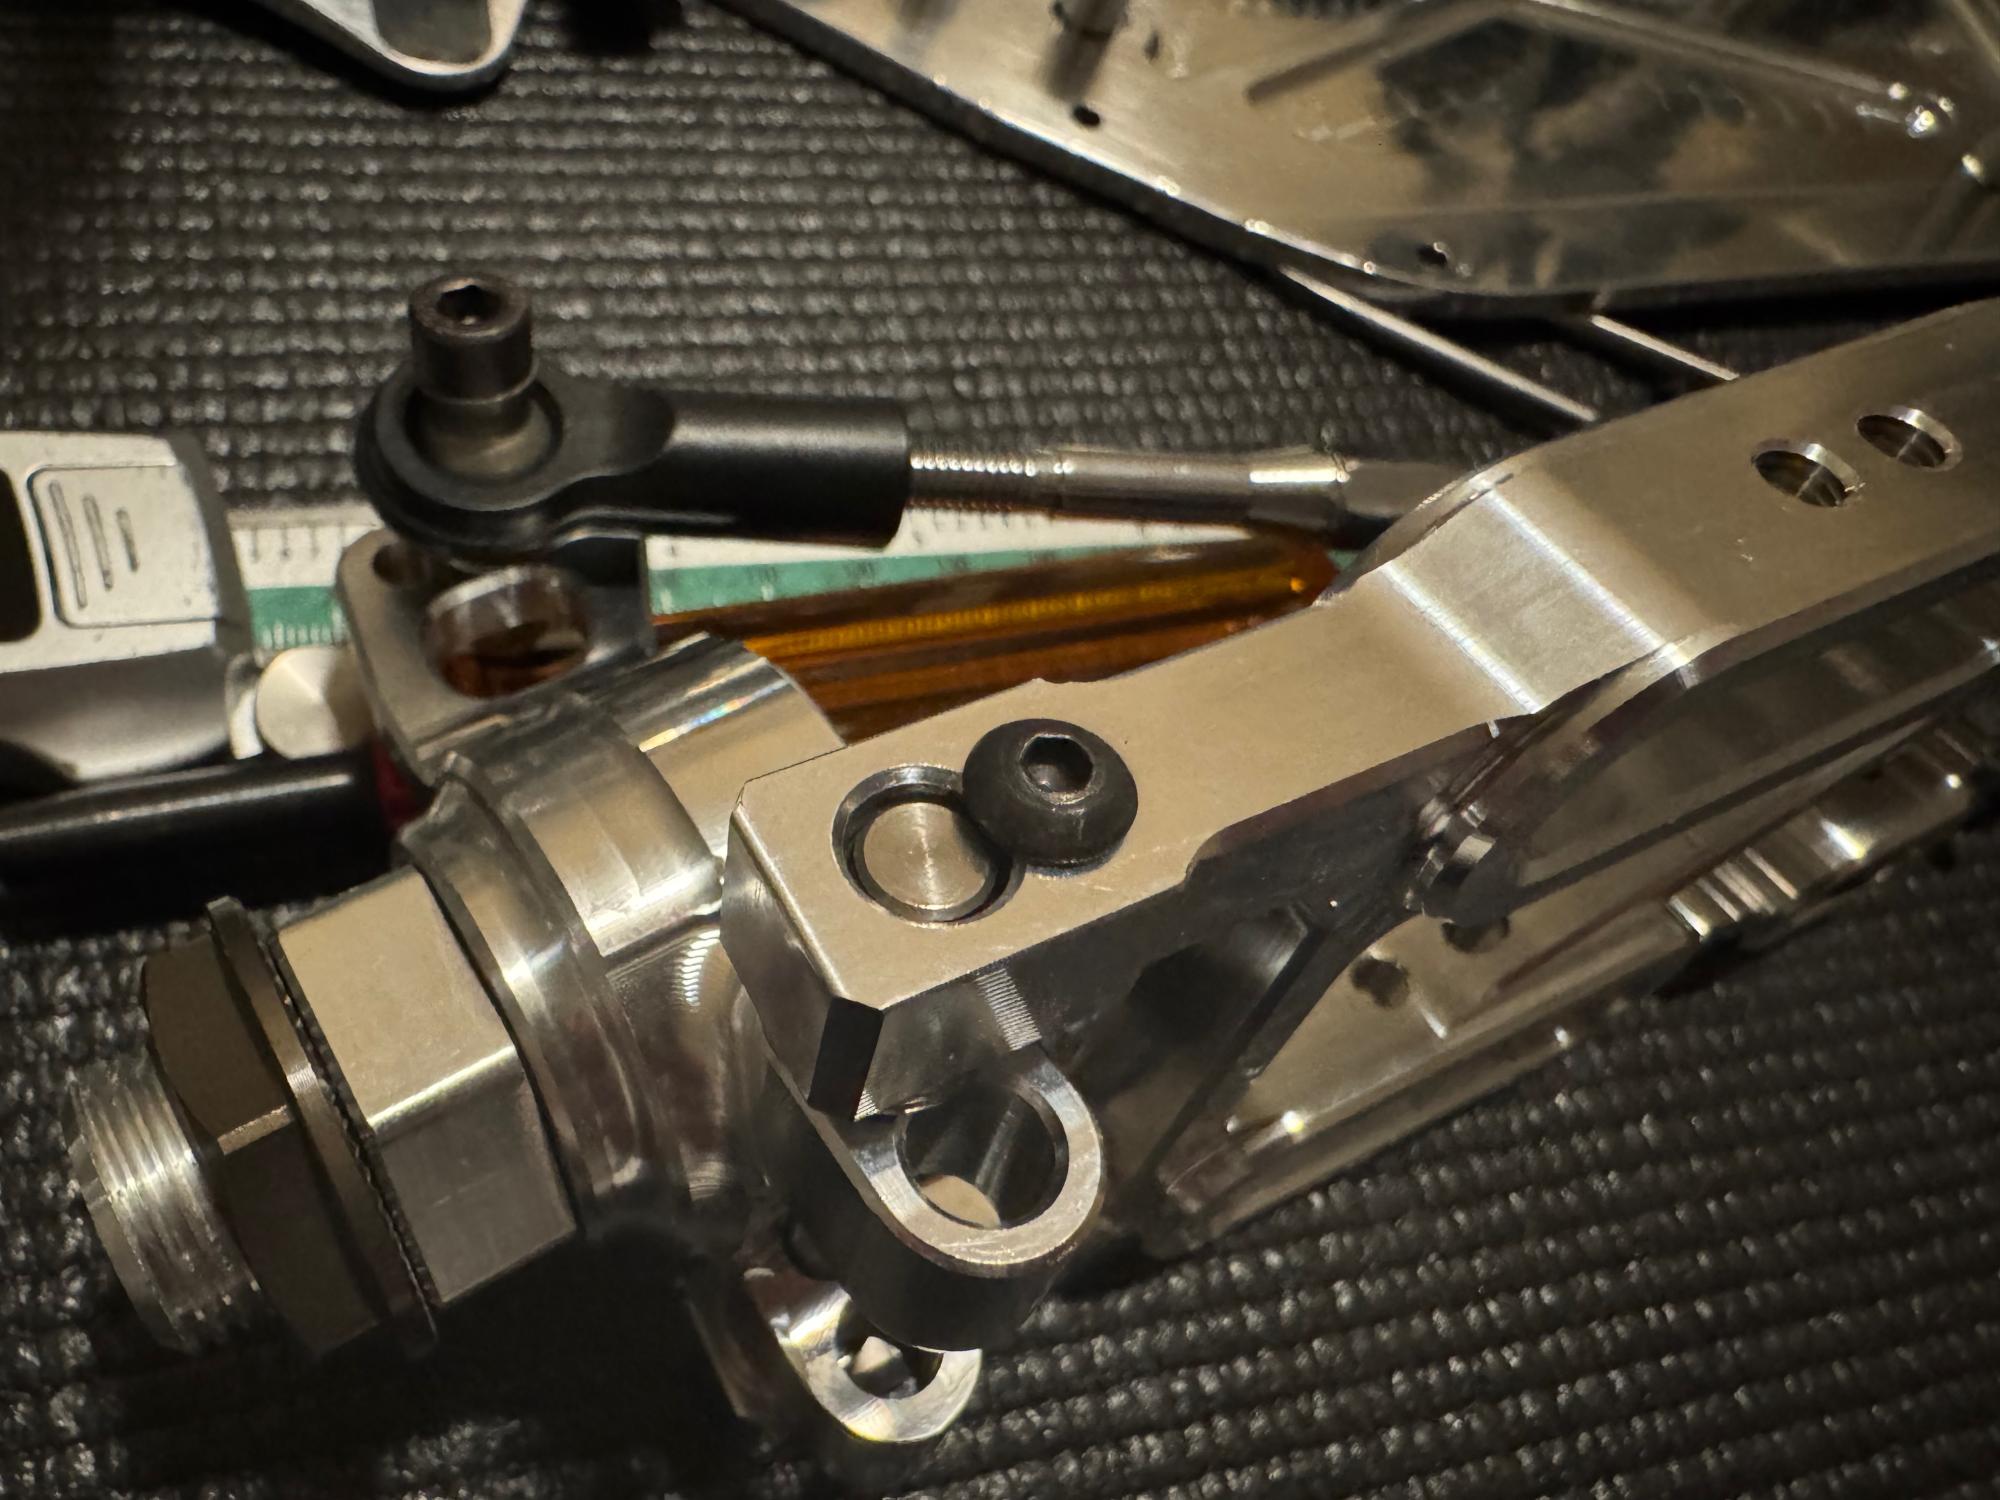
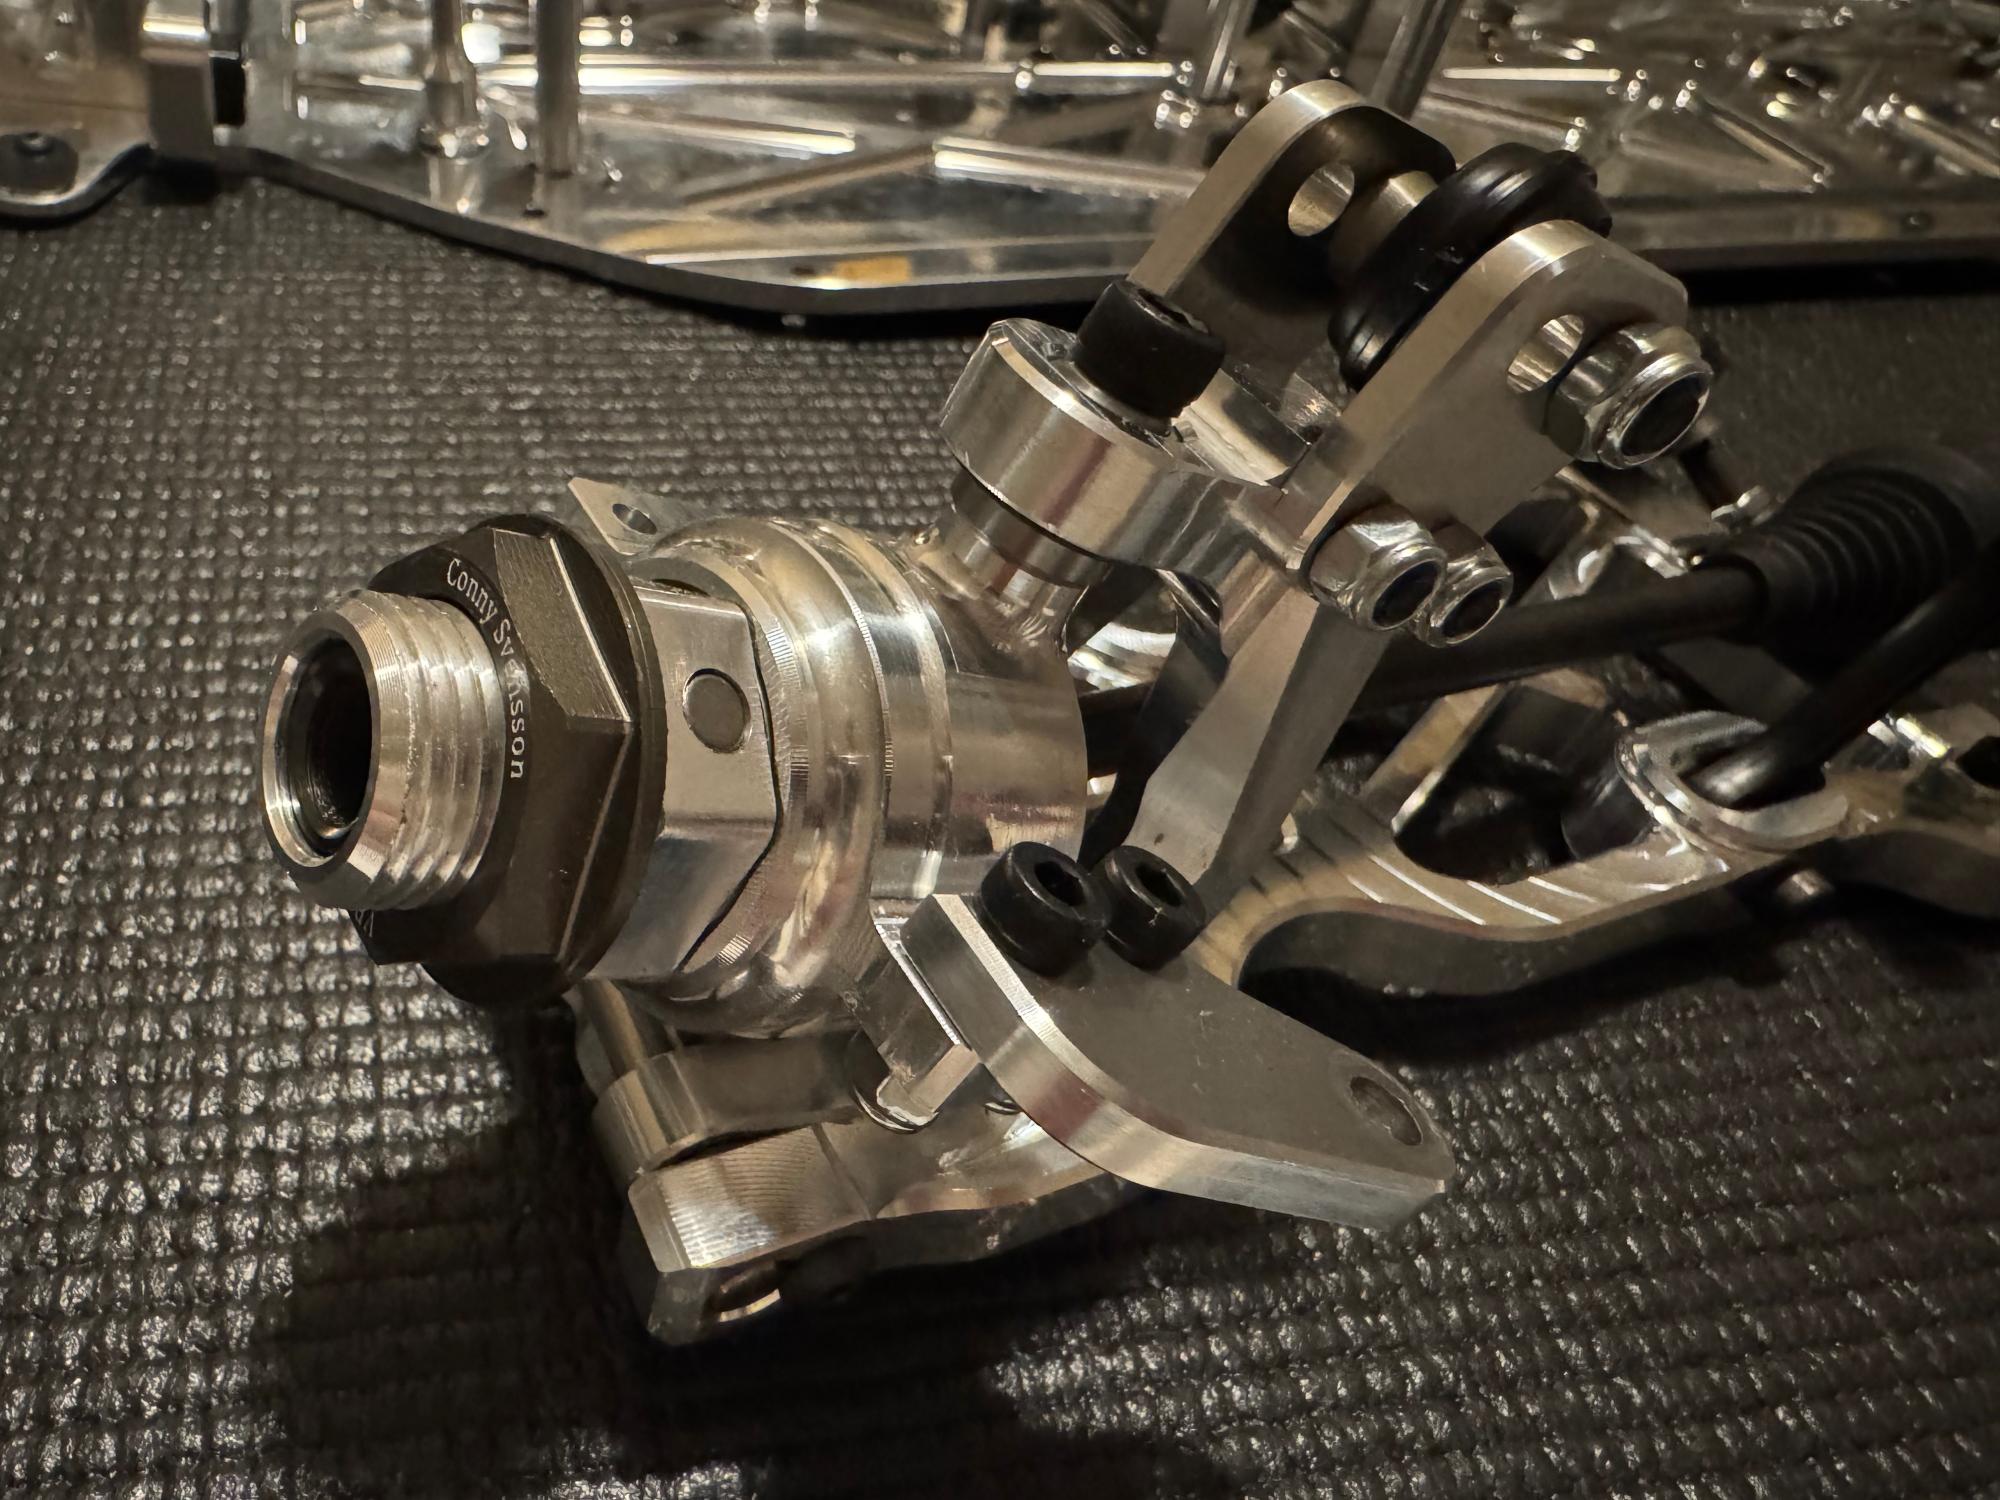
The front uses a regular C-hub design instead of the pivot ball construction that the Ultron has. The design and construction is very solid and there is no slop whatsoever. The real test is how this is after a couple of races. Does it stay the same or start wobbling when plastic bushings get worn?
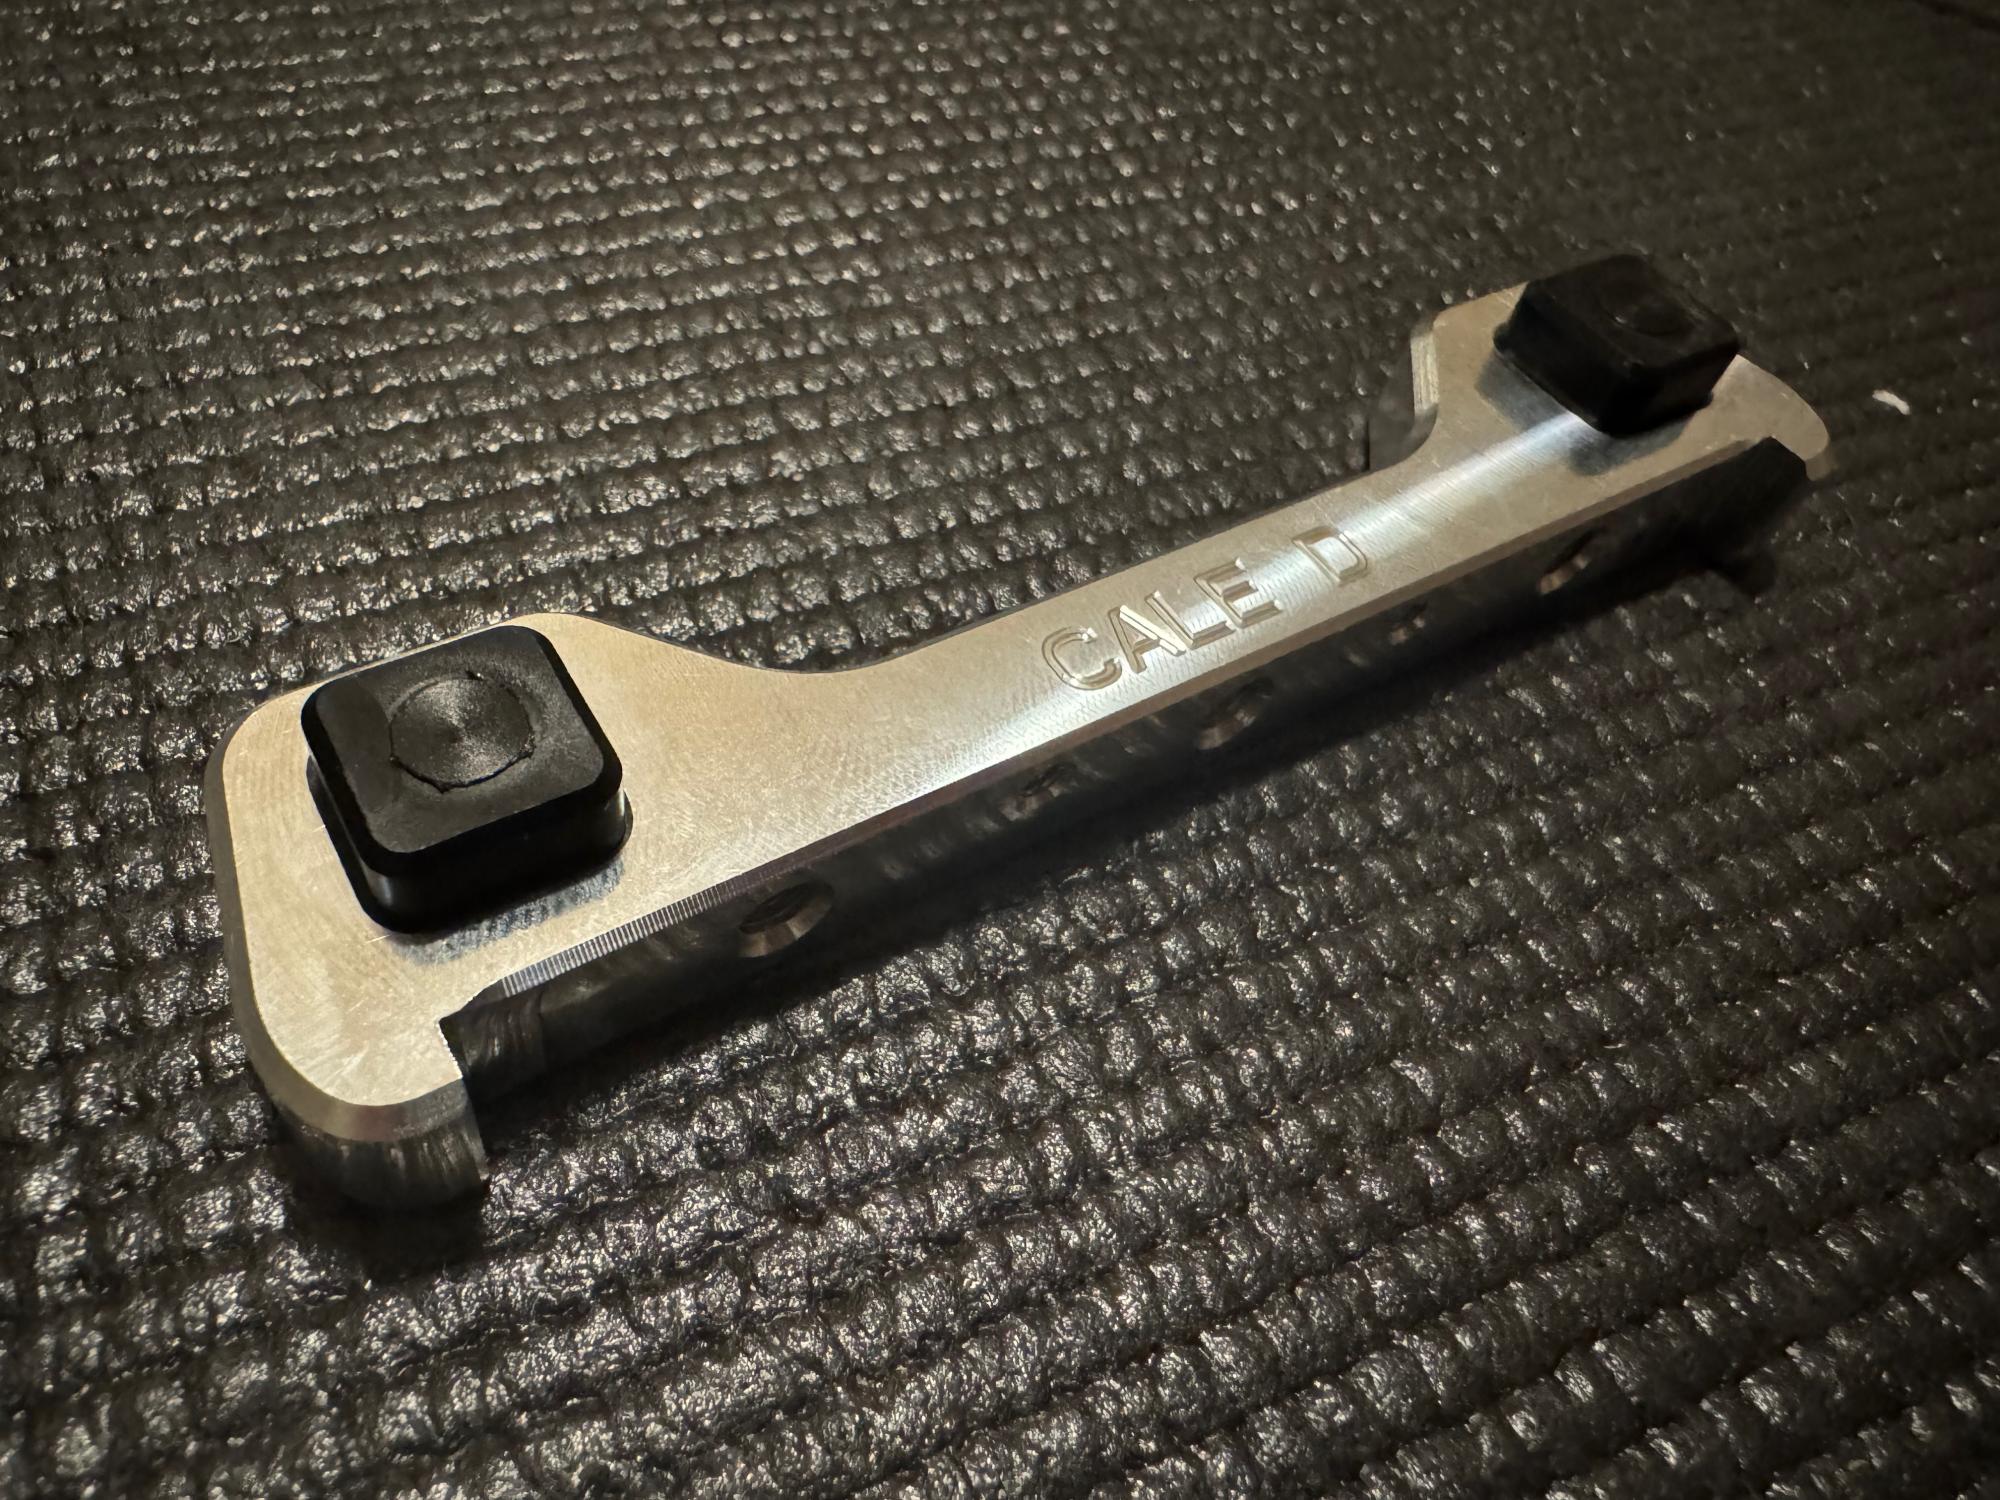
As noted before but can't get mentioned too many times are the nice little details like your name etched on the wheel nuts. A supercool little detail!
Both the front and rear arms can be moved back and forward by placing spacers on each side of the arm. In the rear you can also do the same on the other rear hub. This make it possible to adjust the wheelbase about 1.5cm which is quite a lot and can be good to get a more quicker car around the corners or a more stable car.
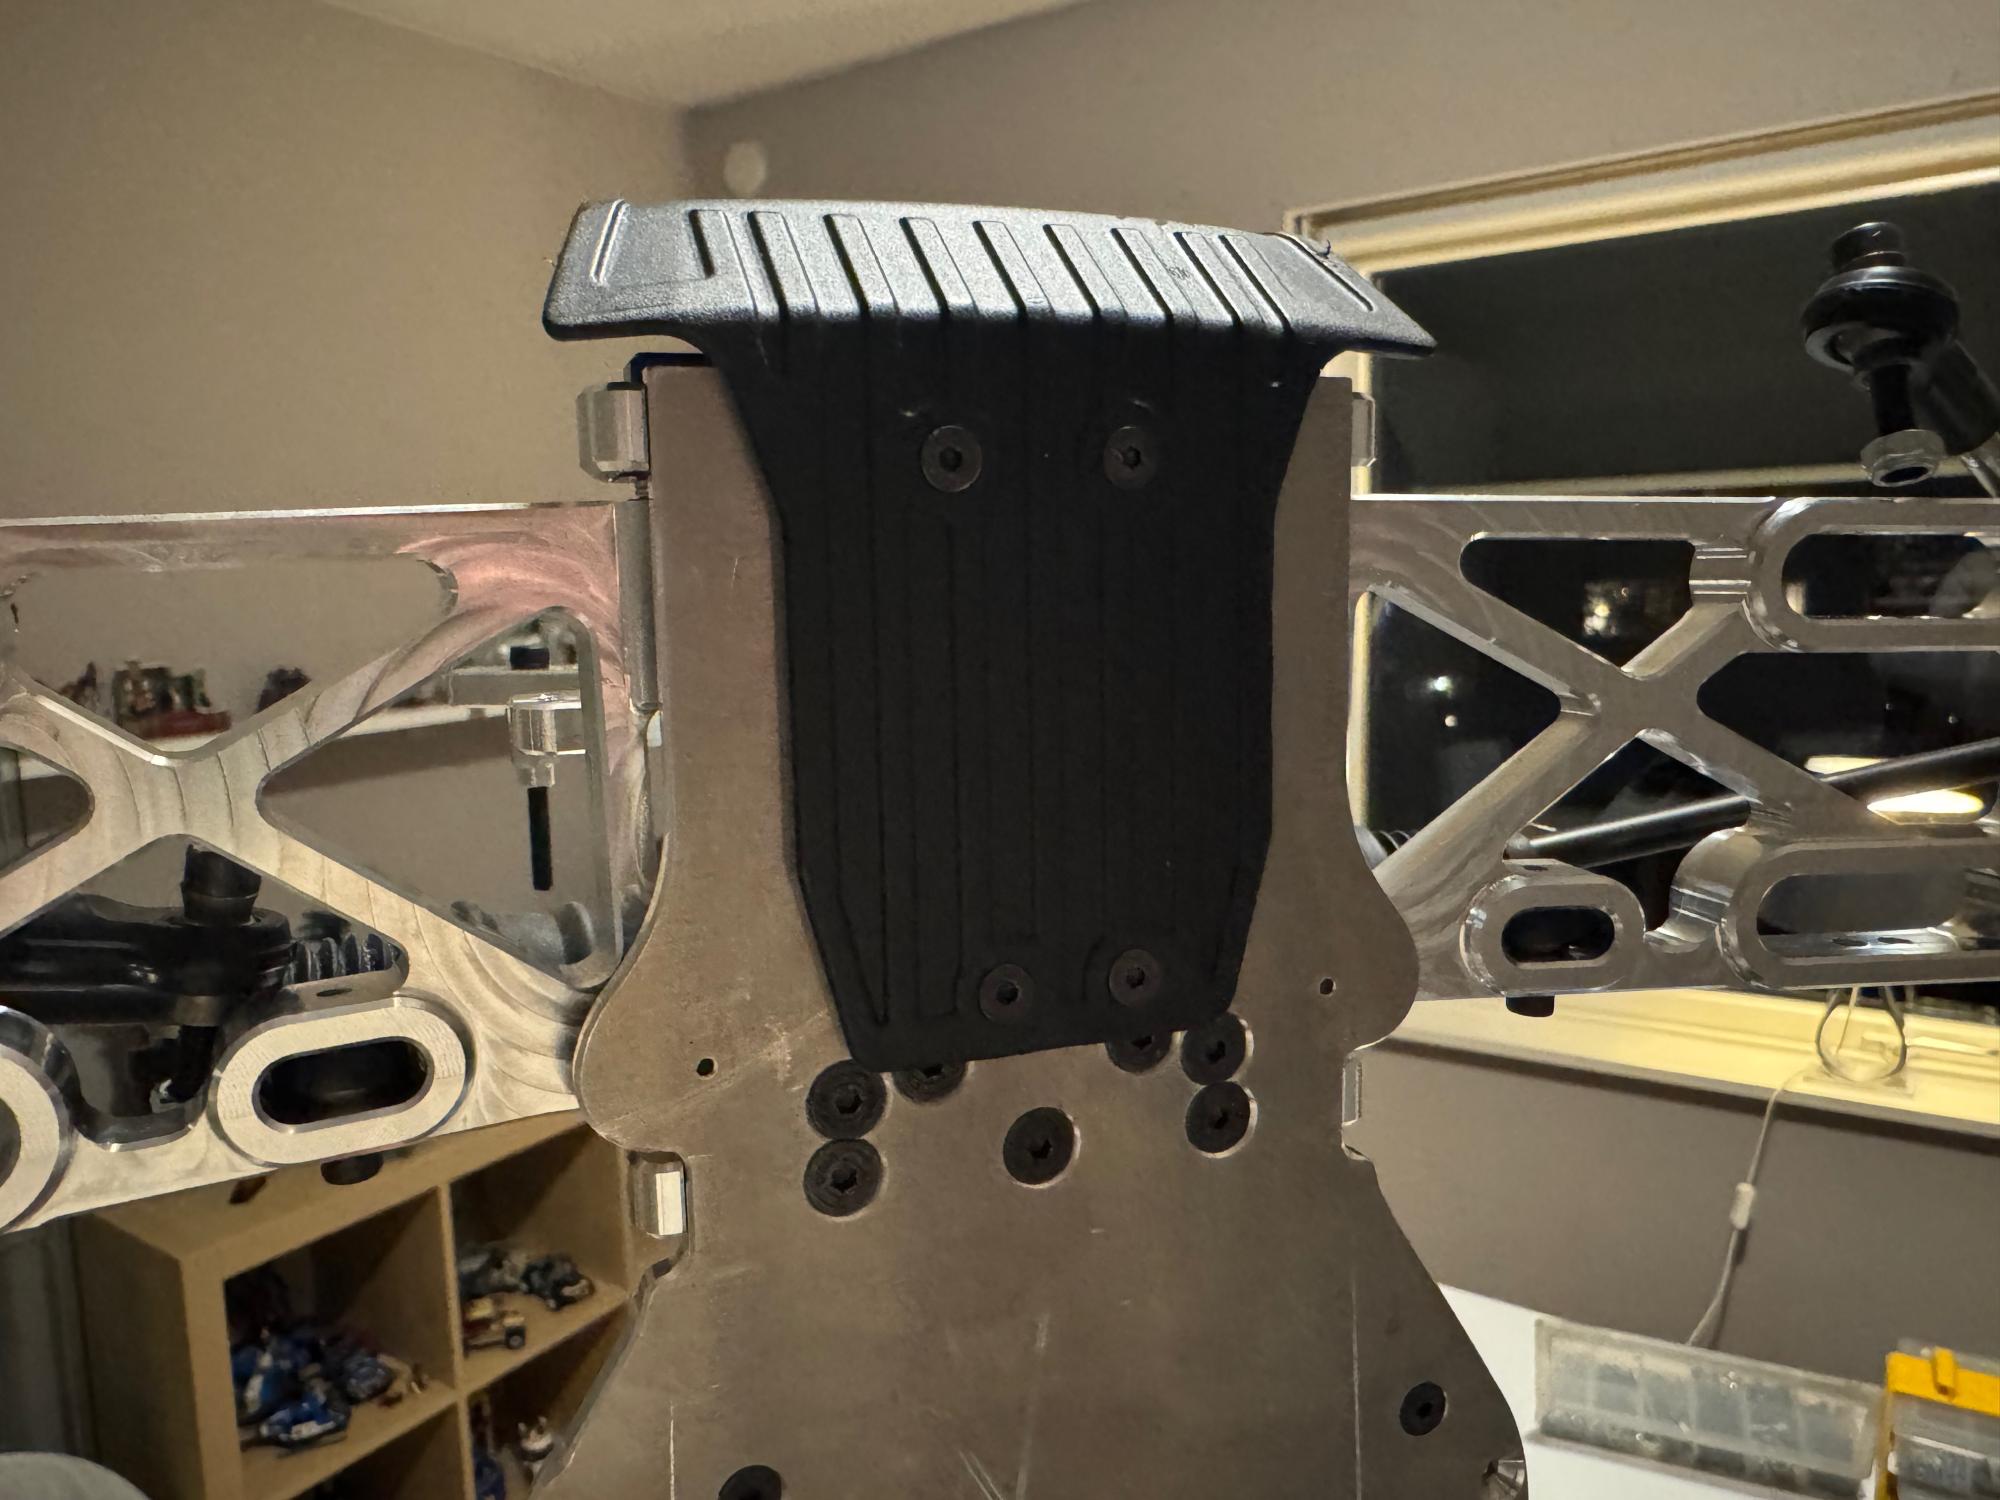
The last thing to mount in this part of the build are the skid plate and bumper. This is the same both front and rear and protects the chassis as well as the car from the front and rear.
Next time we will put in the from and rear diffs and get the whole drive line setup. After that we start with the servo installation and radio tray.
Make sure to check out some more images and of course the 360 videos on this page.