Phoenix final assembly with engine, exhaust, shocks and wing, part #4
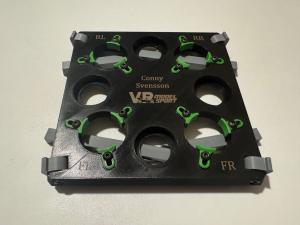
To continue where we left of last time to finish the suspension we start by assembling the shocks. To fill the shocks the VRmodelsport stand for shocks and diffs is a perfect companion.
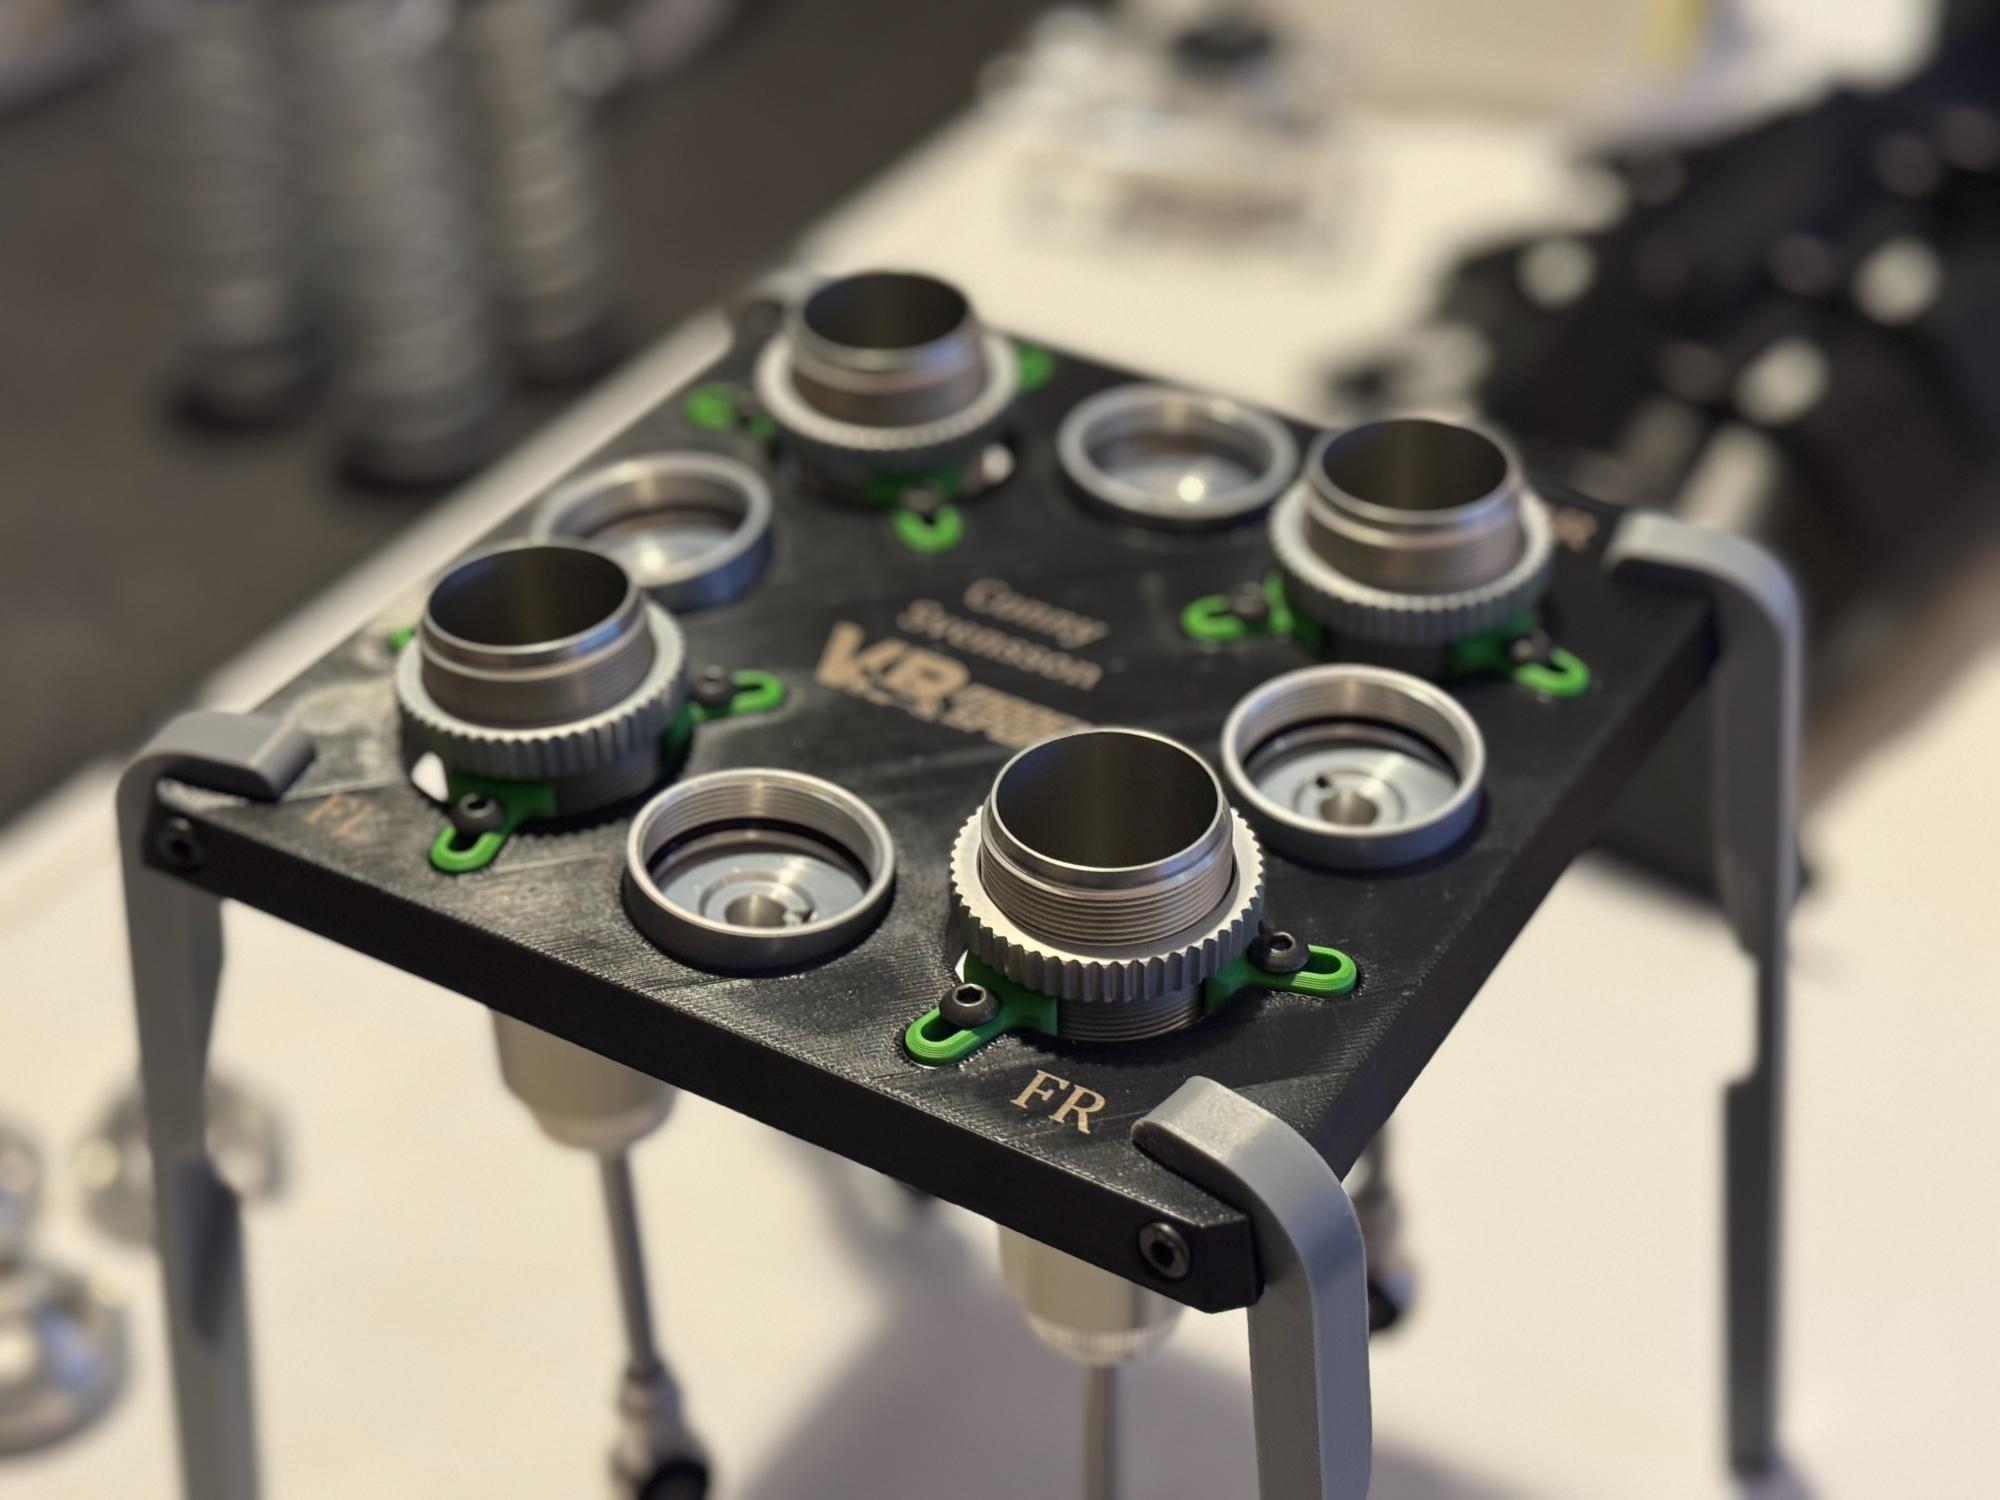
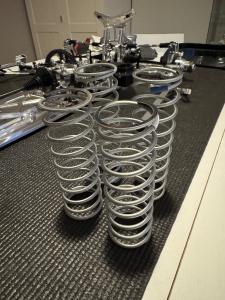
Used 500 in the front and 400 in the rear. Make sure to pump the shocks and bleed them out so you have zero rebound in the shocks.
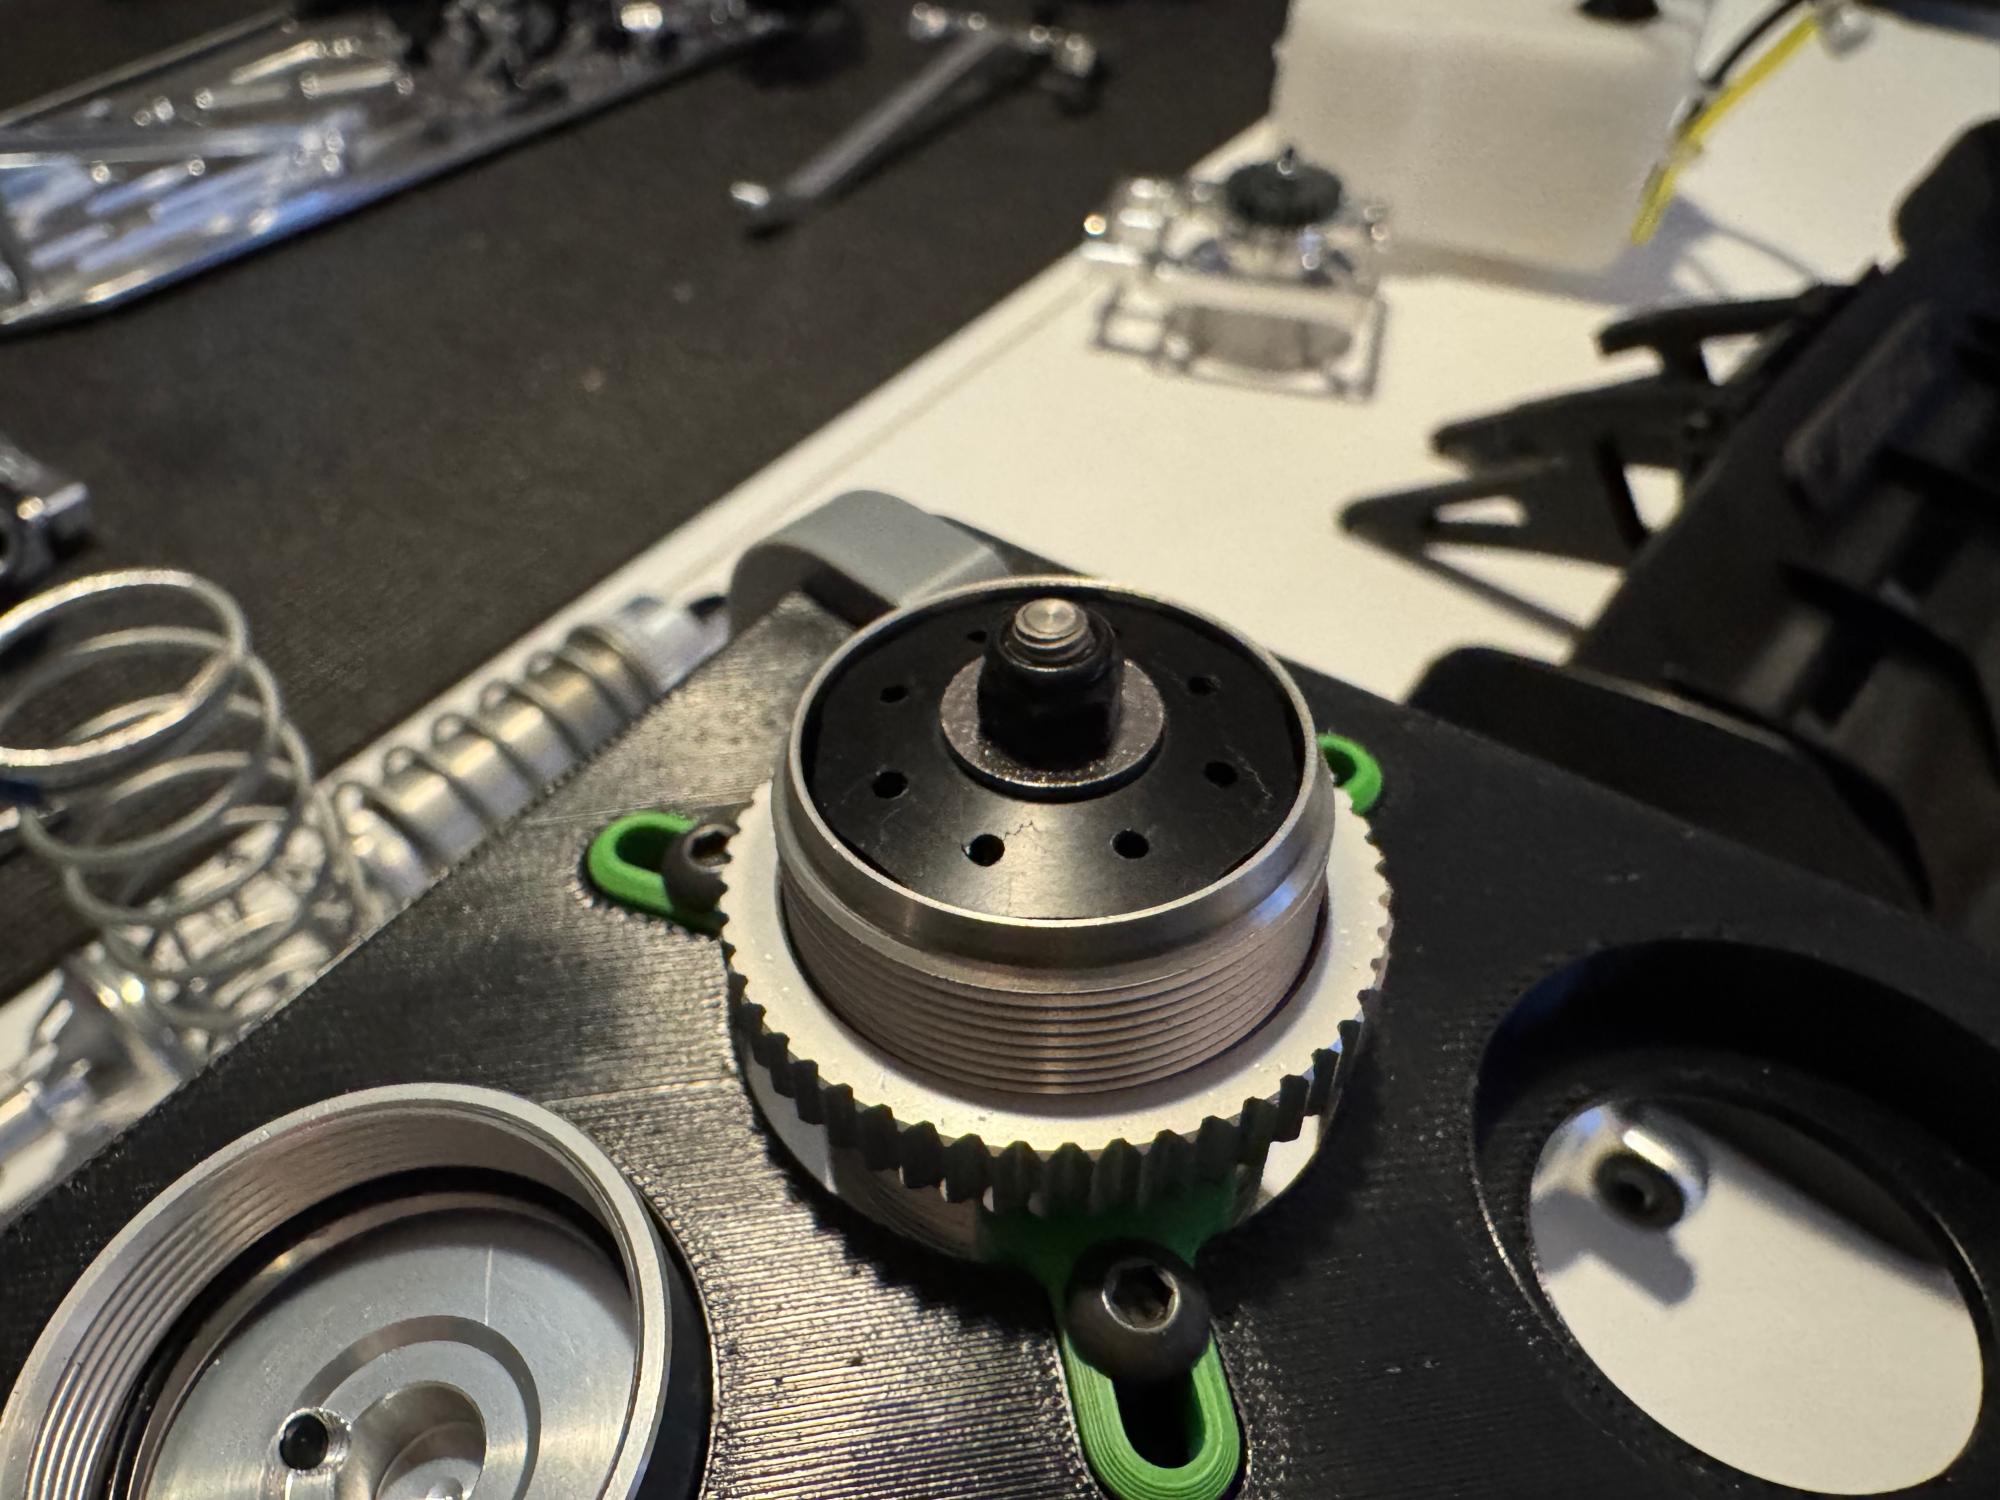
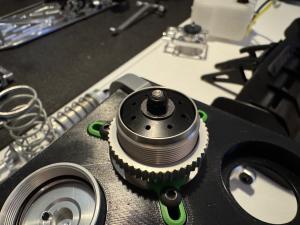
The pistons are octagonal in shape meaning oil will pass on the outside. There are no pre drilled holes but indentations so it's easy to drill holes yourself. The top is also a little bit conical probably helping with how oil is flowing when the shock is compressed.
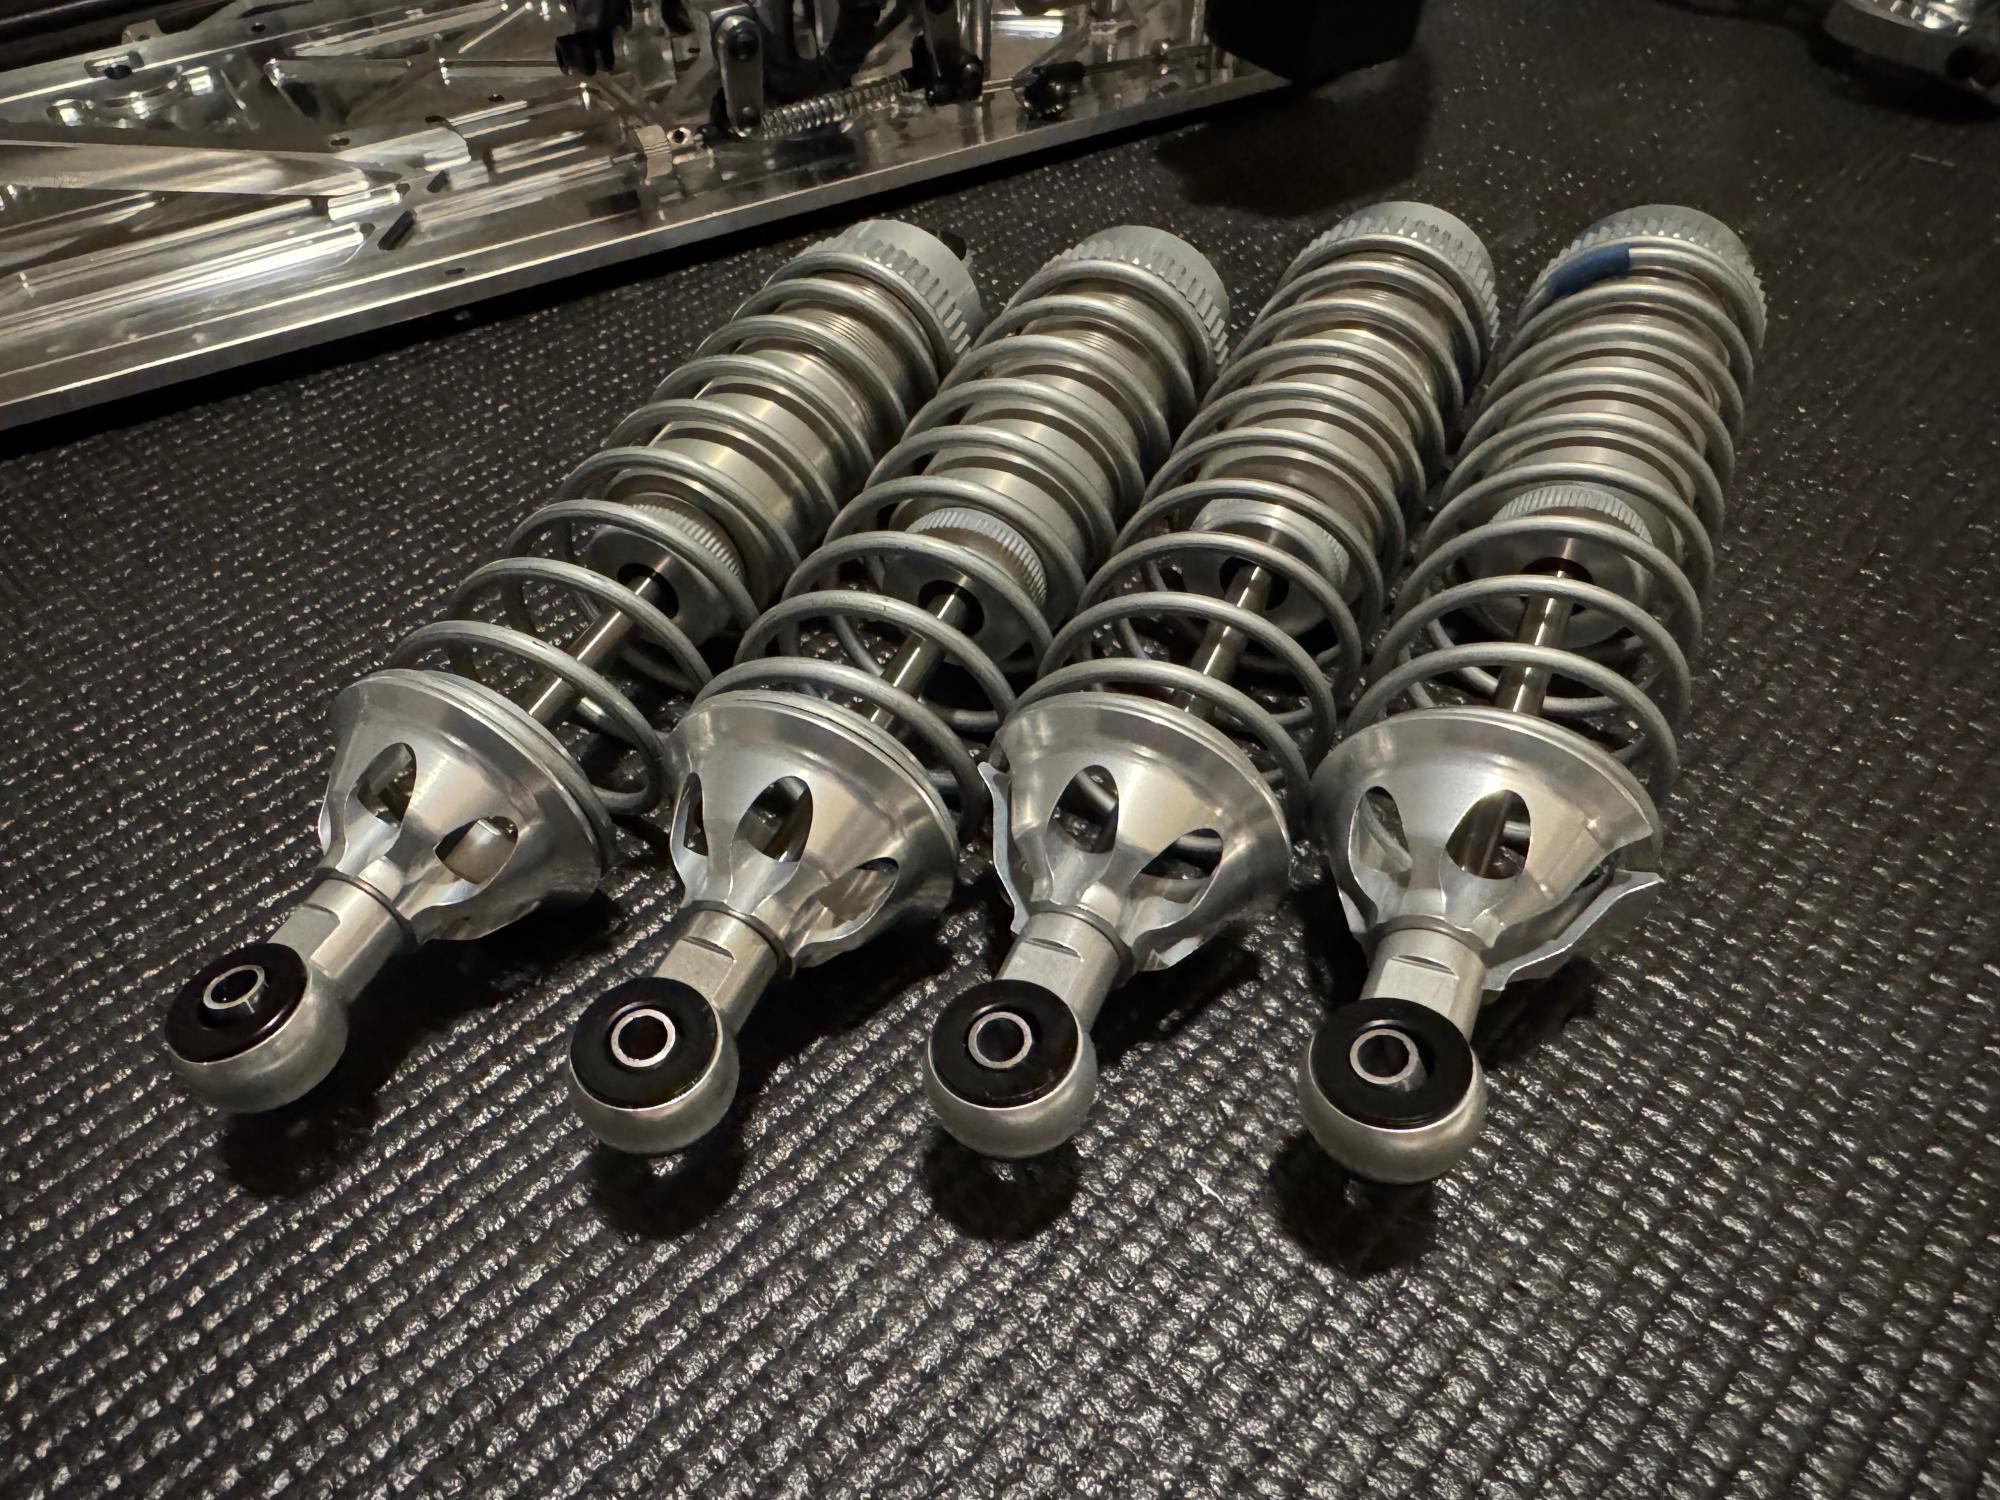
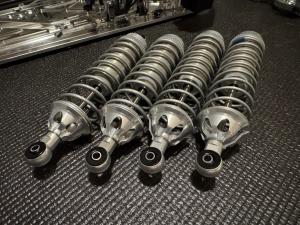
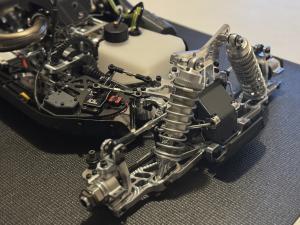
The shocks are really well made in all aluminum and high quality. I've always been impressed how the Phoenix handles bumps and really big jumps, this has to be one of the reasons why. Really well tuned and balanced shocks.
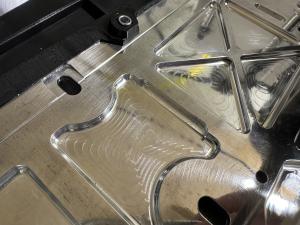
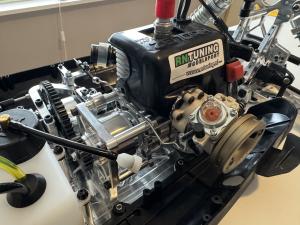
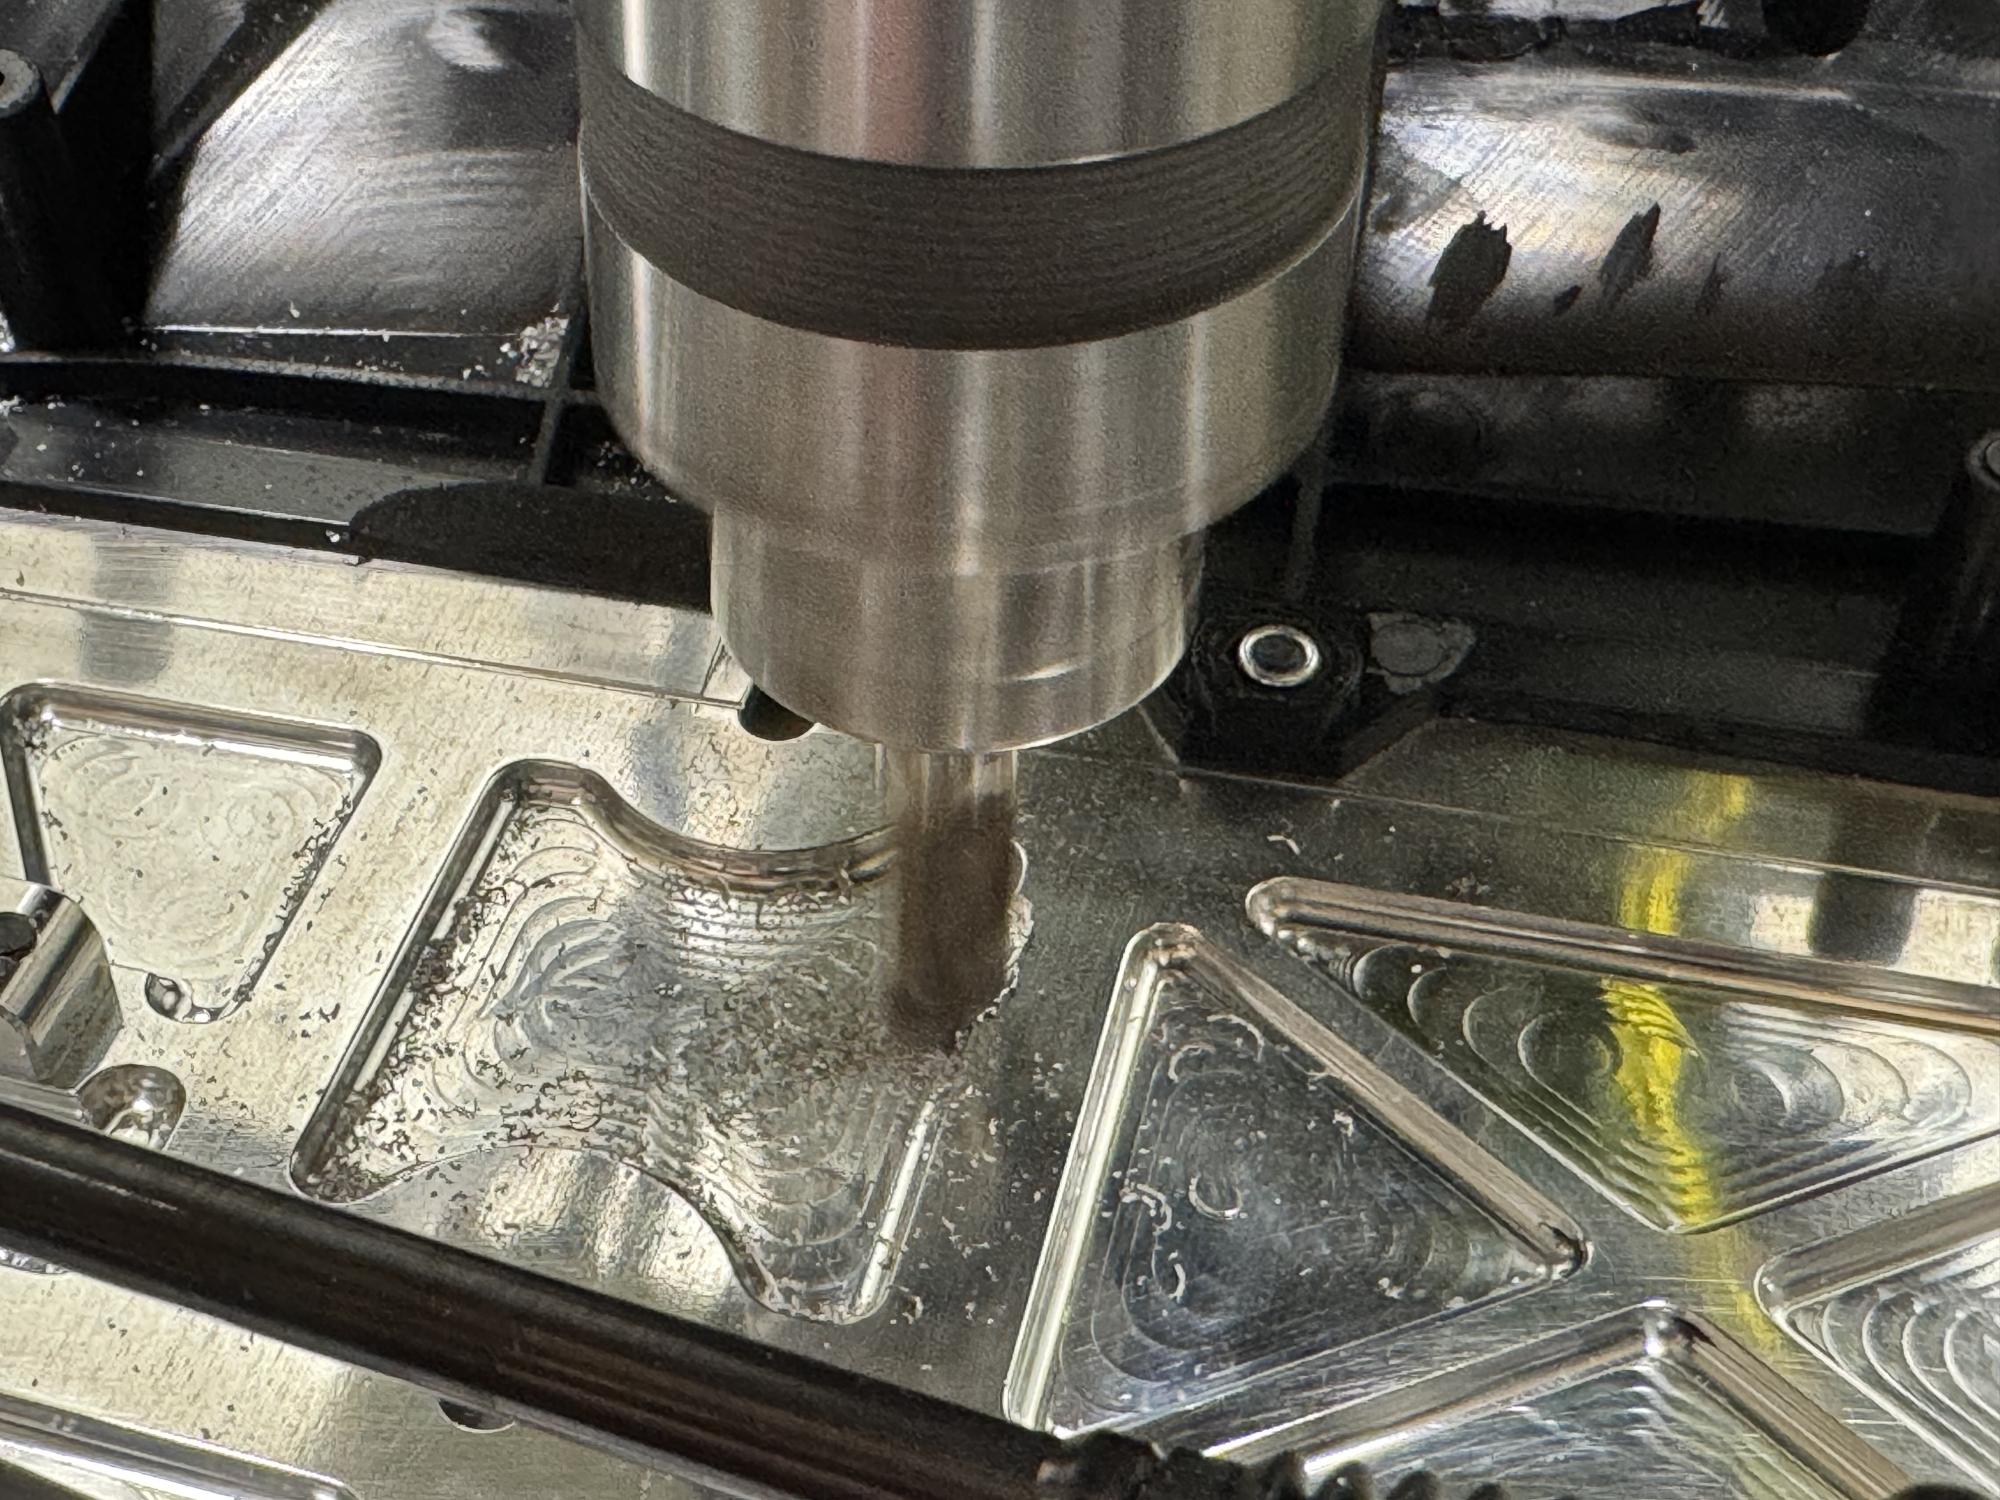
Next up was mounting the engine, but I noticed it didn't really sit well on the chassis. It turned out my custom RV Racing bell crank case has some different dimensions that didn't fit the opening in the chassis of the Phoenix so I had to mill away 3mm for it to fit perfect.
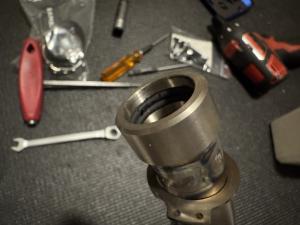
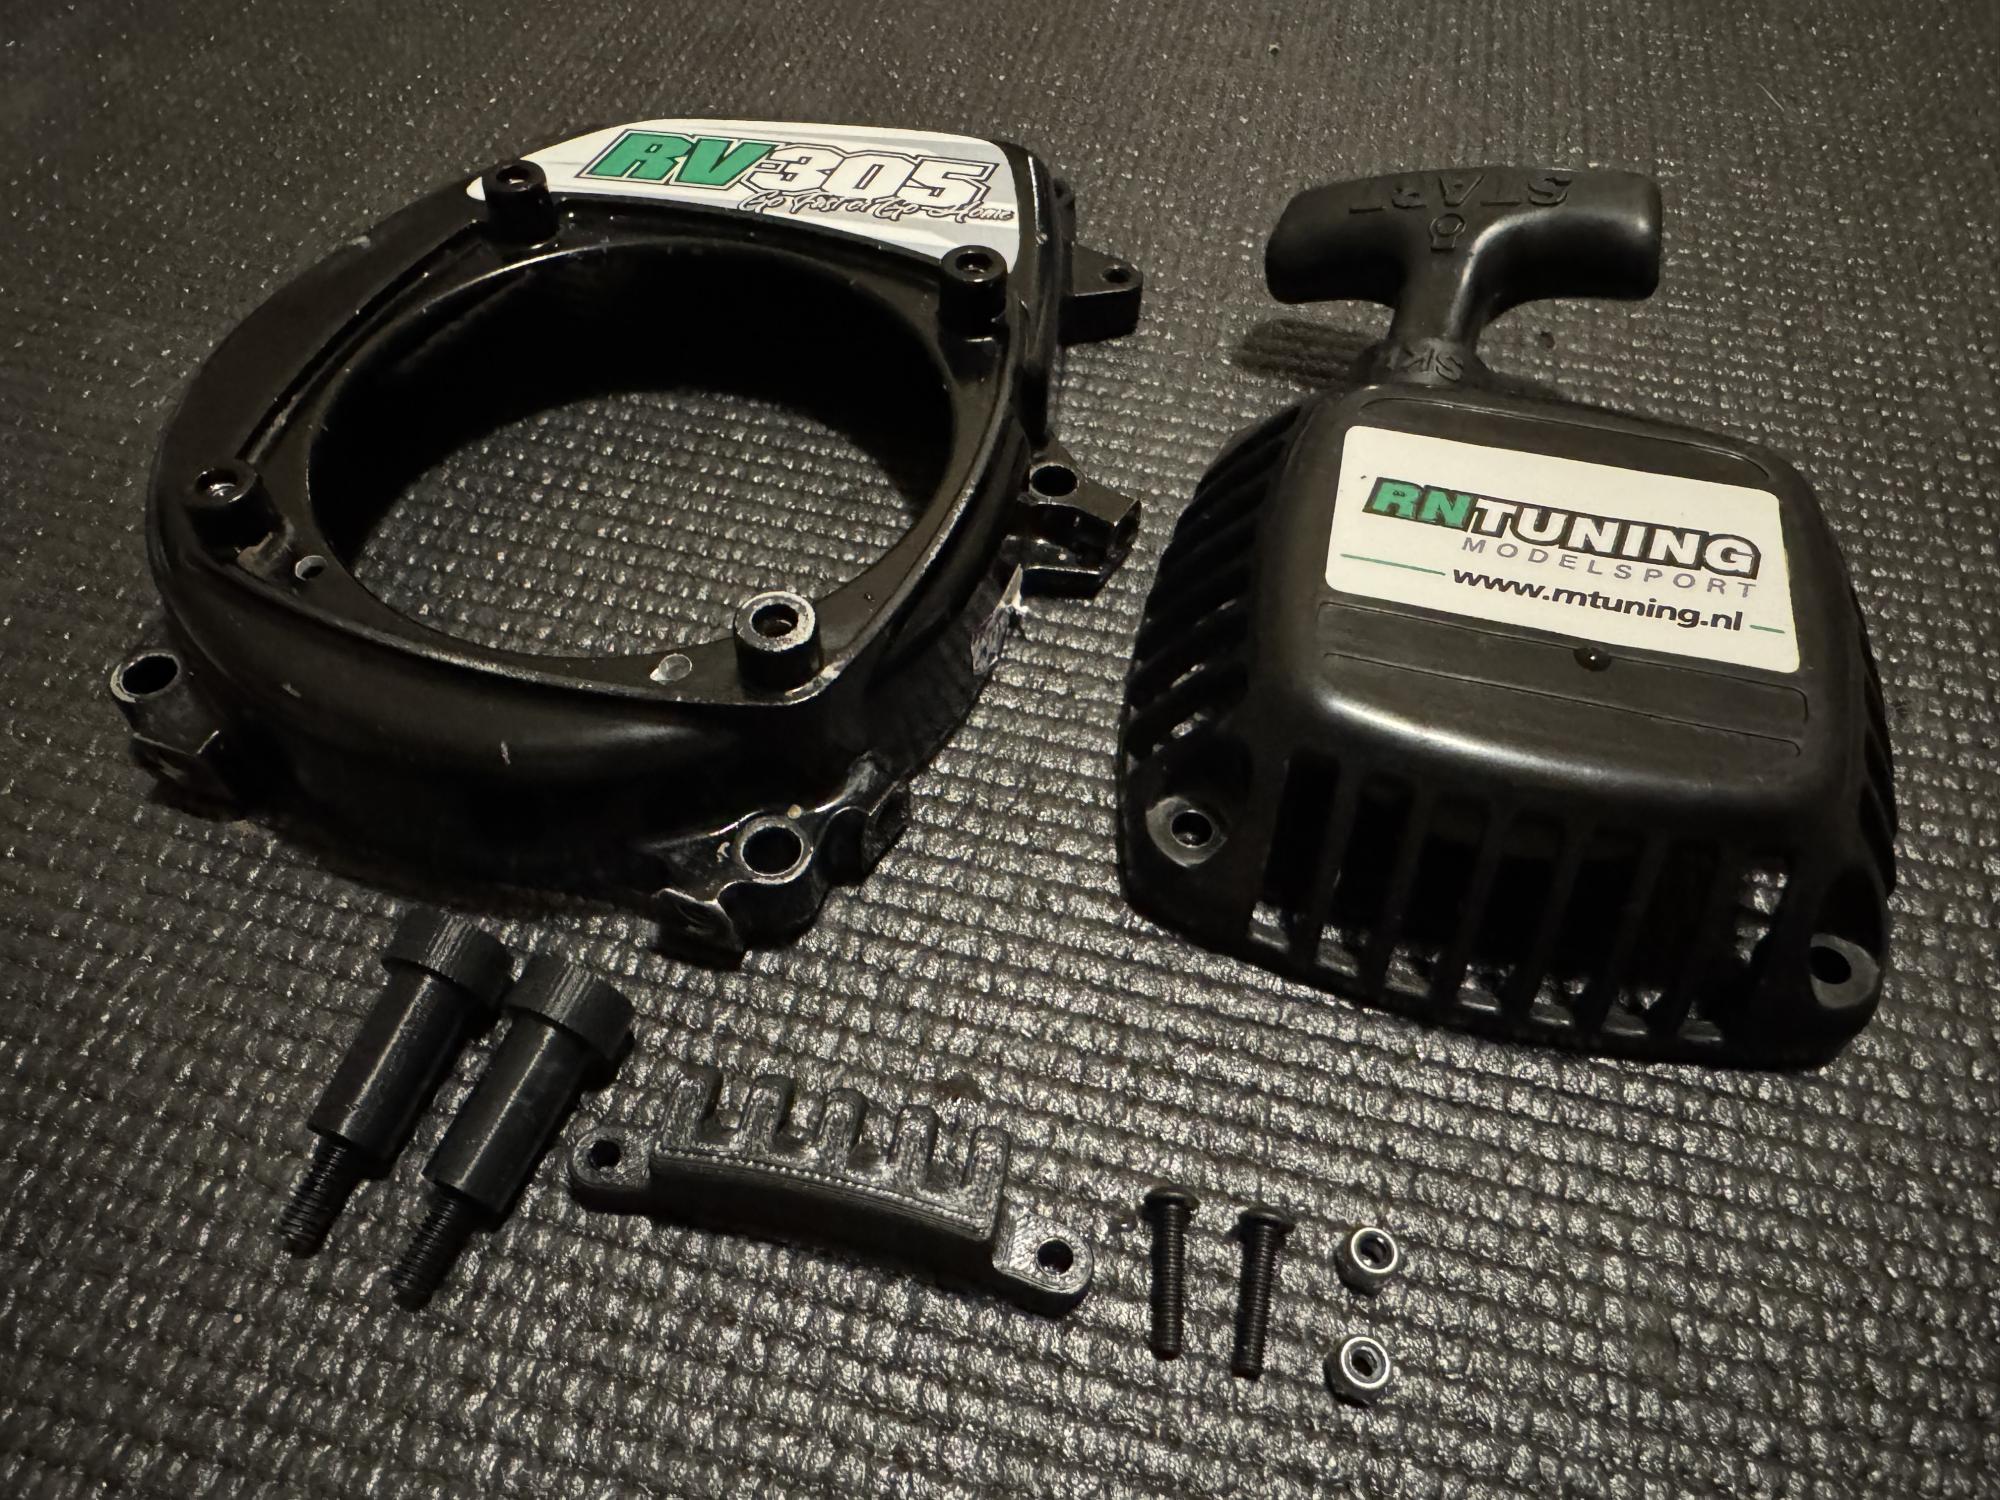
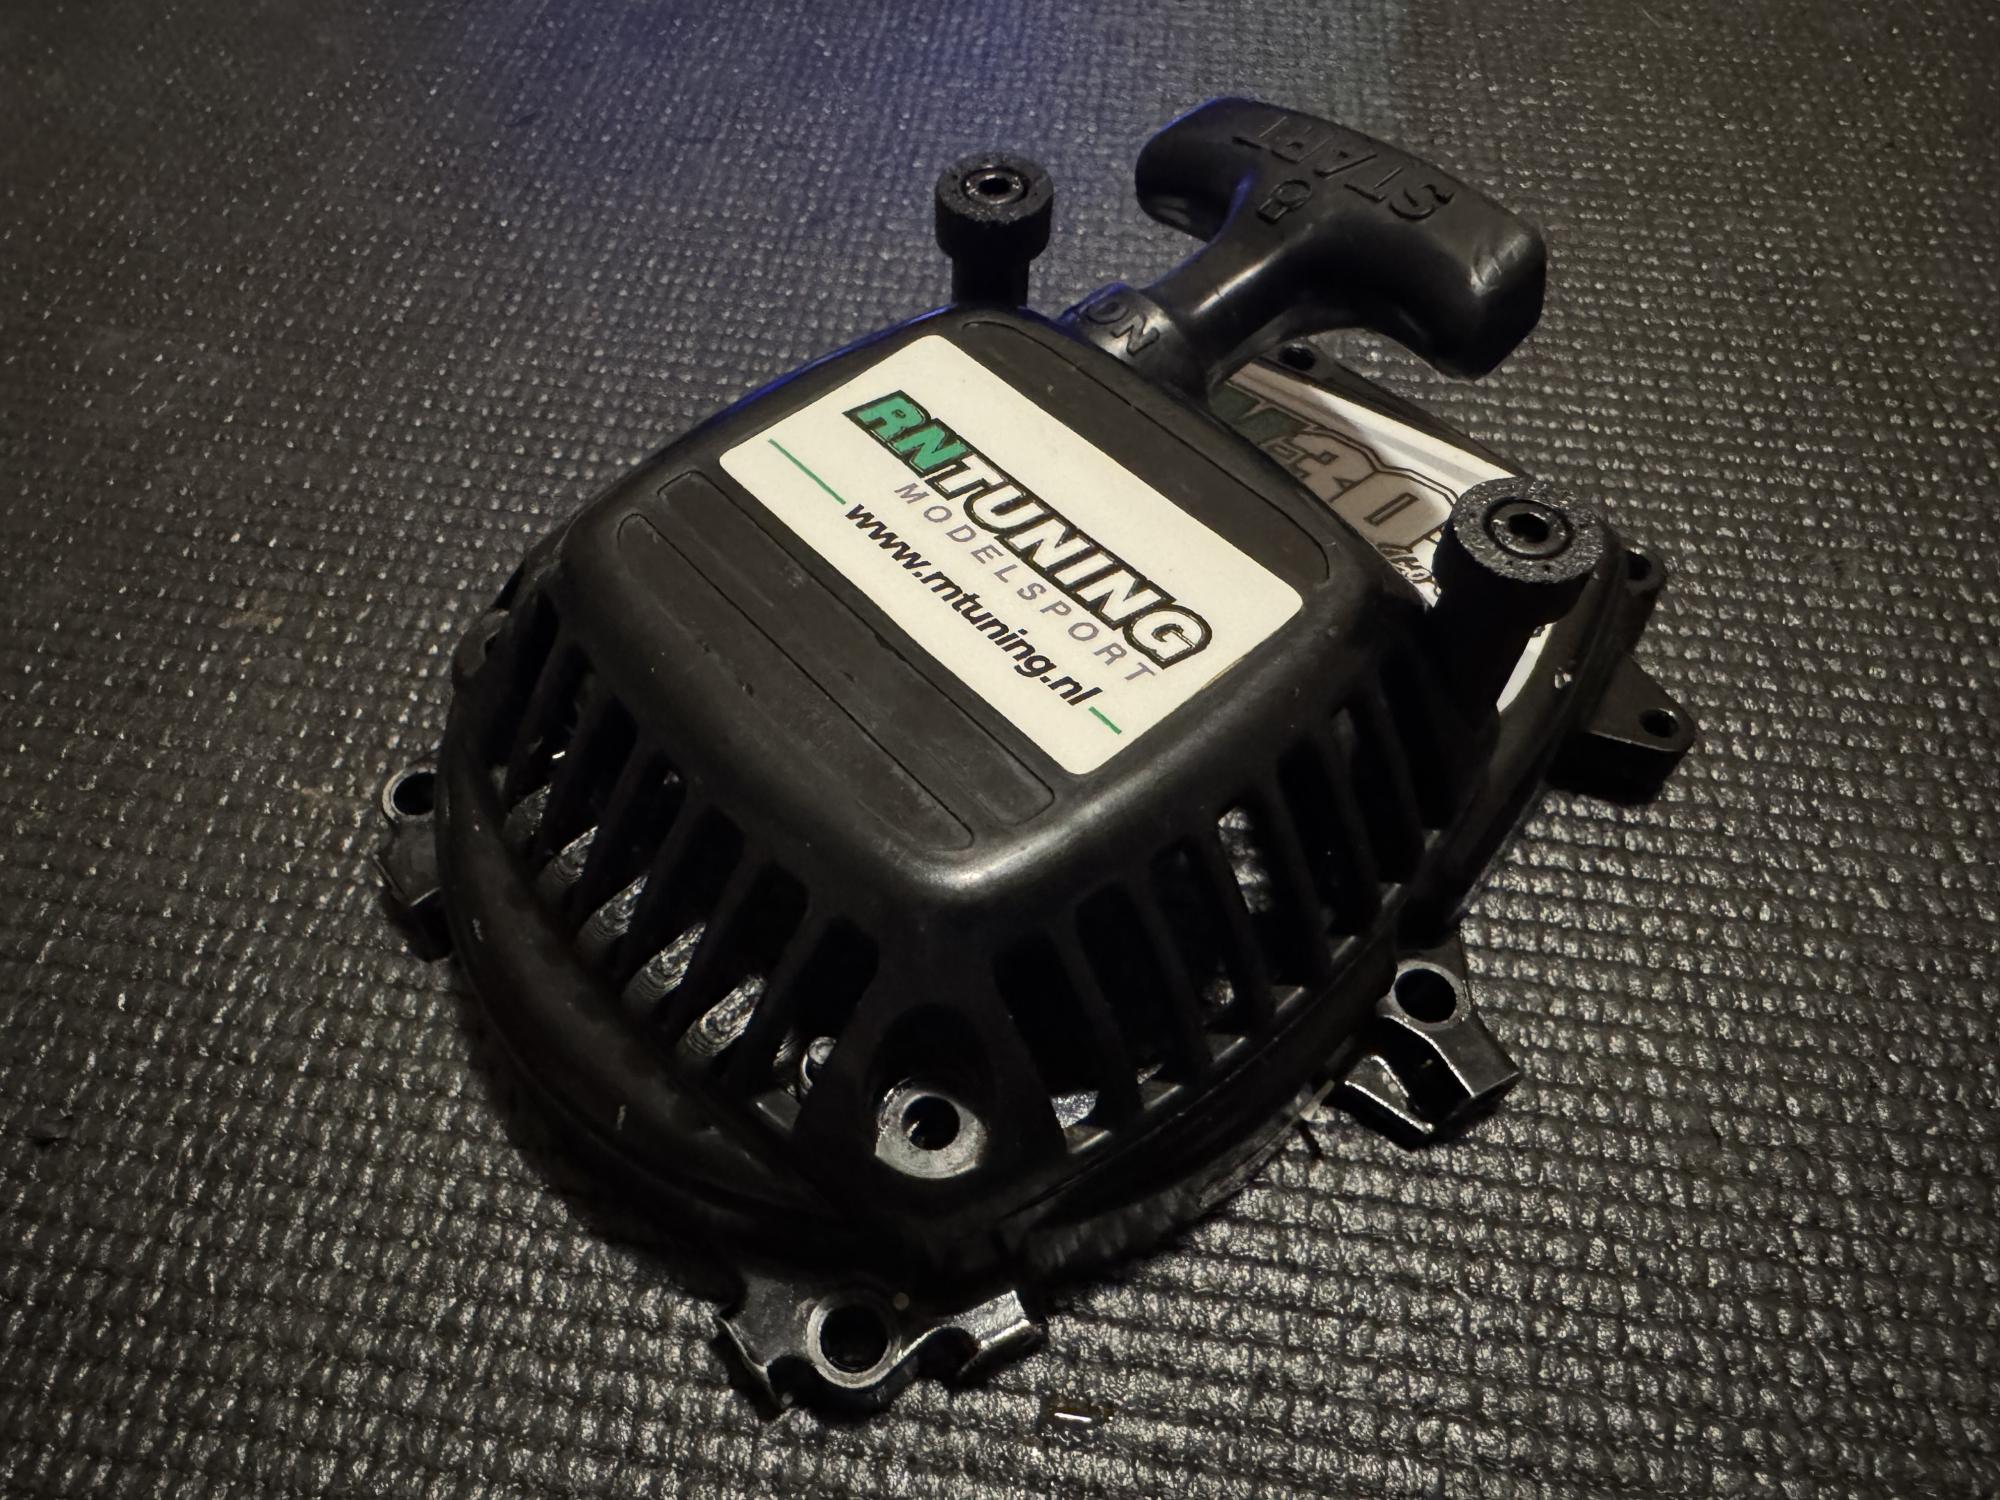
Before mounting the engine I also mounted a quick change system for the drag start. I think everybody has been in the situation where the drag starts fails just when starting up before a race and it can sometime be quite hard to unscrew the bottom screws for the drag start. A quick change system only need the top 2 screws and the can be twisted by hand making it really easy to change drag start.
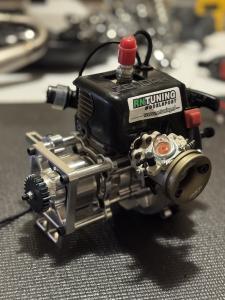
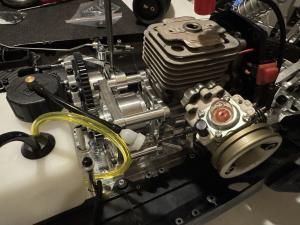
I mounted the clutch bell and clutch bell holder that also has the pinion on the engine.

I chose to put on a 22 pinion, I also have 21 and 23 to be able to go in both directions.
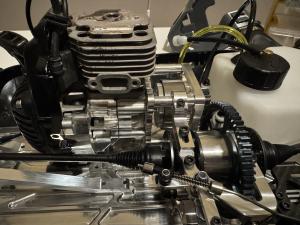
The engine was now ready to be fitted into the car and it's really easy to get it in the right place as the clutch bell mount has a slot at the bottom that fits into a a longitude hole in the chassis.

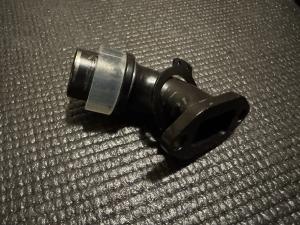
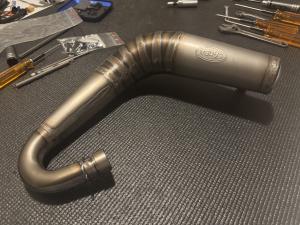
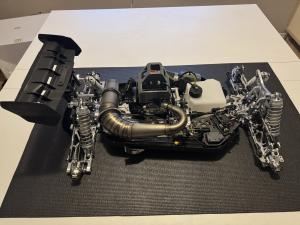
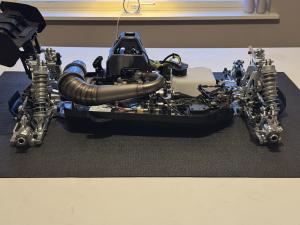
After the engine was screwed into place from underneath with four screws the same way as most cars it was now time for the exhaust pipe. I chose the titanium pipe that is much lighter than the regular steel pipe. It's really nice pipe from Samba resembling the same I had on my Ultron. But since the engine was rotated 180 degrees on the Ultron the pipe was coming out on the other side instead.

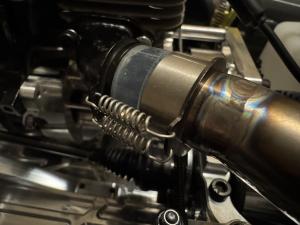
The pipe has 2 o-rings on the inside that seals it between pipe and the manifold.
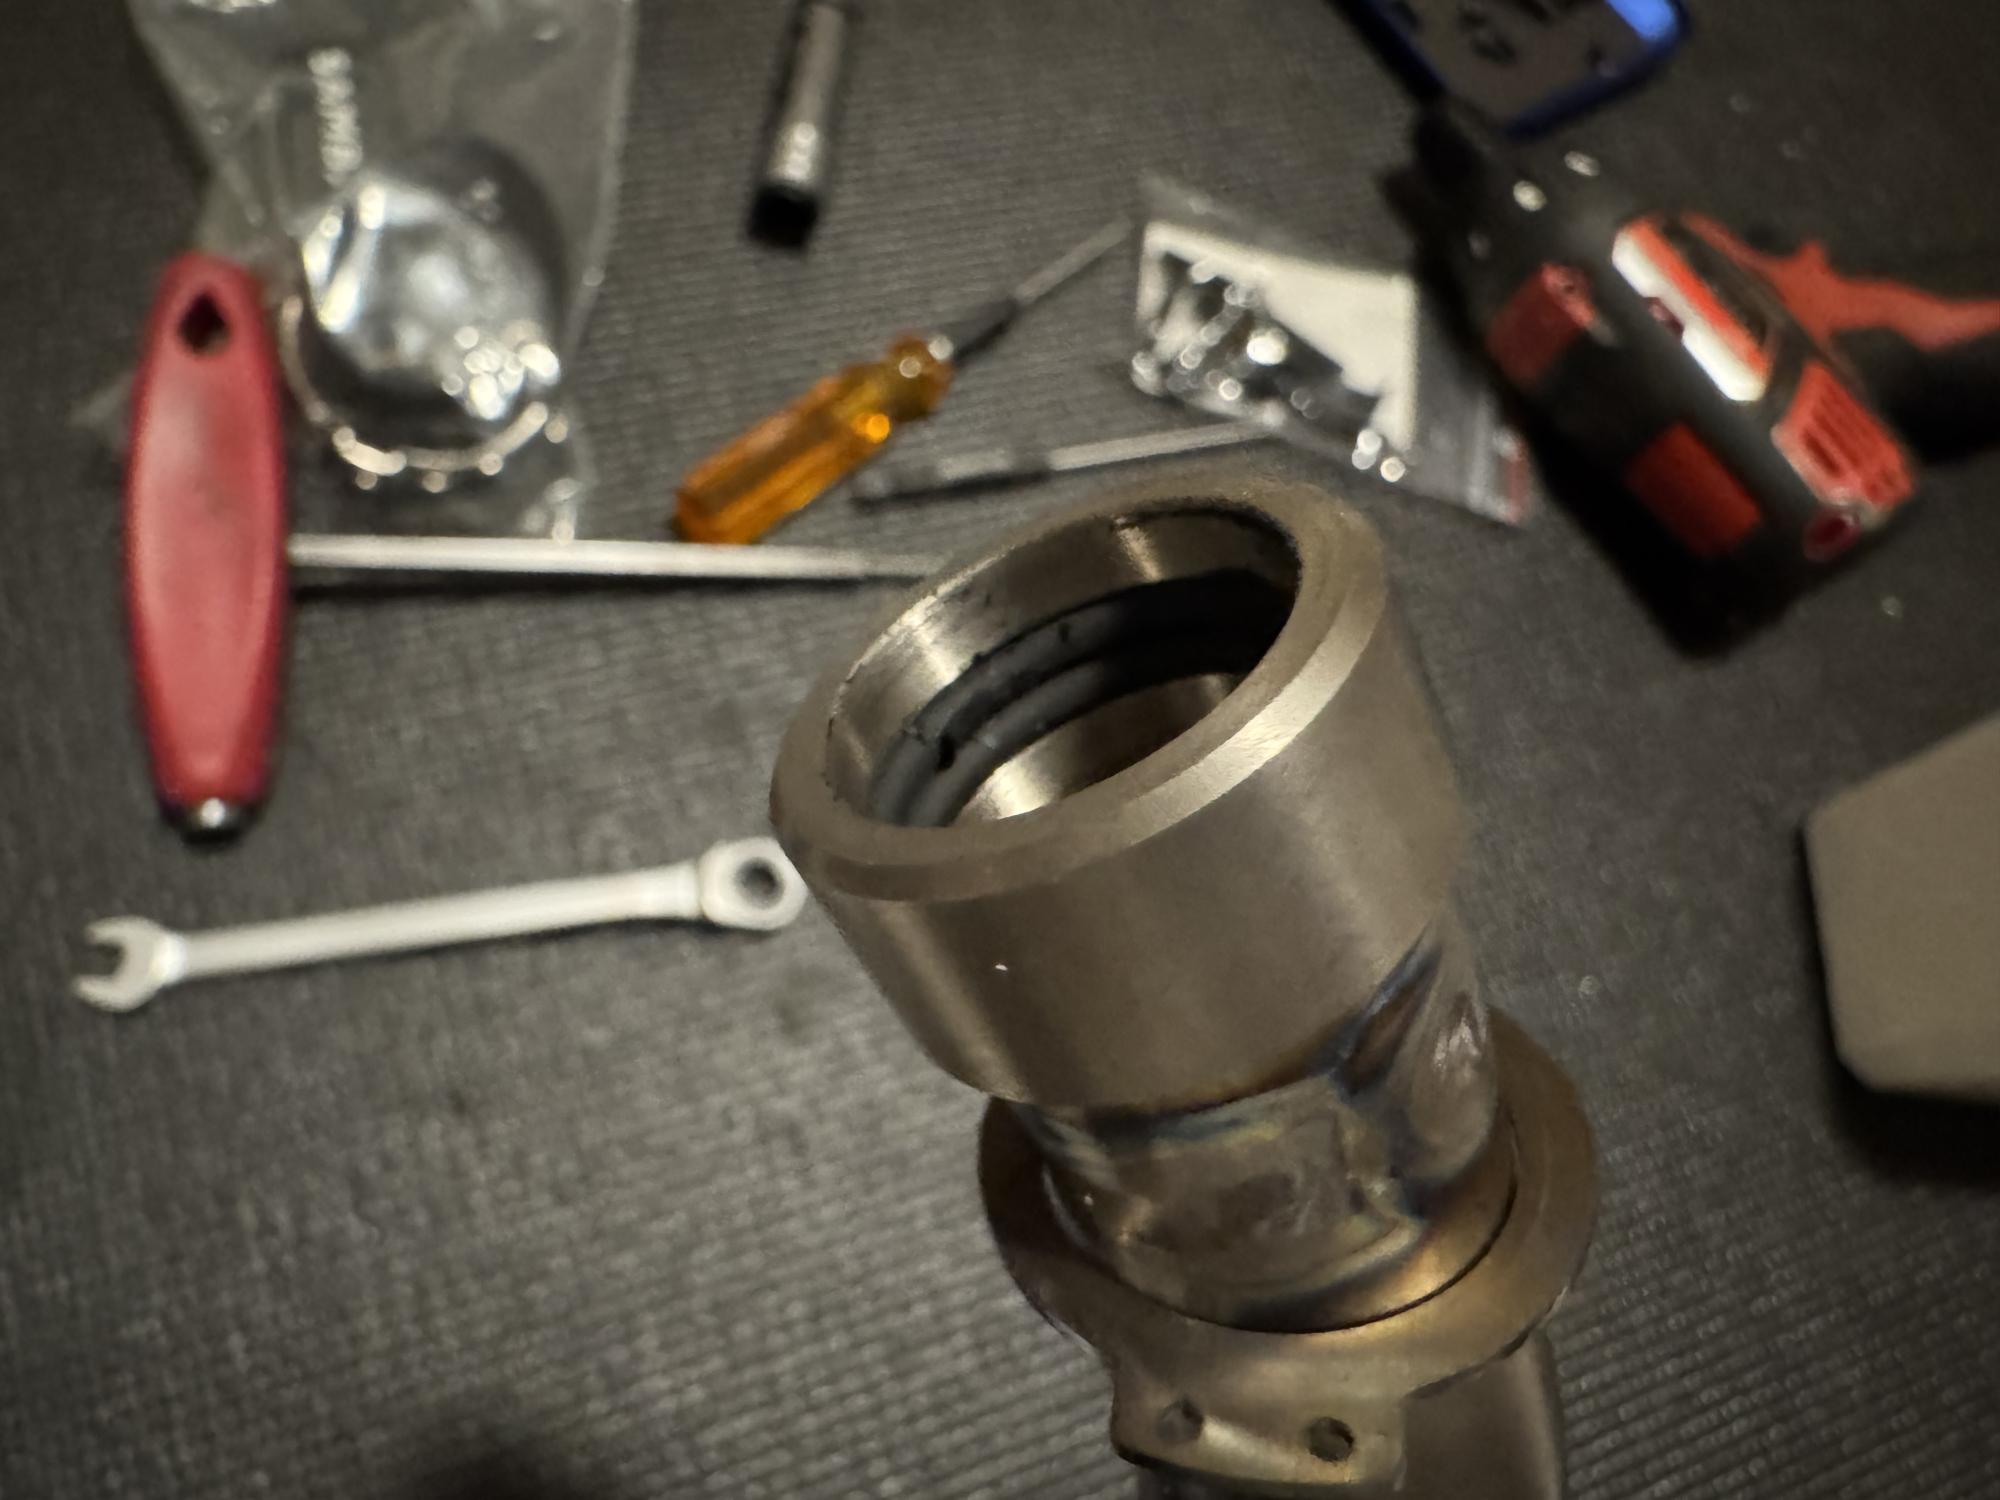
The pipe is secured with 4 small springs and has a rubber tubing for even more sealing. The pipe is hold into place with 2 longer springs in two rear brackets.

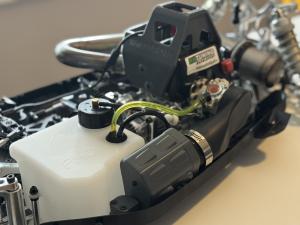
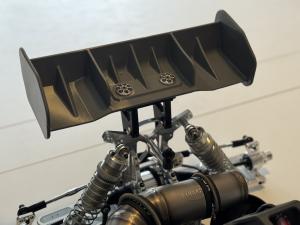
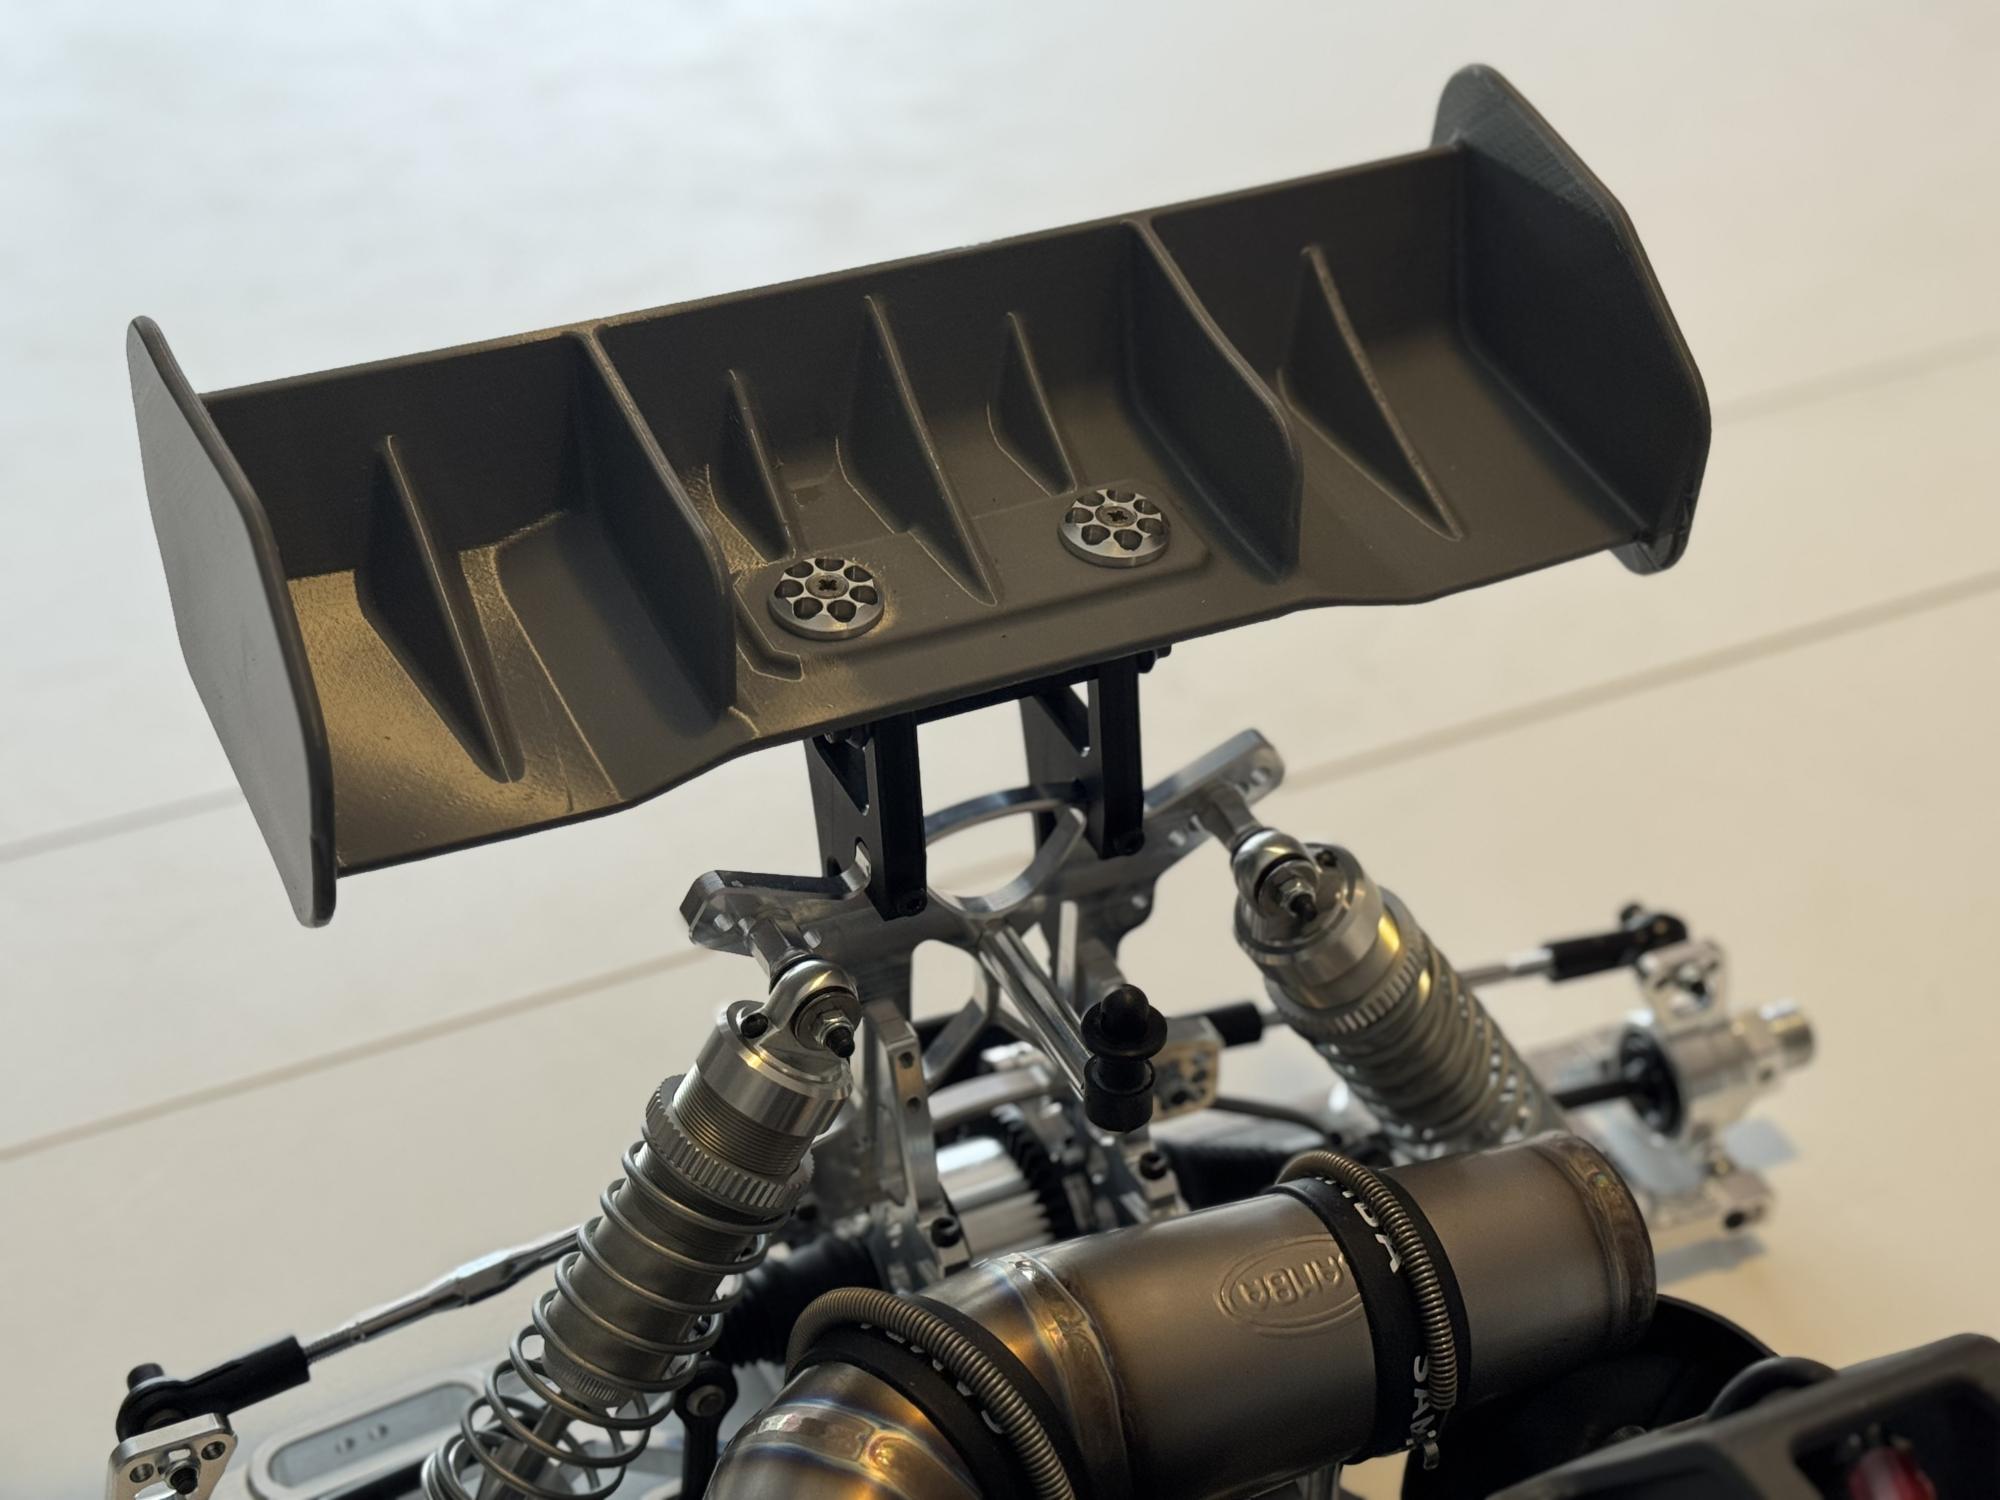
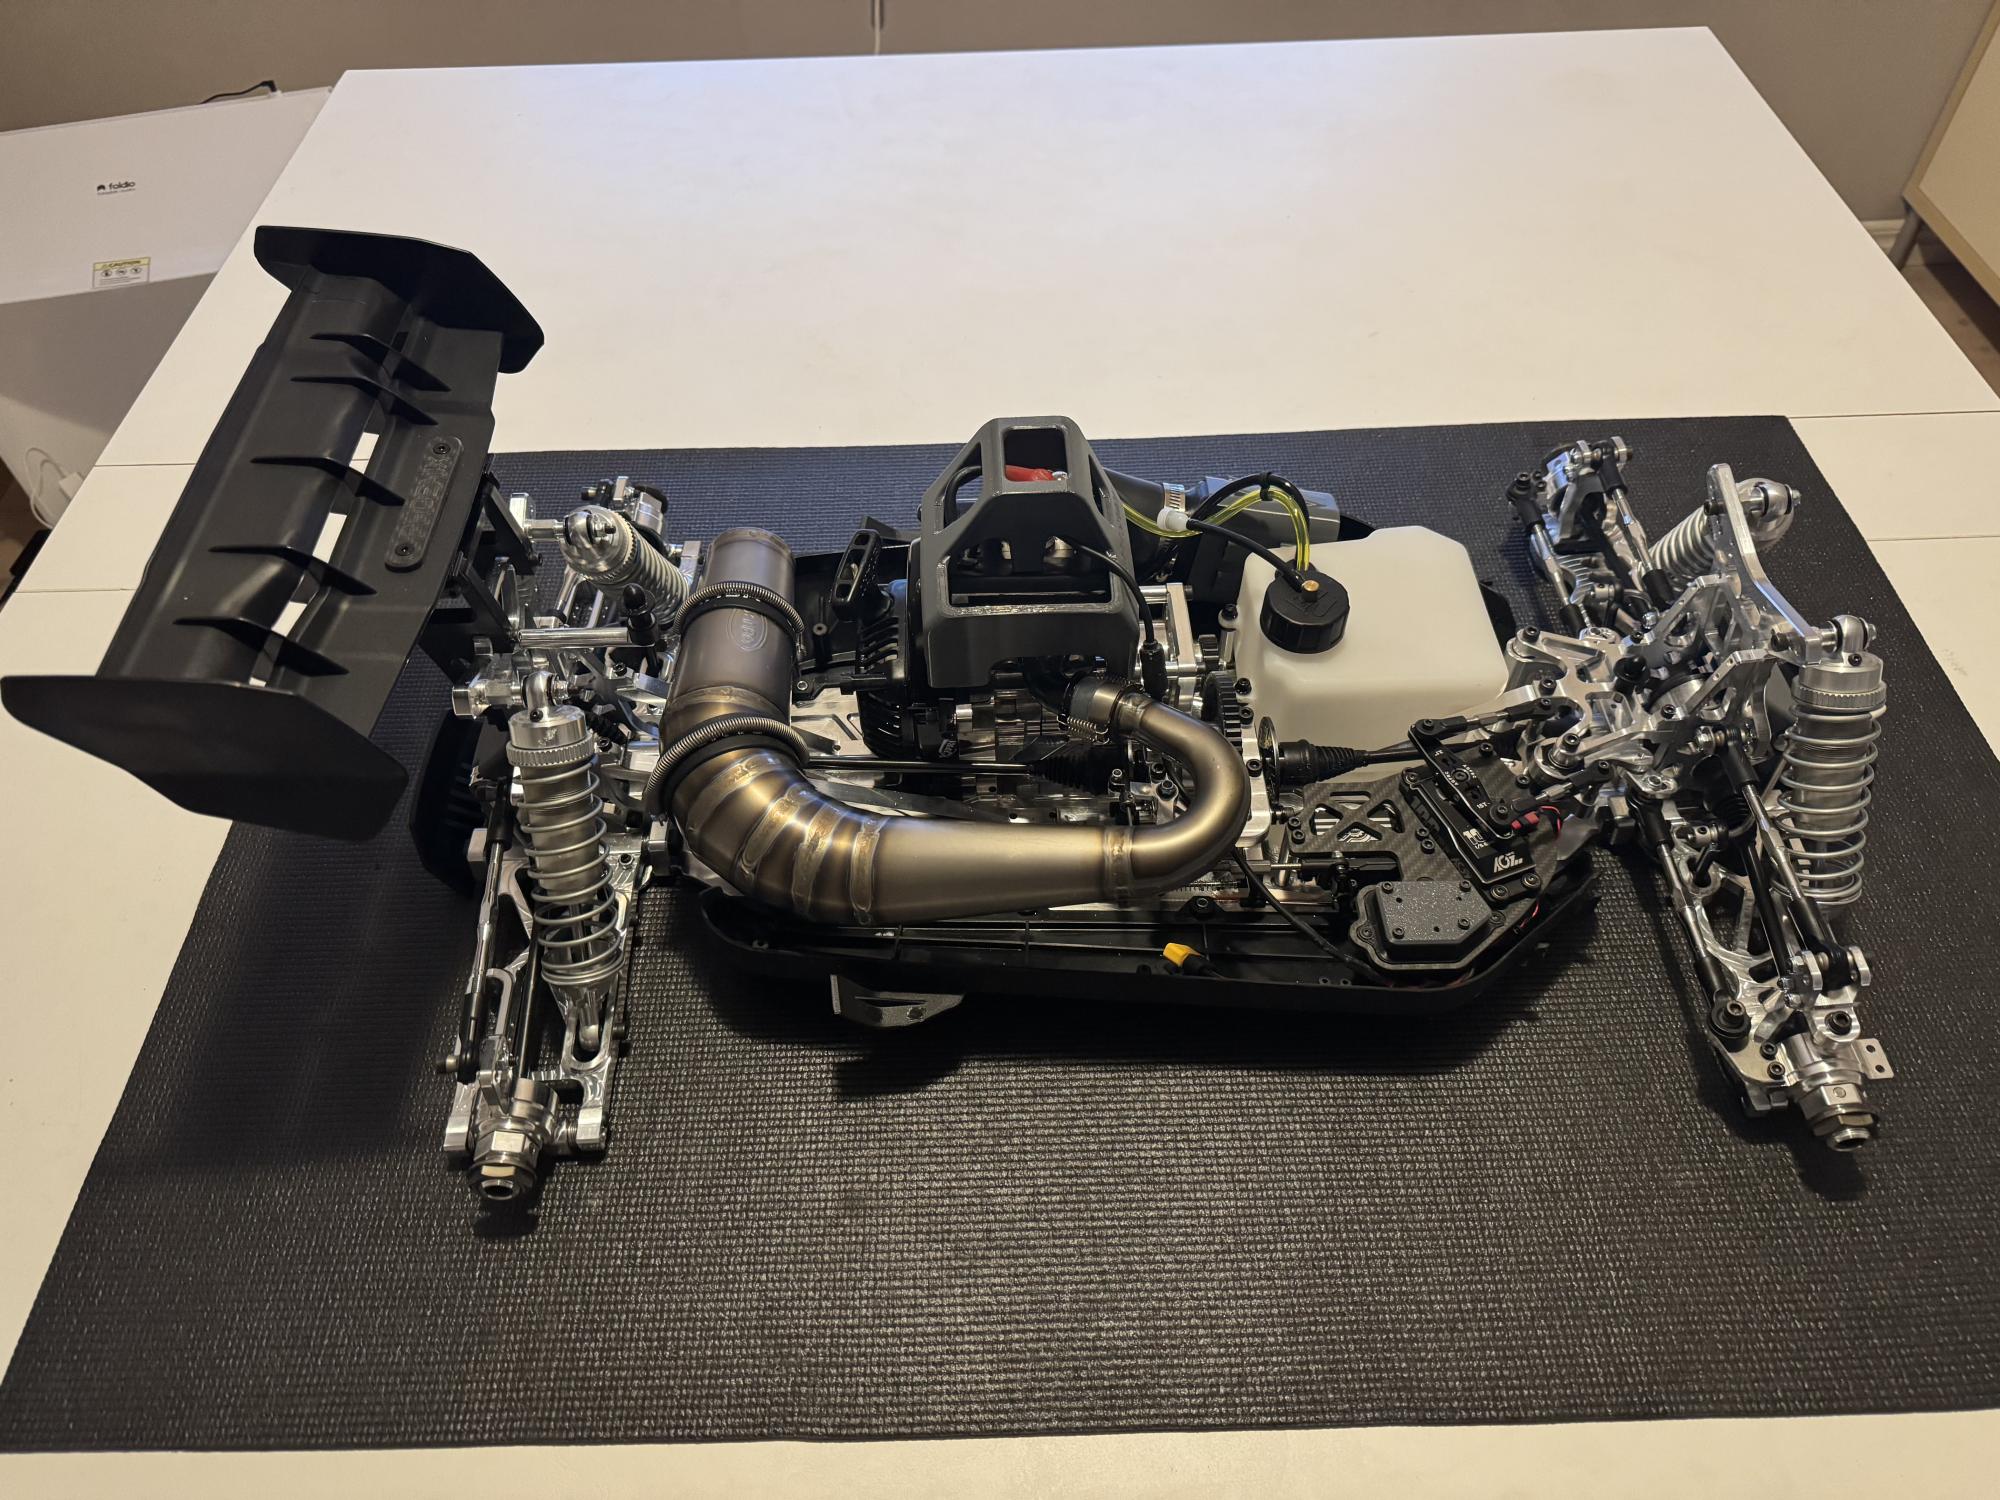
To finish off the build I mounted the air filter box and the wing. The wing is offering a design much like modern 1/8 wings and is mounted higher up than on any car I have seen, this to catch as much clean air as possible. I have always felt the wings are pretty useless on large scale cars. But these two changes might be one secret to why this car looks so nice in the air.
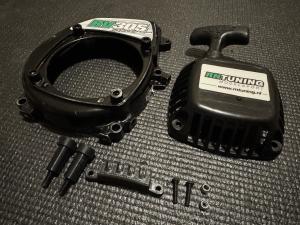
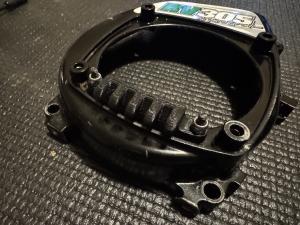
The spark plug and engine protector has a nicely built in air direction feature leading the air up and out from the car. This is something I built myself for the 5ive-X. It's smart to see how that is now in one piece being 3D printed.
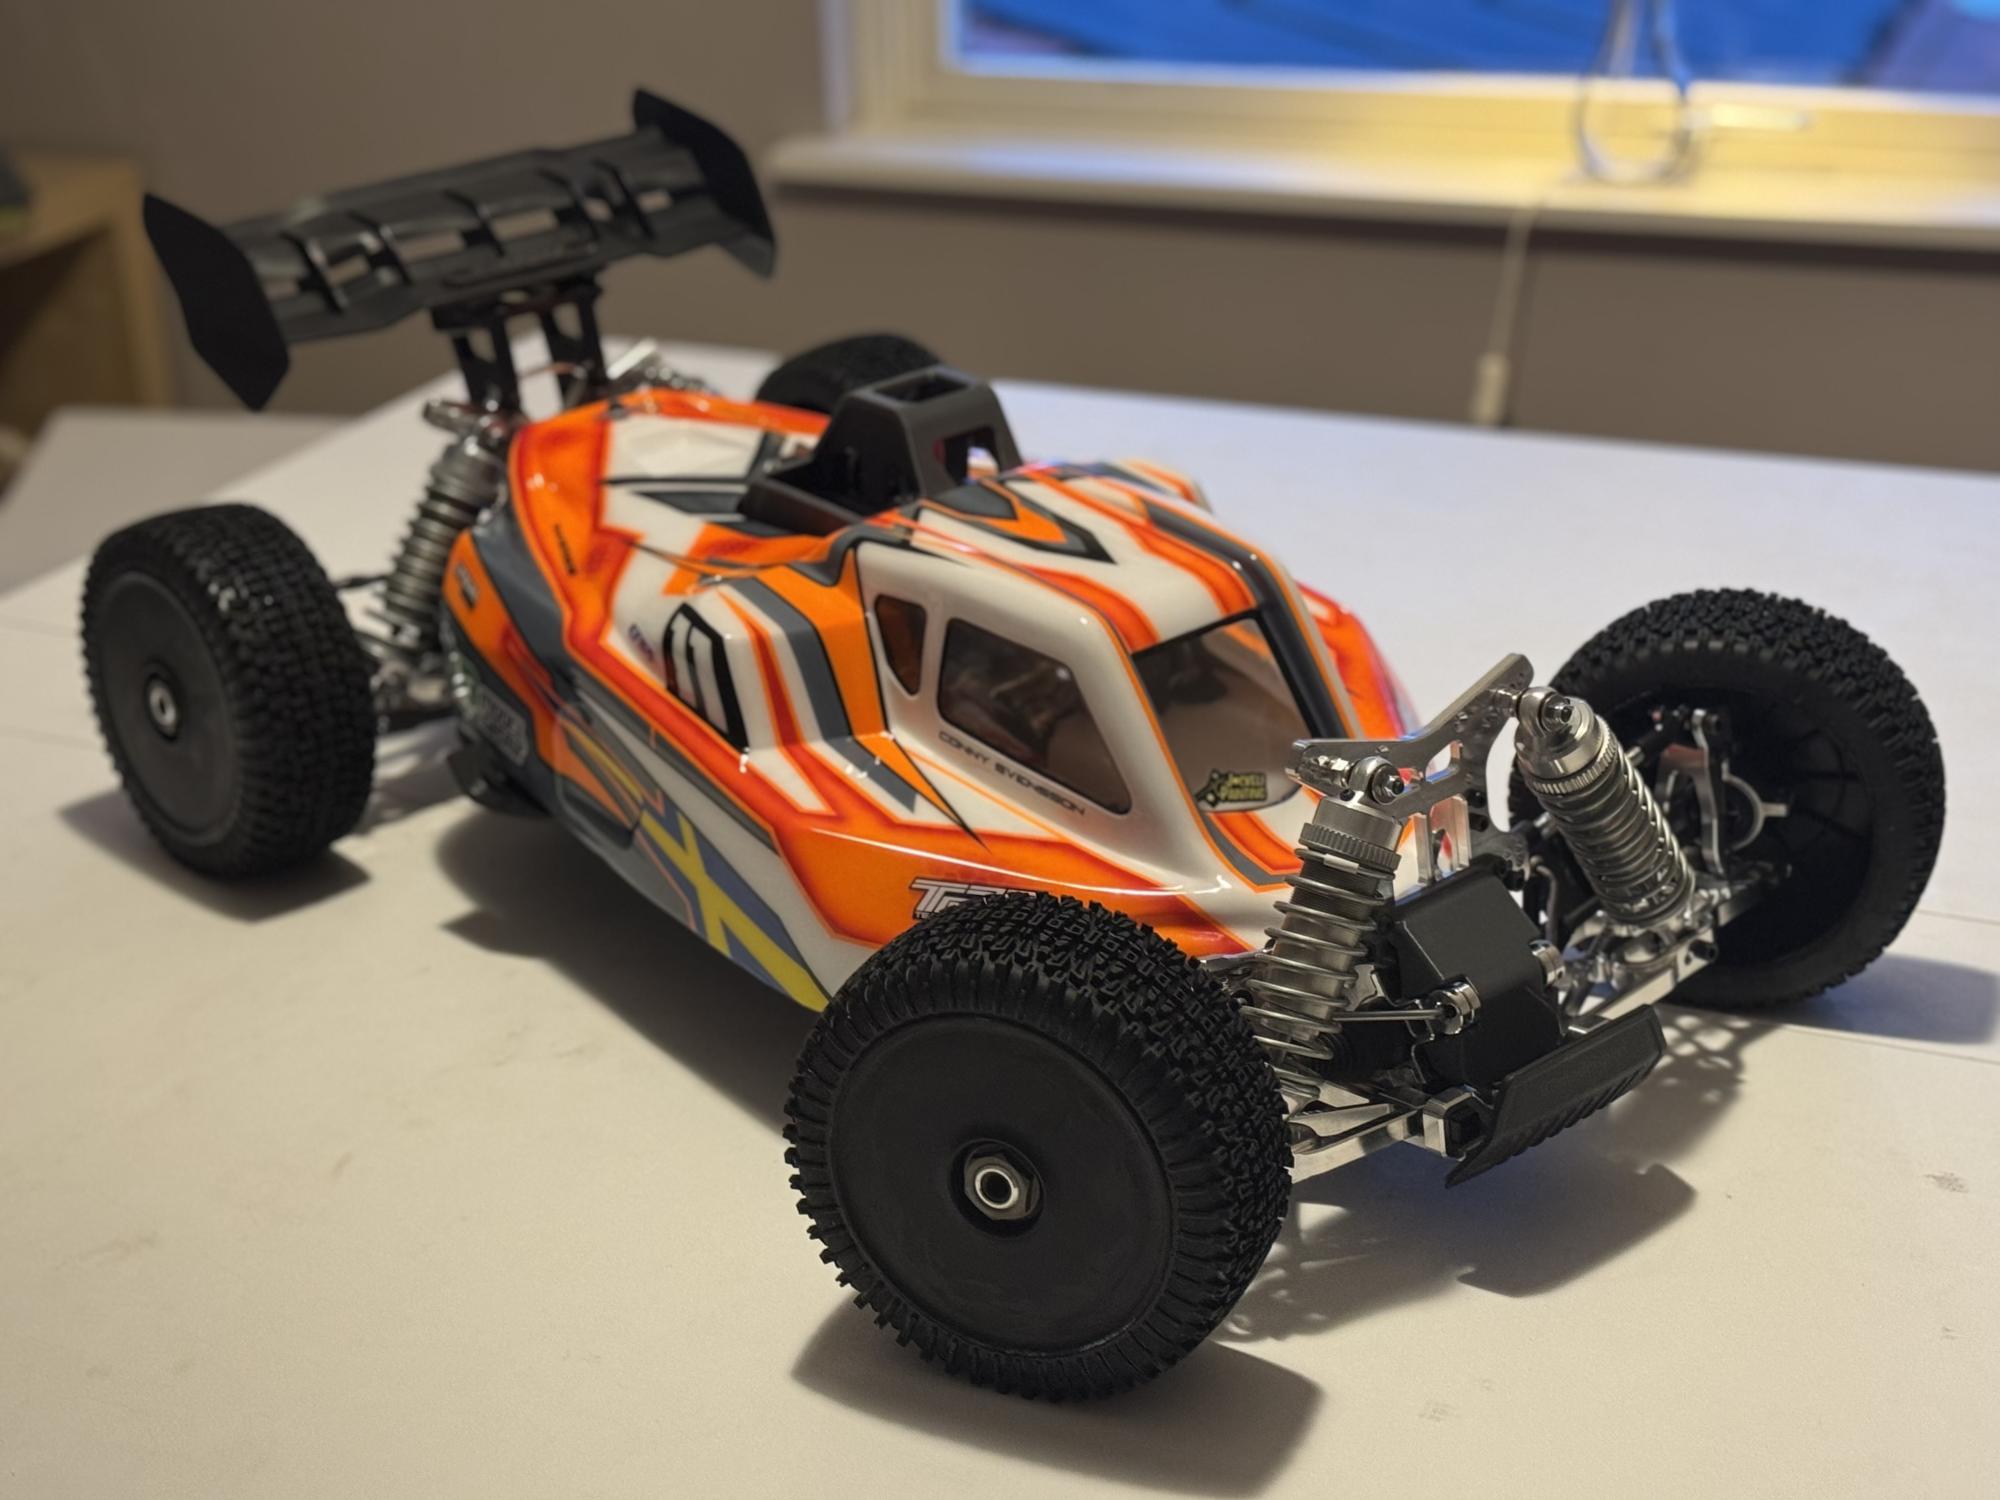
I cut the opening for the engine in the body and could mount it nicely on the car. I put 4 MCD wheels with black rims just for the look.
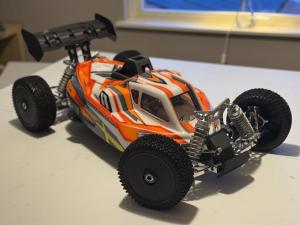
What a beautiful car!
This is it for the build. I will continue doing some more posts of the car and leading up to the first races. There are still some small details left to fix. I hope yo enjoyed this build series!