

Lets get started and make it shine!
Before receiving the car I started looking into what others are doing to make their aluminium shine and I bought a case tumbler from Hornady. I also bought a polish machine from HBM as well as some polishing paste from Belgom and some polishing stuff to put on the drilling machine.
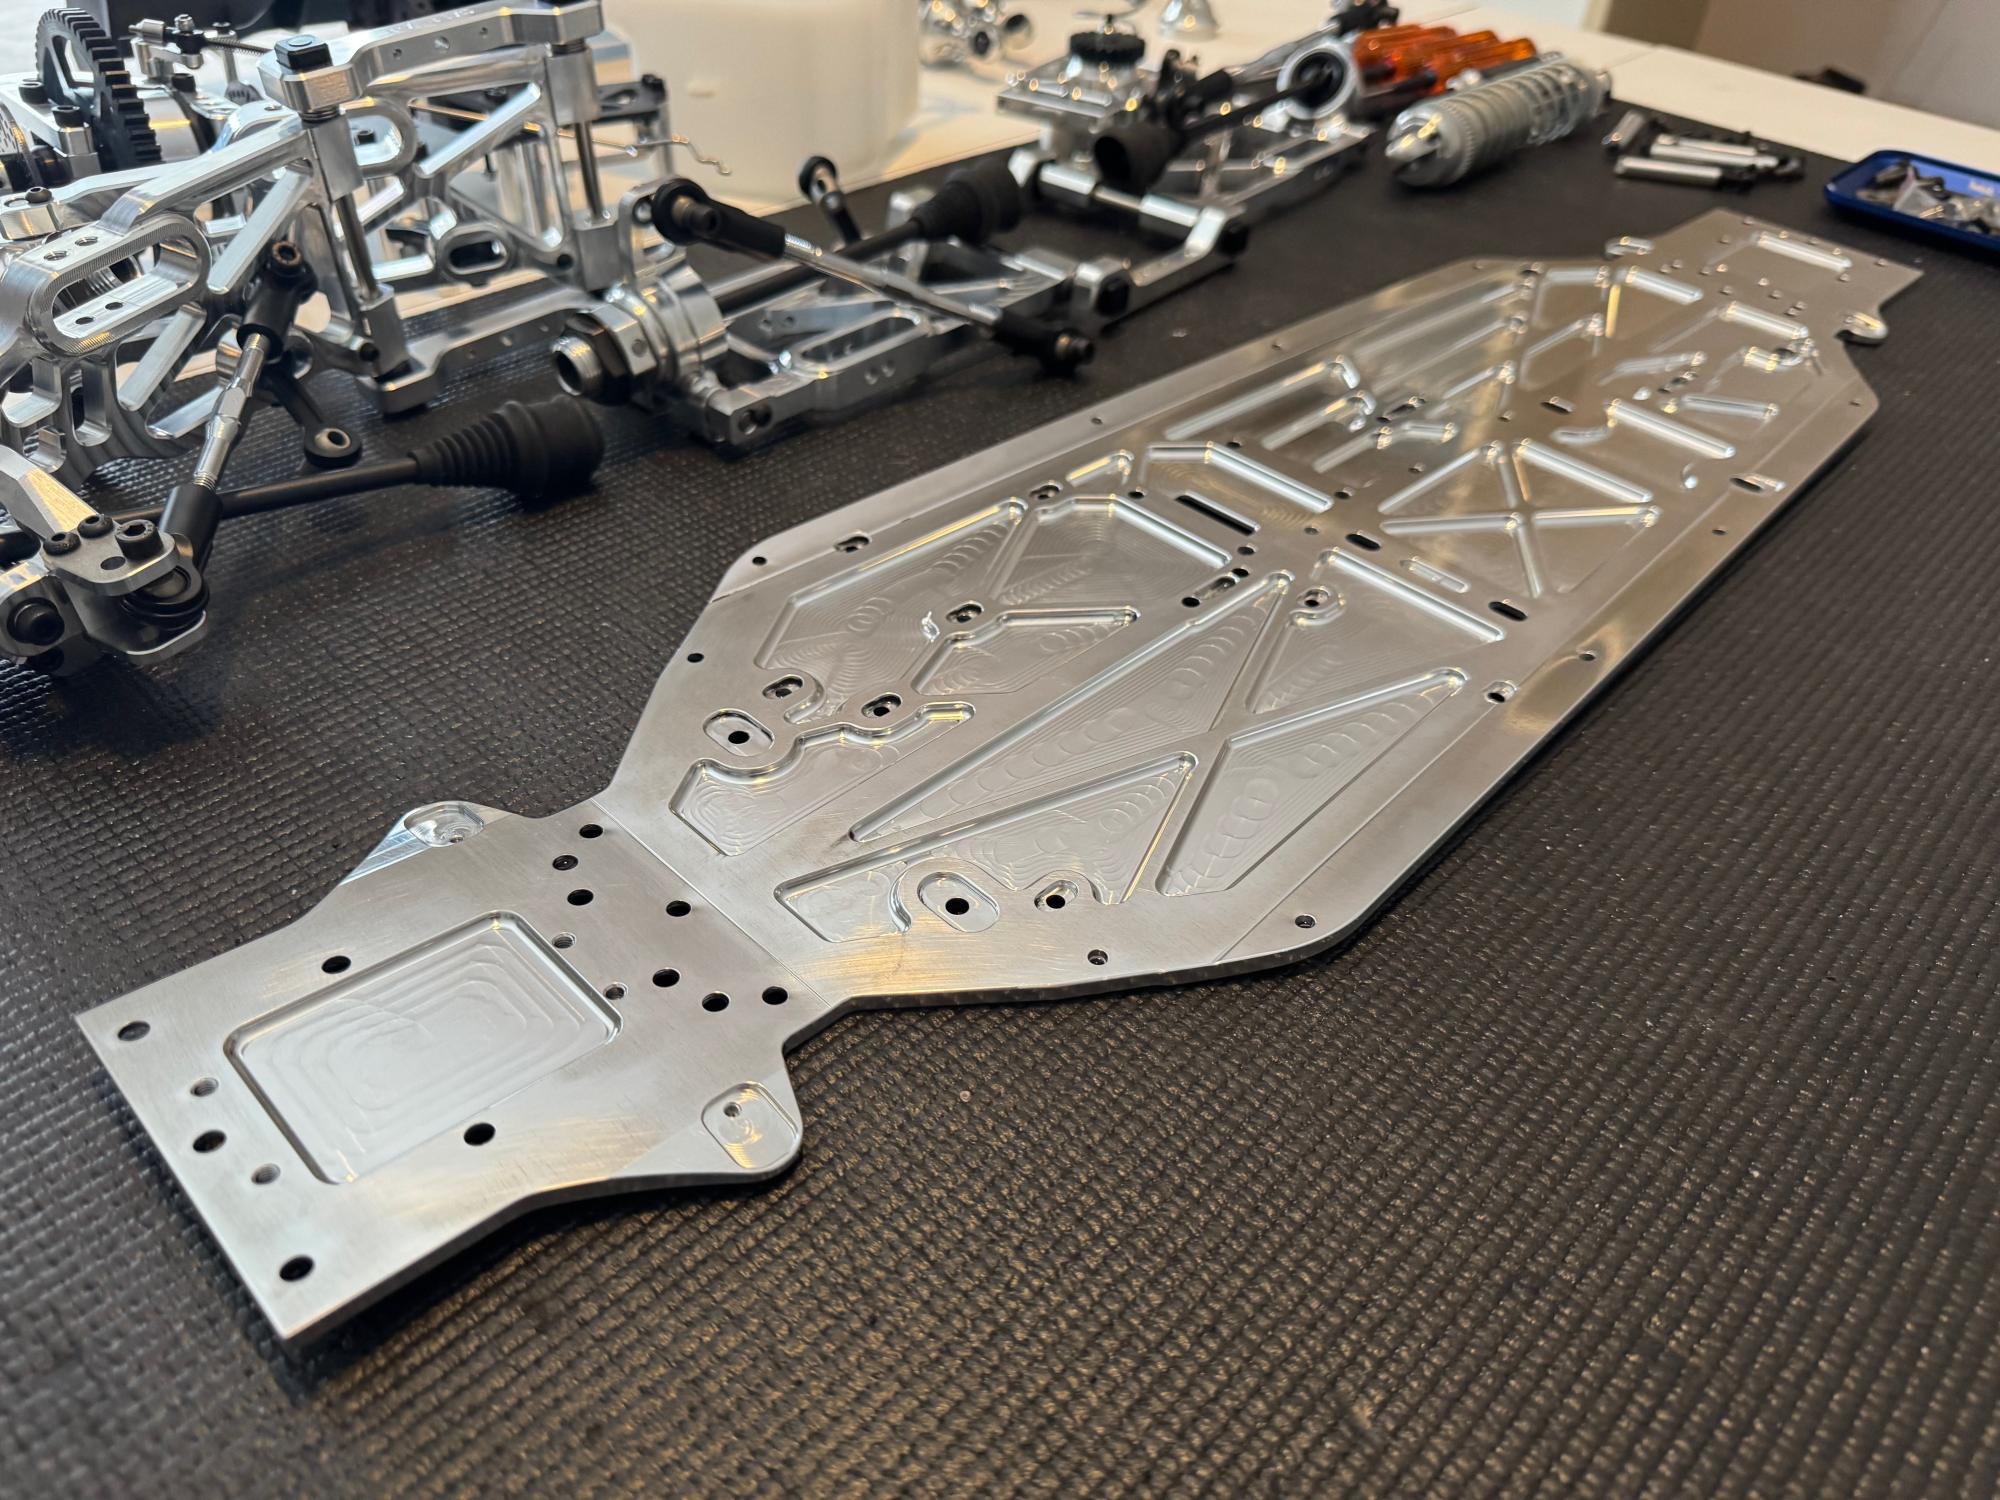
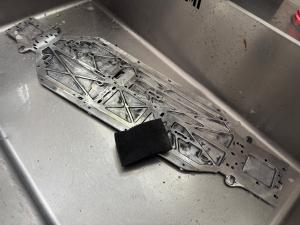
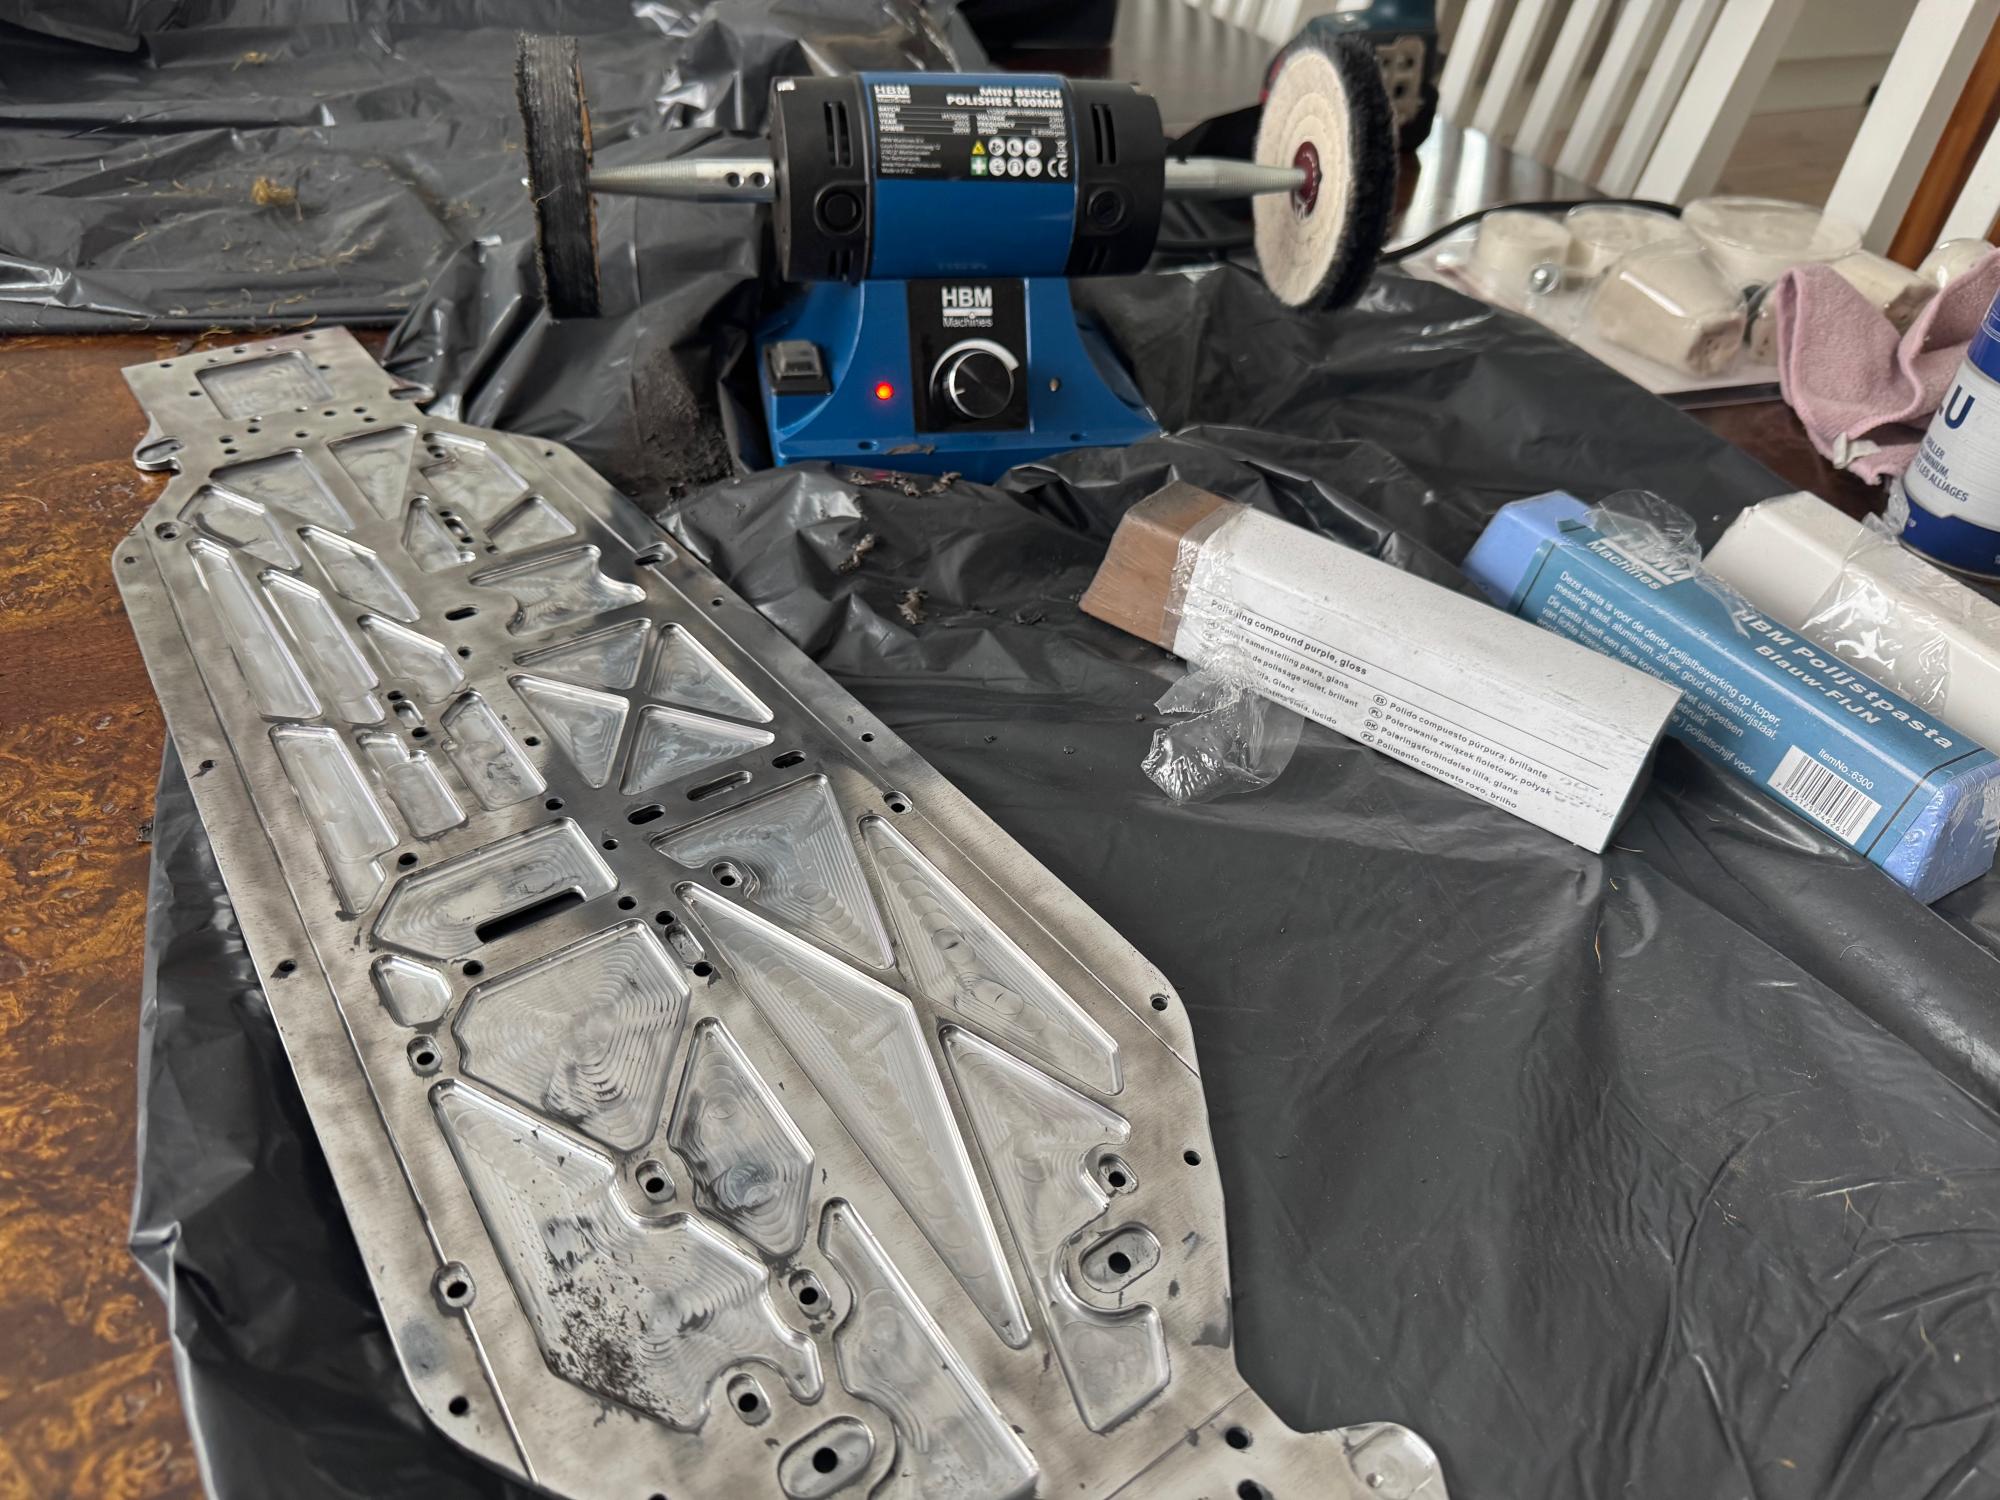
Since most of the aluminium parts are already very shiny as new you don't really need to polish them in the tumbler or the machine. But the chassis had an untreated surface as it was only milled where it makes the cutouts. You can see in the picture below how that creates two different surfaces. I wanted it all to shine and decided to go with the polishing machine.

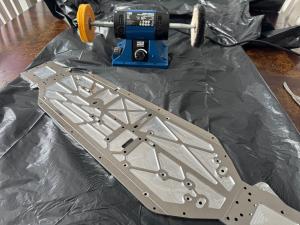
It required a lot of work with the polishing machine and some different polishing pastes to remove the course surface. I should probably have had another more course polishing paste to start with that was more abrasive to the surface. I got really tired as well since I had to hold the machine with one hand and the chassis with the other hand to create a the friction needed. I probably did this for an hour and it was hard to see if this was enough and when to stop. I could probably have gone on for another hour, but I was tired in my hands.
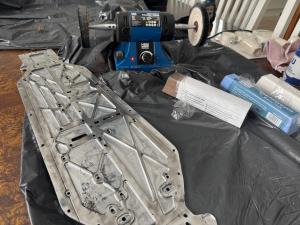
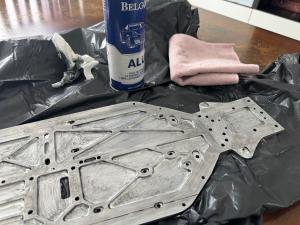
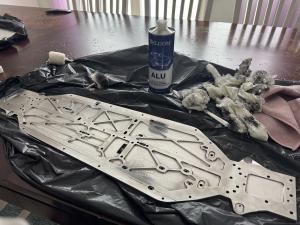
After I was done with the polishing machine I started do manually polishing with the Belgom. You can see on the pictures that the polishing pastes makes it black and the you have to polish it away. It's in this process that you actually do the polishing as the paste contains some particles that rubs the surface.

After a couple of rounds with Belgom I started to polish the whole chassis with my drilling machine and some polishing gear mounted. I repeated this process multiple times as the paste also got stuck in the different angles and compartments on the chassis.
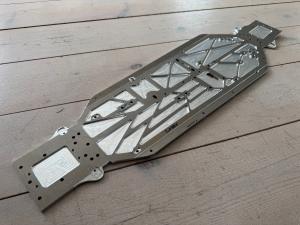
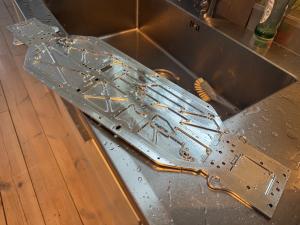
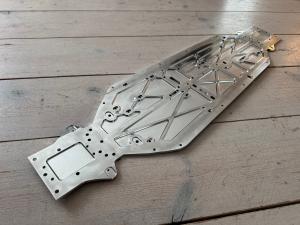
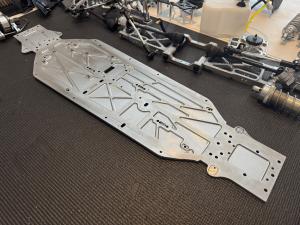
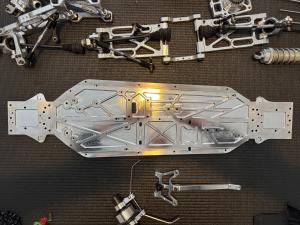
After this I started to clean the chassis with just soap and warm water. This I also had to do multiple times. And now finally I could see the result after all the hard work. It was not perfect but good enough to create a stunning effect when putting it on the pit table to start the rest of the process.
This was a very tedious and quite laborous process but it was all worth the work since it really looks much nicer and hopefully also with be easier to clean in the future with that polished surface.